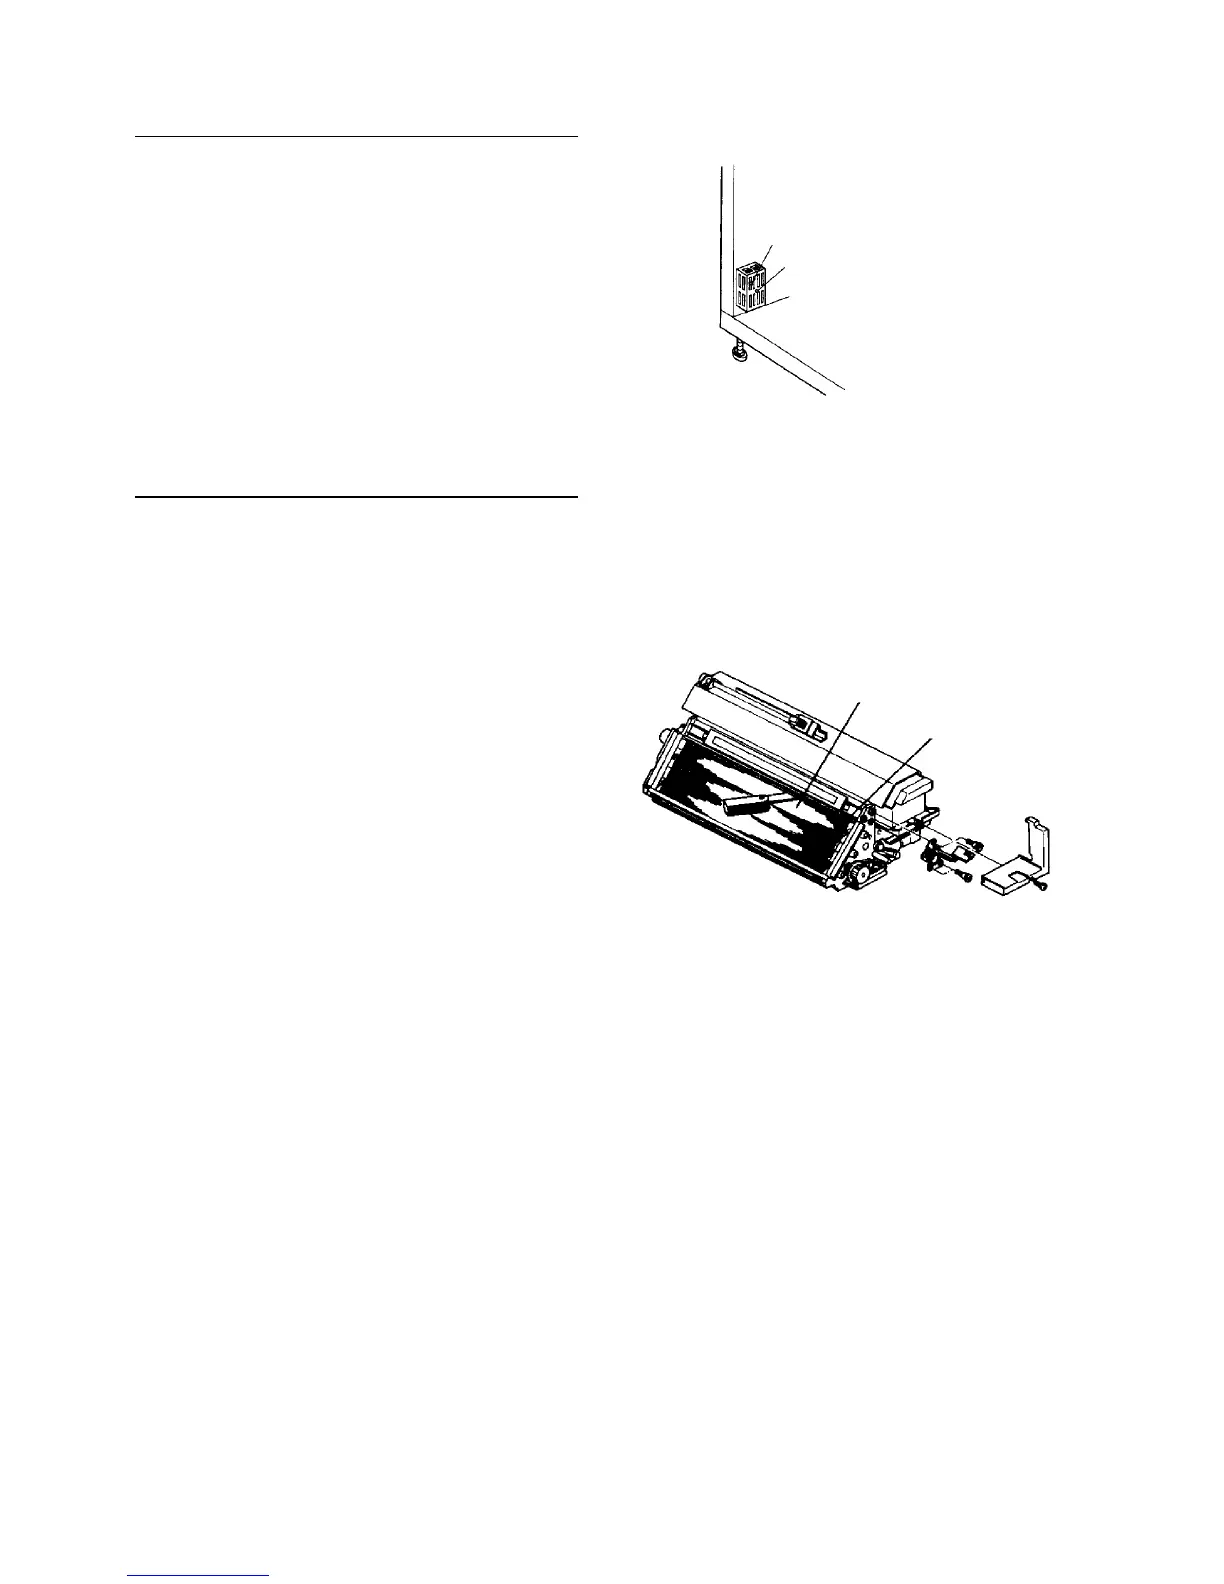
Adjusting the development motor speed
When no. 3 sleeve (lower one) is changed, the PG
(Photoconductor Gap) may change, so you will have to
adjust the development motor speed as follows:
Make copies, and If the background is dirty,
step up the speed of the development
motor by the DGS (the red dial on the
upper side, not blue one) of the
development DC power supply. To prevent
toner from clogging, do not step up the
speed excessively.
If a half tone is difficult to see, or if the
trailing edge is blank, decrease the speed.
Adjusting the clearances of the sleeves
1. Adjust the clearance between no. 3 sleeve (upper
one) and the development casing to between 1.4
and 1.6 mm using a clearance gauge. (Usually
adjustment is prohibited.)
2. Adjust the clearance (doctor gap) between sleeve
1 (lower one) and the doctor blade to between
0.70 and 0.80 mm using a clearance gauge.
(Usually adjustment is prohibited.)
CAUTION
• When making the adjustments above,
developer must not be attached to the
sleeve surface. If these clearances become
wider, the toner scatters. If they become
narrower, the developer runs on the
development casing and scratches the
surface of the OPC belt.
• Check the copy image after adjusting the
doctor gap. Adjust the development motor
speed if necessary. (See Adjusting the
development motor speed section in the
preceding page.)
DGS (red)
VR (blue)
Sleeve 3
Development exit casing



 To Next Page