WARNING
• To avoid wiring problems of high voltage parts,
never disassemble the connector.
• Working near the lamp is dangerous. Never
work near the lamp without turning off the main
switch and waiting at least 1 minute for
discharge.
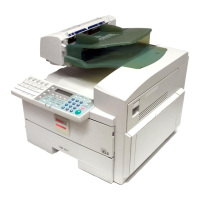
• Take care and check the position of the lamp
harness. (See illustration below.)
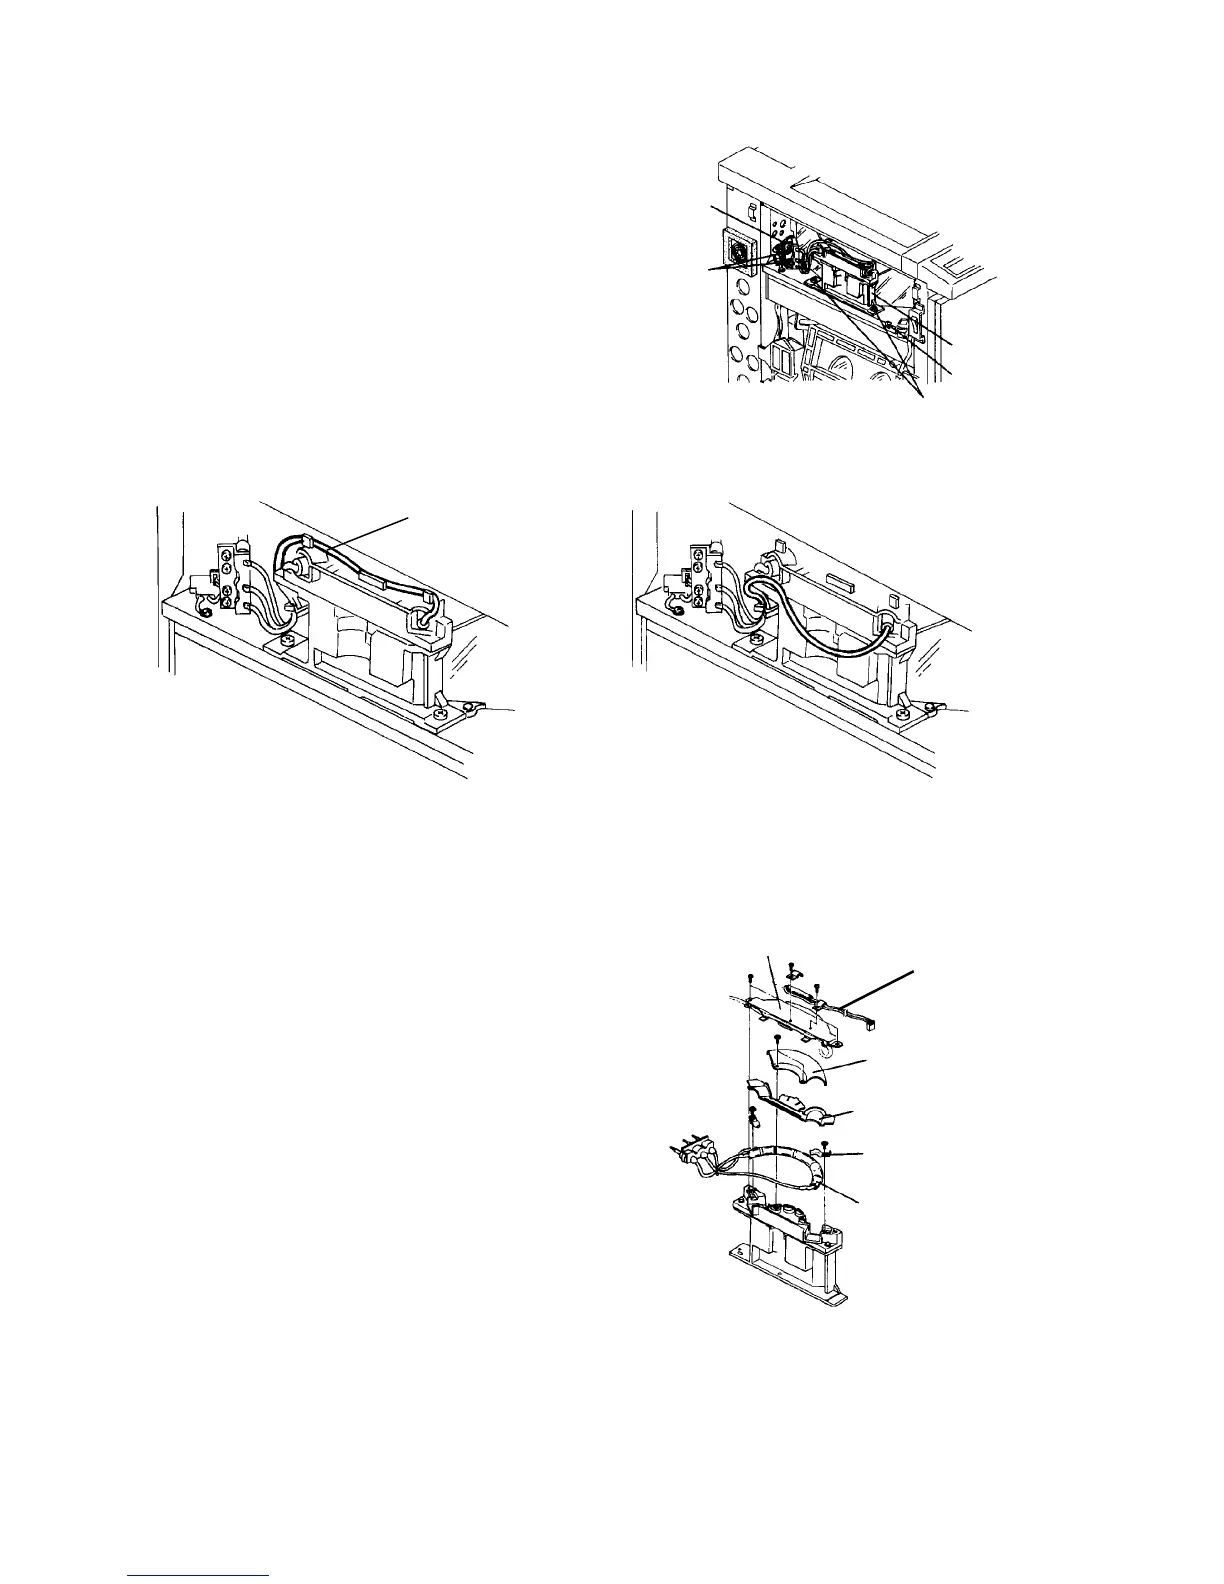
7. Remove the xenon lamp upper cover (2 screws).
8. Remove the thermofuse.
9. Remove the roof reflector (2 screws).
10. Remove lamp cooling guide seal.
11. Remove the lamp clamps from the front and rear
(one screw each).
12. Replace the lamp and reassemble in reverse order.
13. When the machine is in the stand-by condition,
access service tool [4-03]. Using the PC-1 chart
check the AID reference voltage. Perform setting A
if the value is not correct.
Lamp harness
[OK]
[NG]
Xenon lamp
connector
Connector
fitting screw
Unit fitting screw
Flash safety switch
Xenon lamp unit
Xenon lamp upper cover
Roof reflector
Cooling guide seal
Lamp clamp
Xenon lamp
Thermofuse