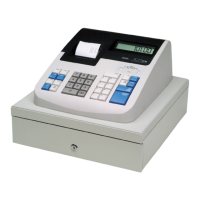
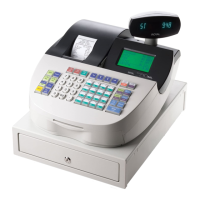
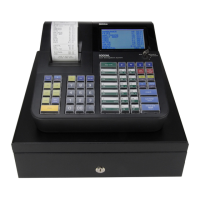
TS4240 User’s Guide 6
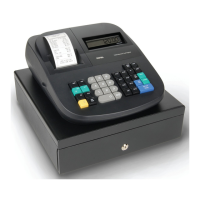
Getting Started
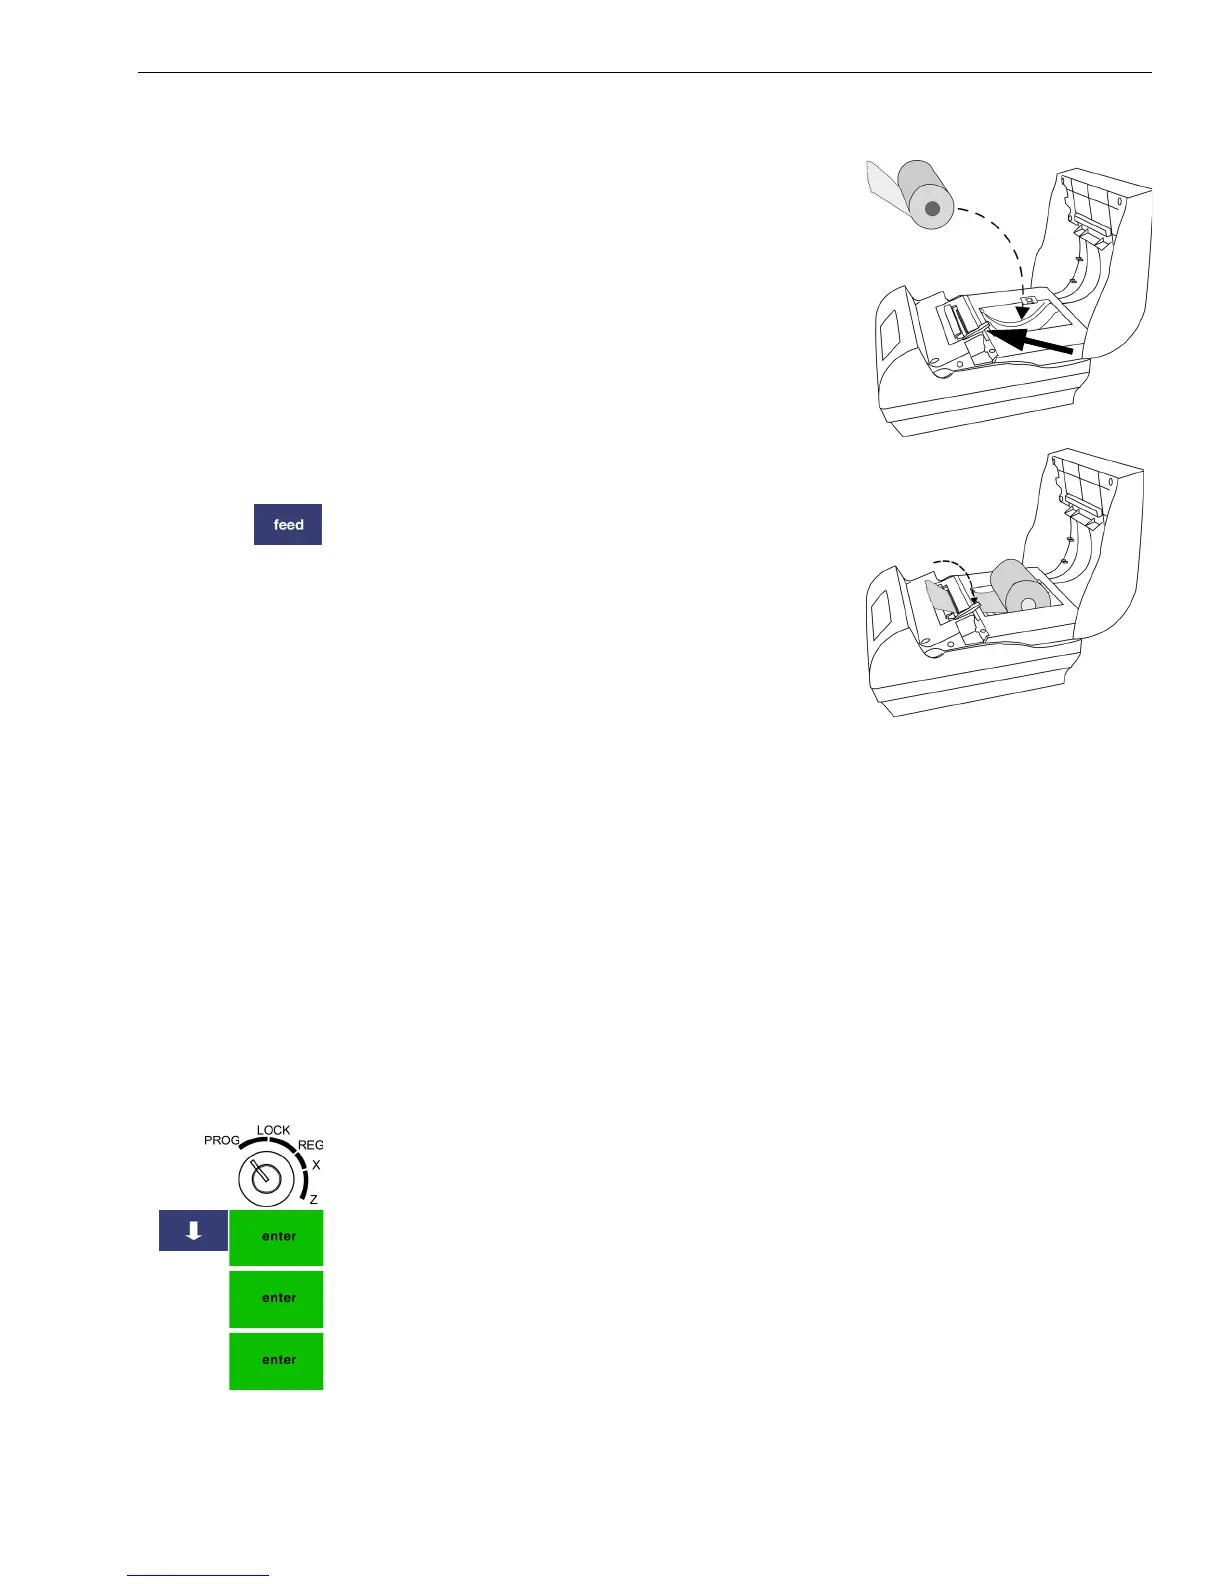
To install the paper roll
1 Open the receipt printer cover.
2 Unwrap the paper roll. Place the paper roll
in the paper well with the paper feeding
from the bottom.
3 Grab the small handle on the right of the
print head. Flip the little handle towards
the front of the printer.
4 Feed the end of the paper into the slit
under the print head.
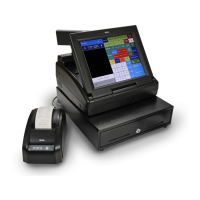
5 Flip the little handle towards the back of
the printer.
6 Press the Feed key to move the paper
through the printer to make sure there is
no jam and the paper is properly installed
before continuing.
7 Feed the paper through the paper slot in
the printer cover.
8 Close the printer cover.
Setting the Date And Time
The date changes every day and prints in the month-day-year format. You
can prevent the date from printing on the transaction receipts. The date
format can also be changed to print day-month-year. For more
information, see Date Format on page 55.
The time can print in either the 12 or 24 hour (military time) format. The
default setting is to print in the 12 hour format, which is normally used. To
change to the 24 hour format, see Date Format on page 55. You can set the
cash register so that it does not print the time on receipts. For more
information, see Printing Options on Receipts on page 28.
To set the date
406 -- OptionsSystem Configuration Options
1 Put the MGR key in the Mode key slot and turn it to the PROG position.
2 Press the Arrow Down key to select 406 -- Options. Press Enter.
3 Select System Configuration Settings. Press Enter.
4 Select Date Adjust. Press Enter. Press the Enter key again.
5 At the prompt, use the Number keys to enter the date.
For example, to enter June 30 2007, press 063007. Press Enter.