Chapter 4 Setting Up Your Cash Register - the Basics
41 TS4240 User’s Guide
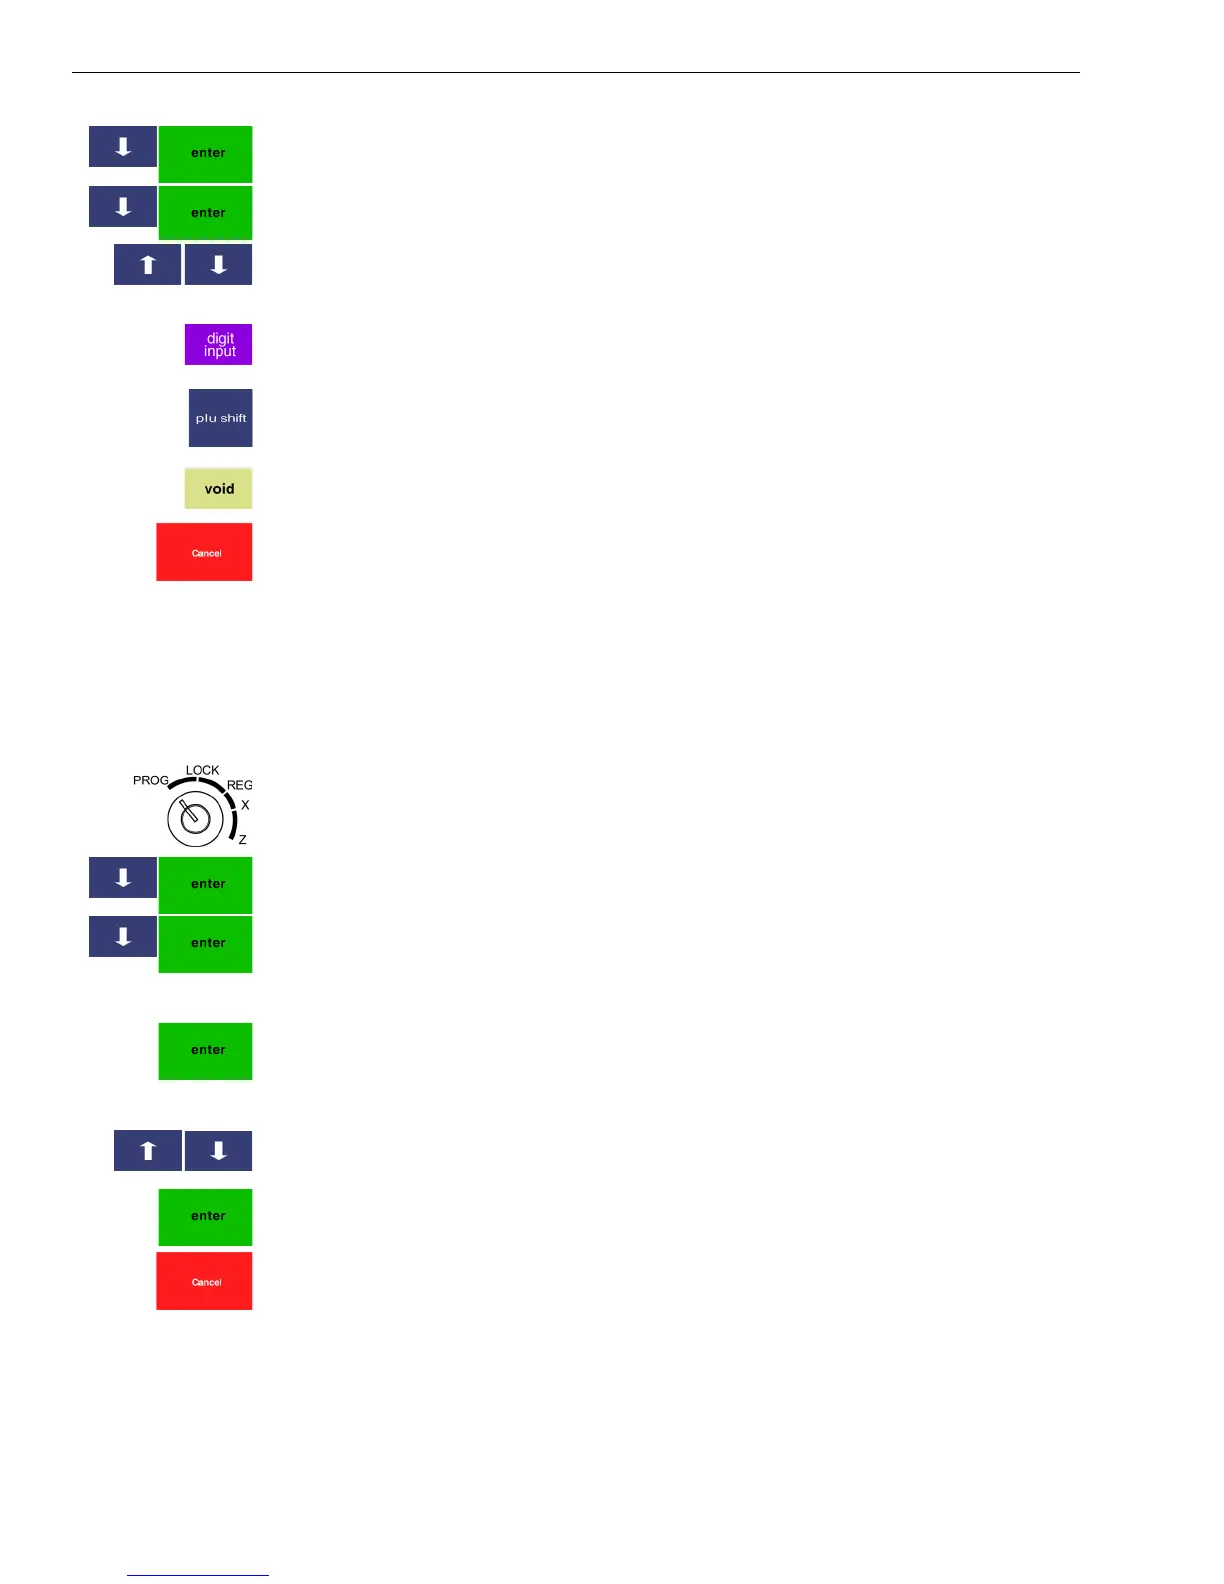
2 Press the Arrow Down key to select 407 -- Others. Press Enter.
3 Press the Arrow Down key to select 411 -- Direct PLU Setting. Press
Enter. The PLUs you created appear on the left of the screen.
4 Press the Arrow Up or Arrow Down key to select the PLU you want to
map.
If you know the PLU number you want to map, you can also manually
enter the number or scan the barcode with the barcode reader. Press the
digit input button to use this feature.
5 Press the Direct PLU key on the screen that you want to use for that
PLU. To see more available direct keys, press plu shift.
6 Repeat until all the PLUs you want to map are done. To clear an
assigned key, press void and the key you want to delete.
7 When you are done, press the cancel key.
Editing a PLU
After you create a PLU, you may want to edit it. Use the following
instructions.
To edit a PLU
402 -- PLU Setting
1 Put the MGR key in the Mode key slot and turn it to the PROG
position. If prompted, enter the Manager passcode and press Enter.
2 Press the Arrow Down key to select 402 -- PLU Setting. Press Enter.
3 Press the Arrow Down key to select Add New PLU or Edit PLU. Press
Enter.
4 Do one of the following:
• Using the Number keys, enter the PLU number you want to edit and
press Enter.
• Using the barcode reader, scan the barcode you want to edit.
5 Make your changes to the PLU information. Use the Arrow Up key and
Arrow Down key to move through the selections.
6 To edit the next PLU, go to Next Item and press Enter.
7 When you are done, press the cancel key.