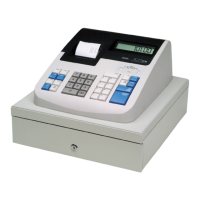
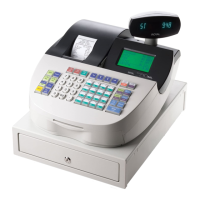
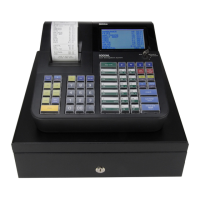
TS4240 User’s Guide 28
Printing Options on Receipts
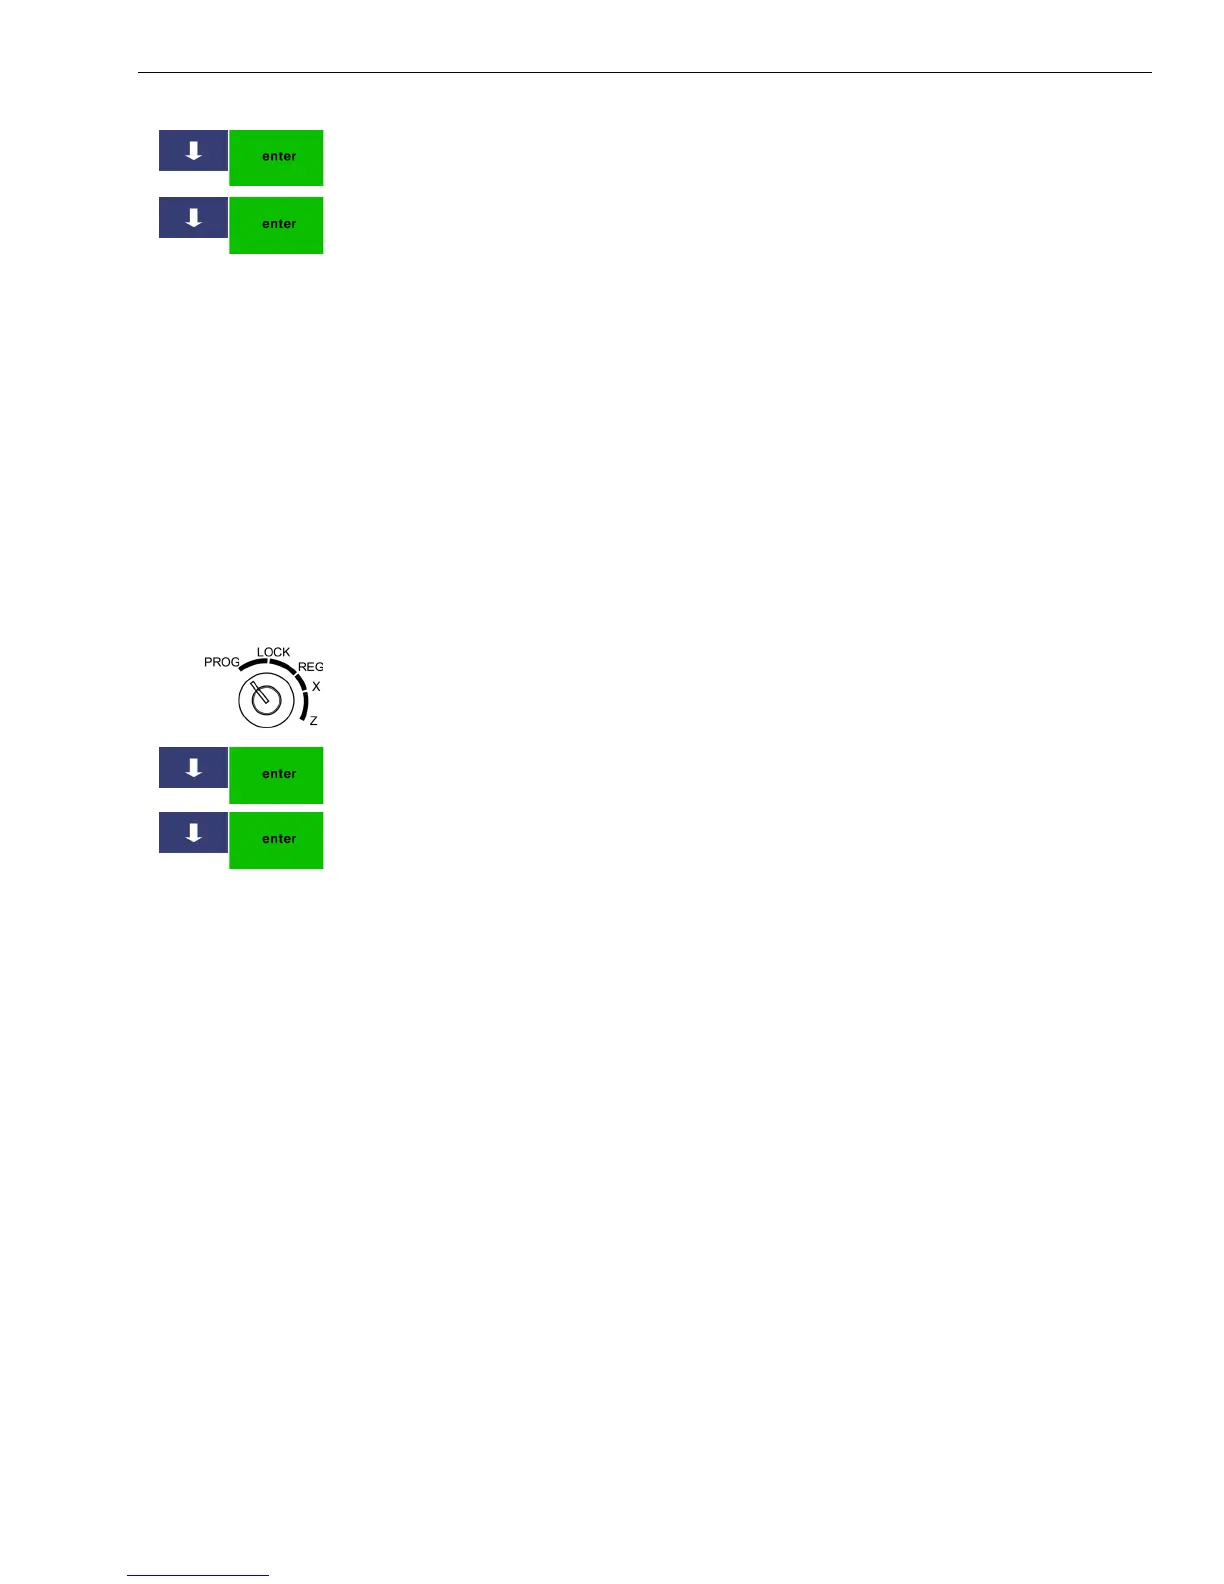
3 Press the Arrow Down key to select Printing Parameters Settings. Press
Enter.
4 Press the Arrow Down key to select Position of Logo Print. Press Enter.
5 Select Foot or Head and press Enter.
Printing Options on Receipts
You can specify if the following prints on receipts:
To set receipt printing options
406 -- OptionsPrinting Parameters Settings
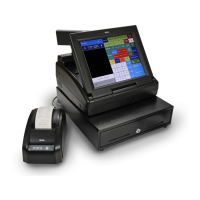
1 Put the MGR key in the Mode key slot and turn it to the PROG position.
If prompted, enter the Manager passcode and press Enter.
2 Press the Arrow Down key to select 406 -- Options. Press Enter.
3 Press the Arrow Down key to select Printing Parameter Settings. Press
Enter.
4 The options appear on the screen. Scroll to select the one you want. The
next sections in this chapter explain the available options.
Setting Clerk Numbers and Names
You can program and assign up to 40 Clerk Names so you can monitor
sales by individual employees. Each clerk can also be assigned a 12
character name. If you lose a clerk passcode, you can use the super-clerk
passcode. For more information, see Setting X and Manager Passcodes on
page 30.
To see the sales totals for each clerk, a Clerk Sales Report is available in
both the X and Z modes.
To set use the clerk system:
1 Program the clerk names and passcodes.
2 Activate the clerk system.
3 Set the clerk mode to Compulsory, if needed.
• Headers and footers • Tax total, amount and location
• Clerk names • Department name or PLU name
• Machine number • Blank Lines
• Transaction number • Currency symbols
• Date and time • Barcode numbers