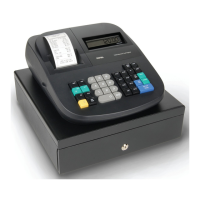
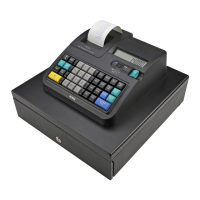
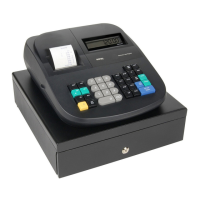
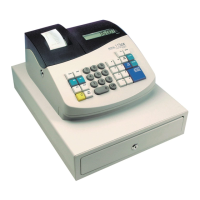
Chapter 4 Setting Up Your Cash Register - the Basics
29 TS4240 User’s Guide
Note
When clerks enter passcodes, passcodes appear as asterisks **** on the
display for extra security.
After you are done programming clerk numbers, you can check your
results directly on the screen or by printing using 403 -- Clerk Setting
Print Programmed Clerks.
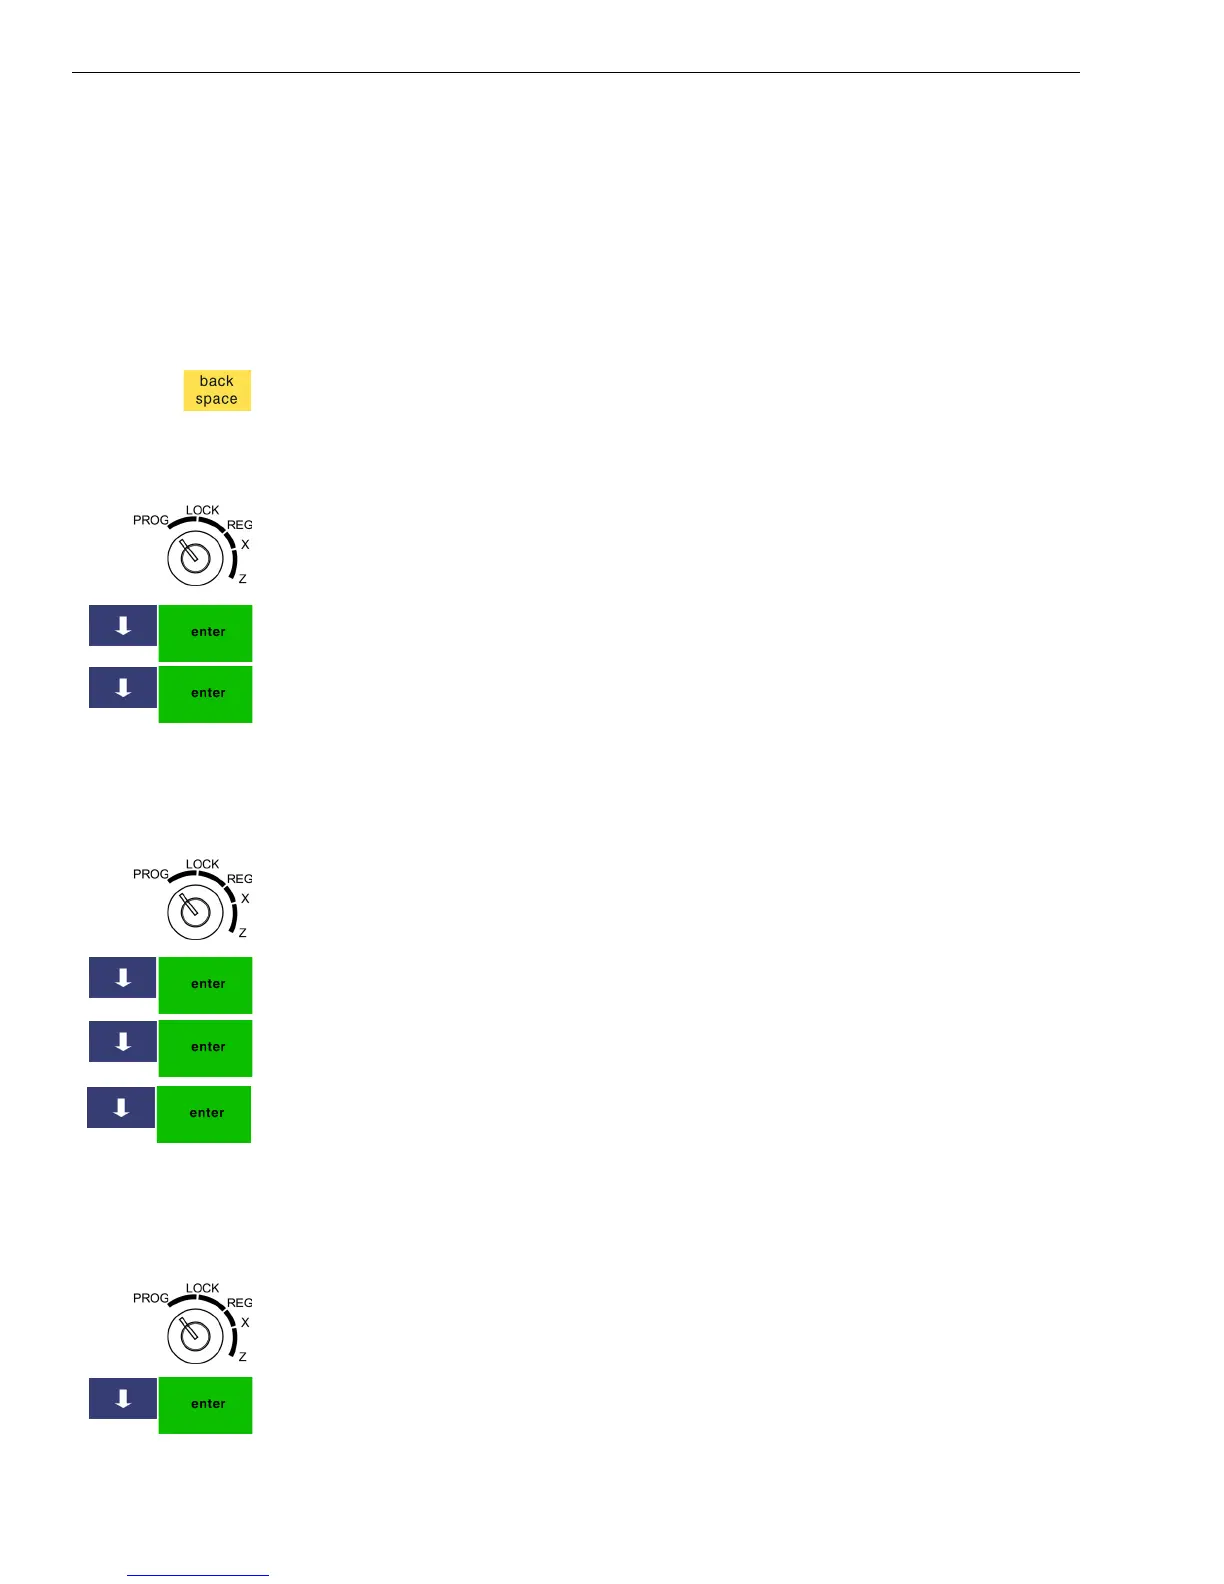
Important
If you enter the wrong character, press the back space key to delete the
character. Now you can continue.
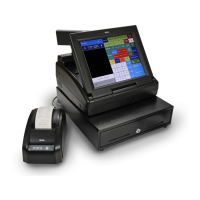
To set a clerk number and program a name and passcode
403 -- Clerk Setting
1 Put the MGR key in the Mode key slot and turn it to the PROG
position. If prompted, enter the Manager passcode and press Enter.
2 Press the Arrow Down key to select 403 -- Clerk Setting. Press Enter.
3 Press the Arrow Down key to select the first clerk name you want to
change. Press Enter.
4 Follow the instructions on the display.
Now you need to set the Clerk System to be active.
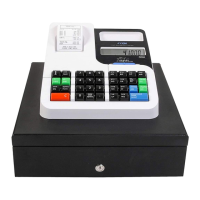
To turn on the Clerk System
406 -- OptionsSystem Options Settings
1 Put the MGR key in the Mode key slot and turn it to the PROG
position. If prompted, enter the Manager passcode and press Enter.
2 Press the Arrow Down key to select 406 -- Options. Press Enter.
3 Press the Arrow Down key to select System Options Settings. Press
Enter.
4 Press the Arrow Down key to select Clerk System Active. Press Enter.
5 Press Yes.
Now you can require that a clerk enter their passcode before every
transaction.
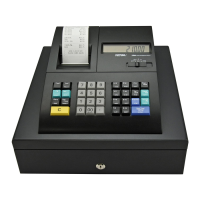
To require Clerk passcodes for every transaction
406 -- OptionsSystem Options Settings
1 Put the MGR key in the Mode key slot and turn it to the PROG
position. If prompted, enter the Manager passcode and press Enter.
2 Press the Arrow Down key to select 406 -- Options. Press Enter.