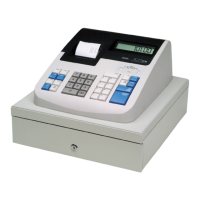
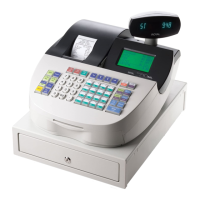
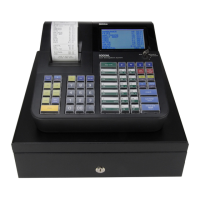
Chapter 4 Setting Up Your Cash Register - the Basics
33 TS4240 User’s Guide
When you are programming departments, remember that some
departments are automatically linked to hard, or direct, department keys
in Reg mode for easy usage. Departments 1 through 35 in Restaurant
mode and departments 1 through 38 in Retail mode link together in this
manner. The other departments are available by manually entering the
department number and using the Dept key.
Programming departments includes up to 10 steps. Not all steps listed may
apply to your specific needs.
1 Setting and programming Department names and numbers.
2 Setting High Digit Lock-out (HDLO)
3 Programming Department Preset Price
4 Programming Tax Status
5 Setting Department Groups
6 Setting Standard, Gallonage or Negative Mode
7 Setting Department Type (single or normal)
8 Programming Age Verification
9 Specify Kitchen or Backup Printer Status (not available on all versions).
See Setting the KP on page 37.
For specific information about each of the items above, see the next
sections.
After you are done, you can check your results. See Running the
Department Confirmation Report on page 82.
To program department keys
401 -- Department Settings
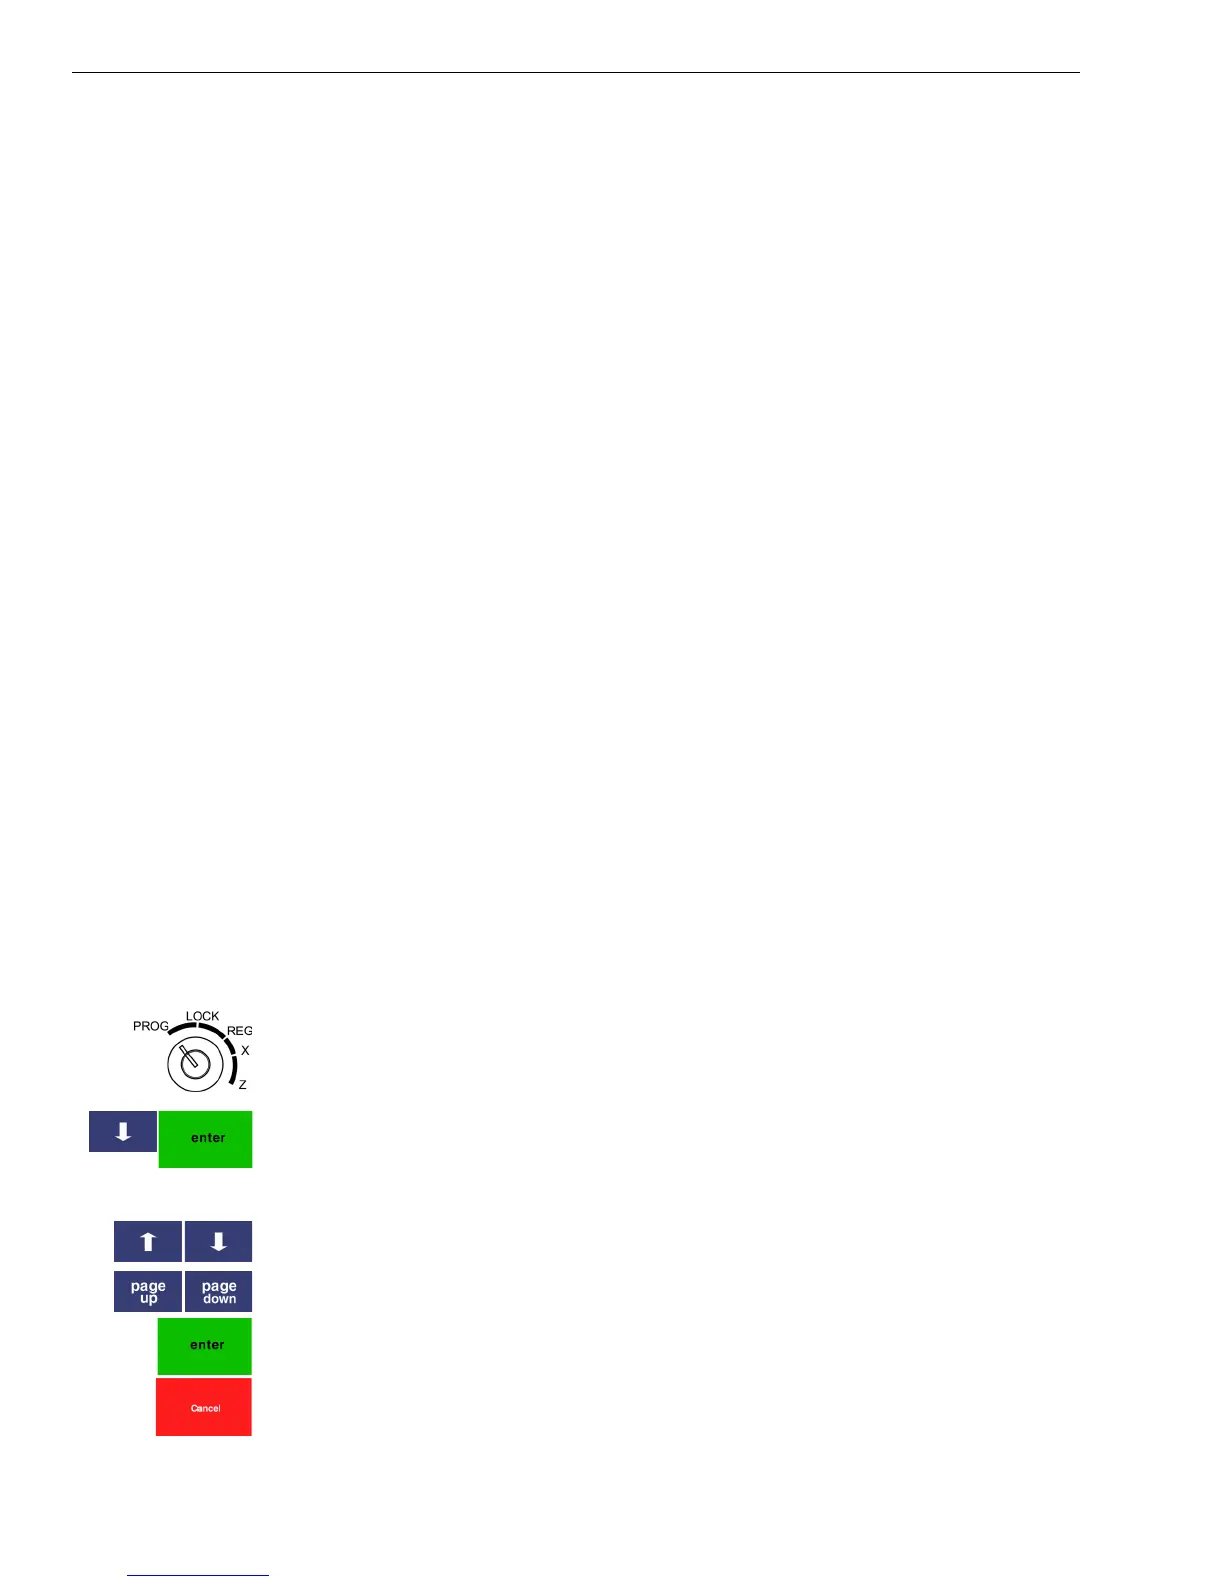
1 Put the MGR key in the Mode key slot and turn it to the PROG
position. If prompted, enter the Manager passcode and press Enter.
2 Select 401 -- Department Settings. Press Enter.
3 Follow the options on the screen to program the information for your
departments.
Use the Arrow Up and Arrow Down keys to highlight items on the
screen.
Use the Page Up and Page Down keys to move to the next department.
Press the Enter key to select the option to change.
The next sections explain what you can program for each department.
4 When you are done programming all departments, press the Cancel key.