SmartMedia Card
Features
92
PRINT
PRINT
PRINT ALL
PRINT NONE
SELECT
END
ORDER
Q
W
PUSH
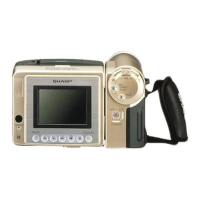
To cancel the print order for all images
1 Perform steps 1 and 2 of “Assigning
Print Order to an Image”.
2 Turn the SET-PUSH dial (Q) to select
“PRINT NONE”, and then press the dial
(W) to cancel the print order for all
images.
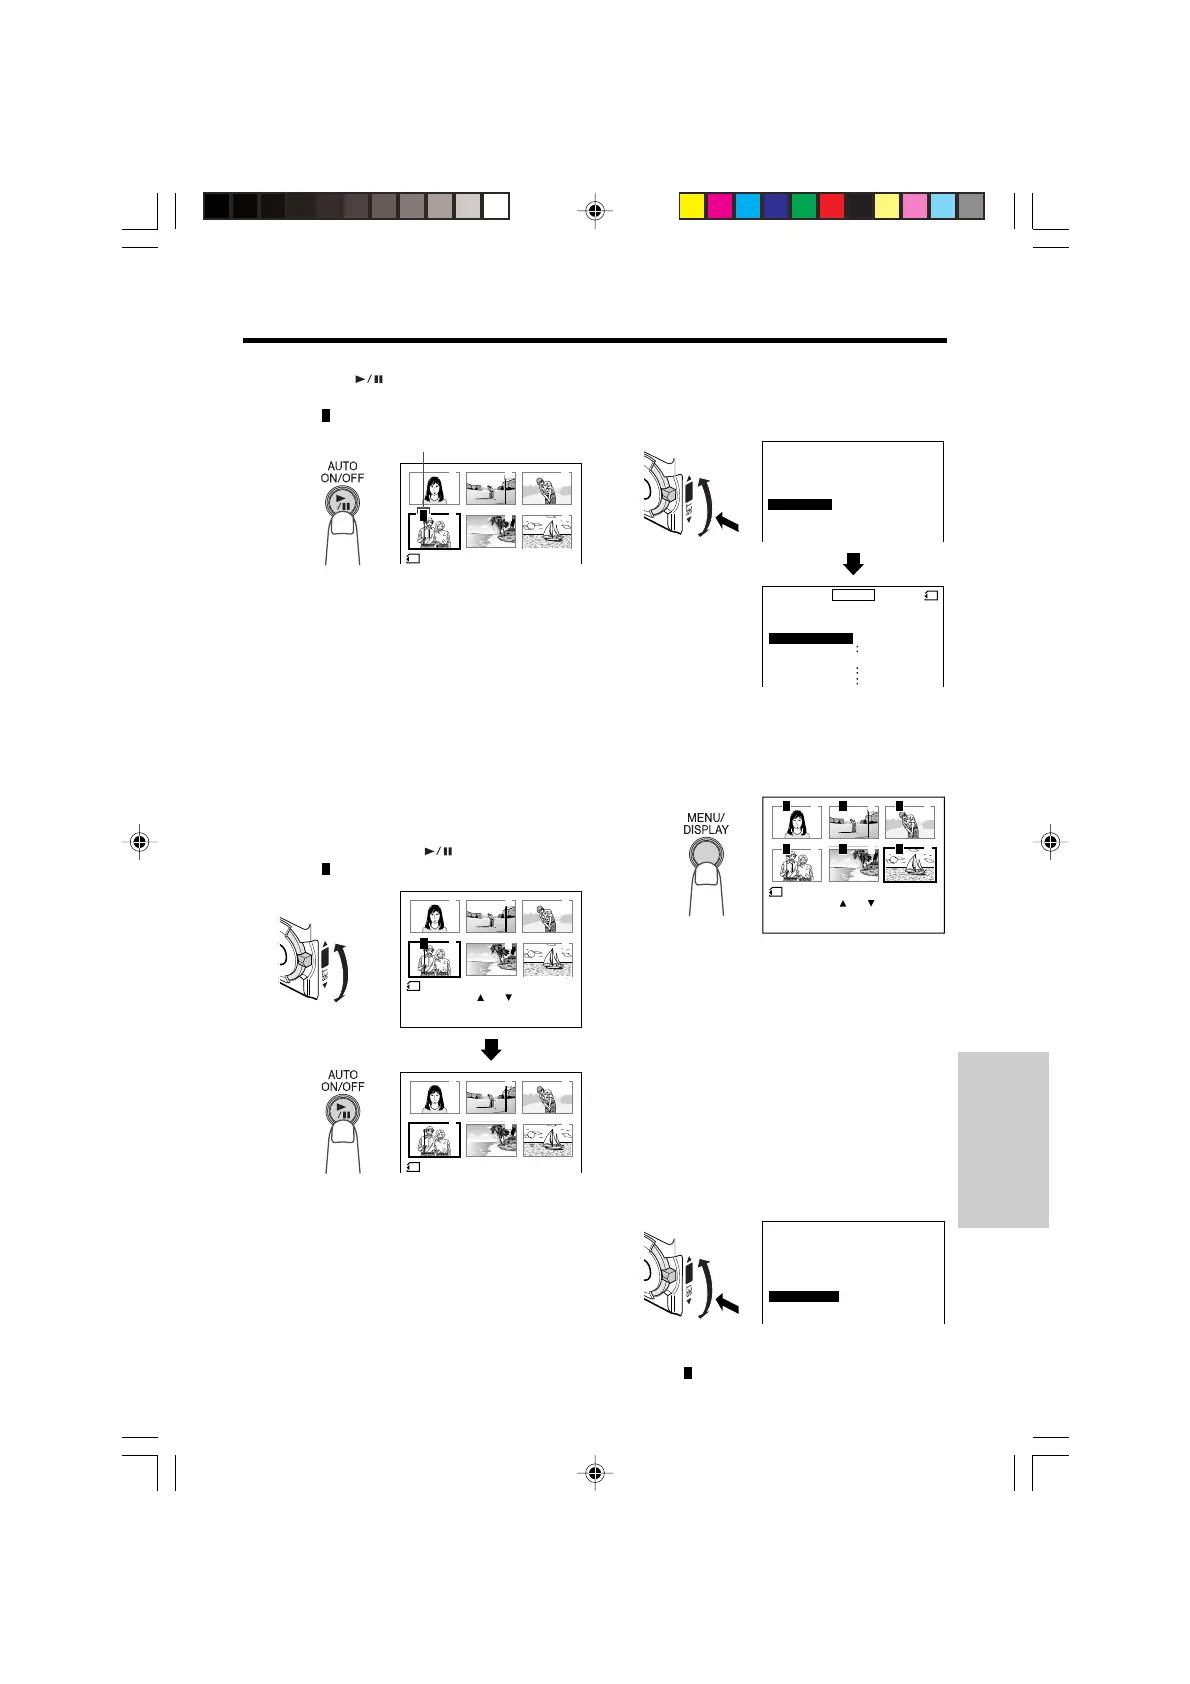
To cancel the print order for an image
1 Select the image for which you want to
cancel the print order in step 4 above.
2 Turn the SET-PUSH dial to select “0”,
and then press the
(Set) button.
• The
P
indicator disappears.
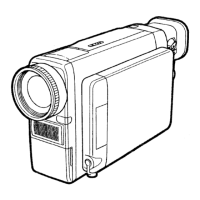
Assigning Print Order to All Images
1 Perform steps 1 and 2 of “Assigning
Print Order to an Image”.
4 Press the SET-PUSH dial to complete
the procedure, and then press the
MENU/DISPLAY button to turn off the
menu screen.
PRINT
PRINT
PRINT ALL
PRINT NONE
SELECT
END
ORDER
PP
PP
REMOTE ON
M
ENU
CARD
DELETE ALL
PRINT ORDER
SOUND
CH IME
-----------
3
----------
DISPLAY
OFF
Q
W
PUSH
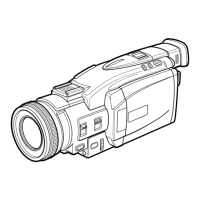
3 Press the MENU/DISPLAY button.
• DPOF information for single printouts is
assigned to all images on the
SmartMedia card.
3 Press the MENU/DISPLAY button.
• The
P
indicators are turned off.
6 Press the (Set) button to set the
print order.
• The
P
indicator appears.
• If you want to assign another print order,
repeat steps 4 to 6.
7 Press the SET-PUSH dial to complete
the procedure, and then press the
MENU/DISPLAY button to turn off the
menu screen.
1 2
5
3
6
4
PRINT
6
P
Print order indicator
1 2
5
3
6
4
PRINT
6
1 2
5
3
6
4
PUSH
PRINT
100- 00040
END
[
DI AL PUSH
]
NORMAL
6
P
2 Turn the SET-PUSH dial (Q) to select
“PRINT ALL”, and then press the dial
(W).
1 2
5
3
4
6
PRINT
100- 00061
END
[
DI AL PUSH
]
NORMAL
6
P
P
P
P
P
P
VL-PD6H/090-092 01.4.24, 0:46 PM92
Downloaded from: http://www.usersmanualguide.com/