Preparation
Preparation
11
Powering the Camcorder
from an AC Outlet
You can also power the camcorder from a
power outlet by using the supplied AC adapter/
battery charger and DC cable.
Caution:
• The supplied AC adapter/battery charger is
specially designed for use with this camcorder,
and should not be used as a power supply for
other camcorders.
1 Make sure that the Power switch is set
to OFF.
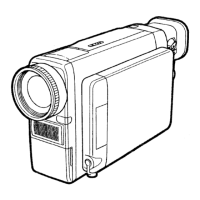
2 Place your finger in the indented section
and pull out the viewfinder horizontally
(Q), and then lift it up (W).
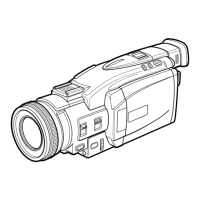
3 Align the
mark on the side of the DC
cable connecting plate with the ß mark
on the camcorder (Q), and slide the
connecting plate down completely until it
locks into place (W).
4 Lower the viewfinder, and push it in
completely.
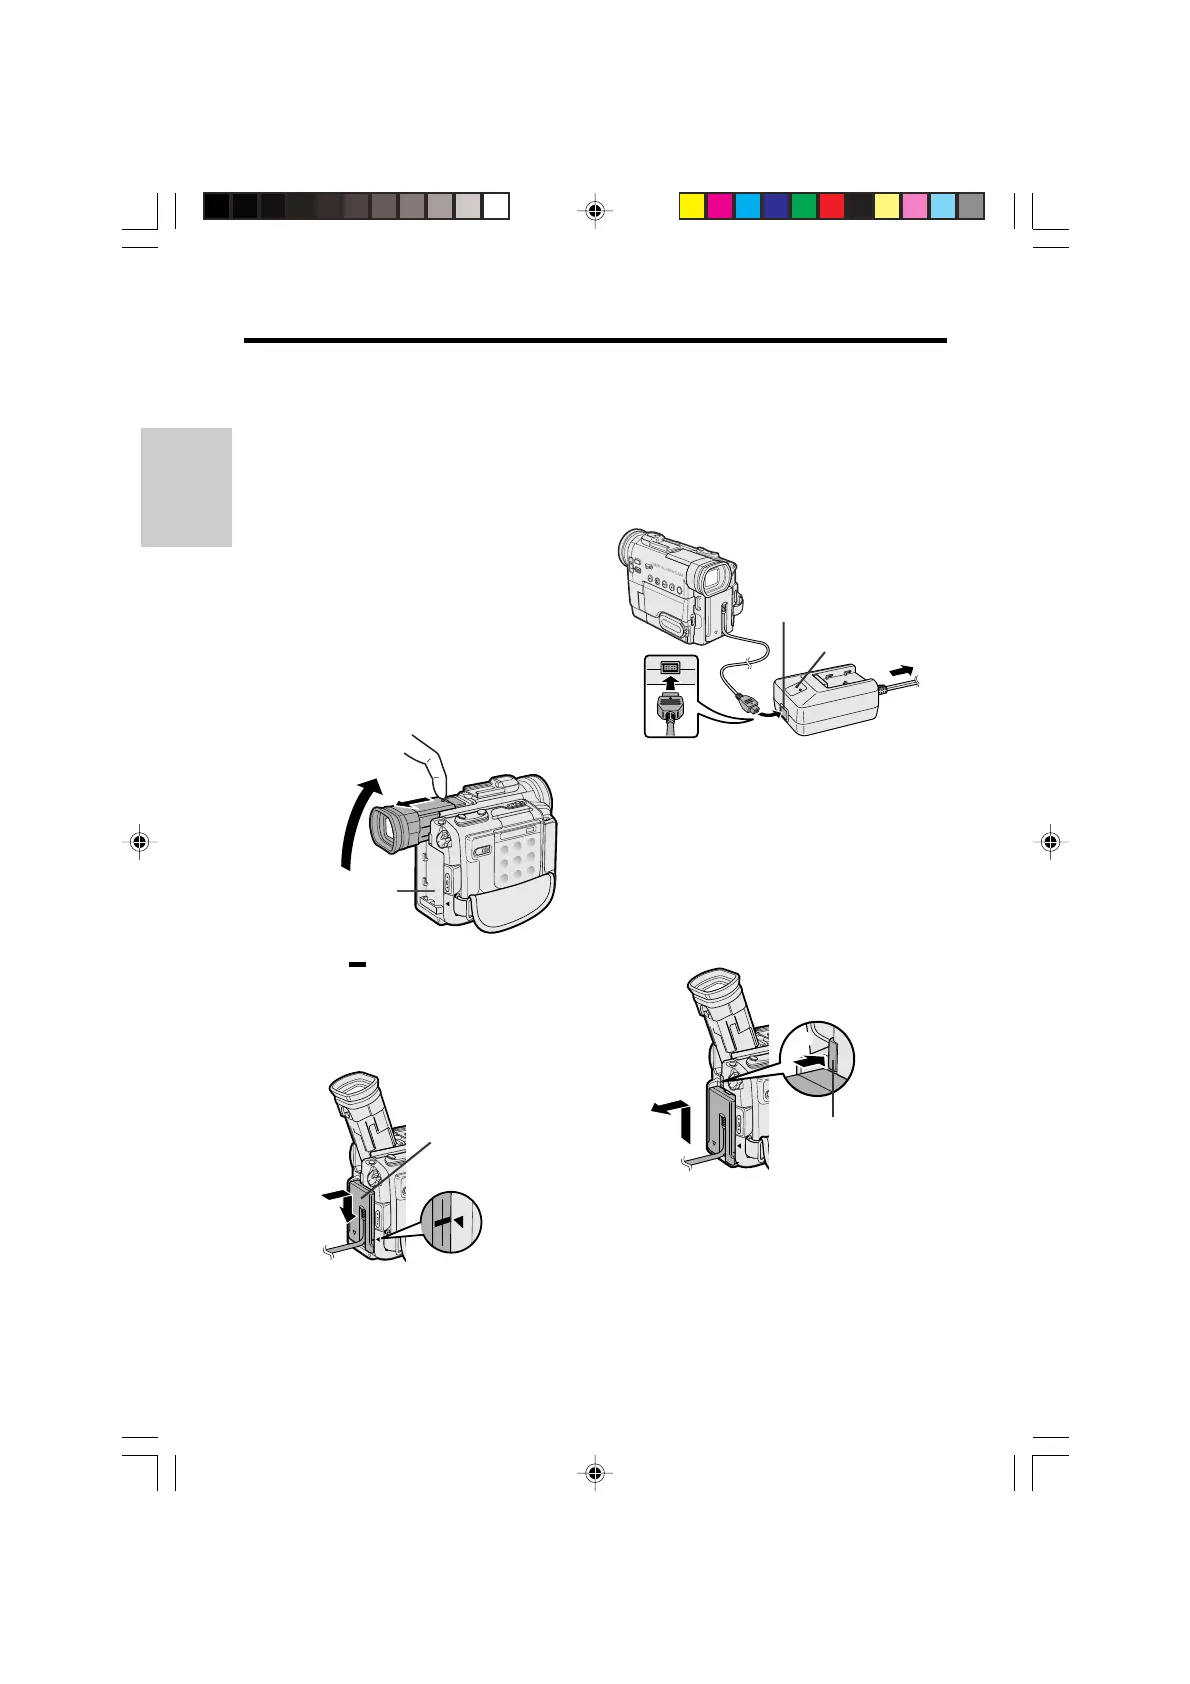
5 Insert the DC cable plug into the DC
OUT jack on the AC adapter. Connect
the supplied power cord to the AC
adapter, and insert the AC plug into a
power outlet.
• The POWER indicator on the AC adapter
lights up, and the camcorder is supplied
power.
Note:
• When the AC adapter/battery charger is used to
power the camcorder, it cannot be used to
charge the battery pack.
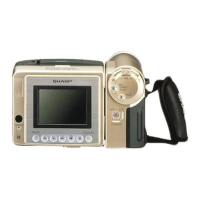
Removing the DC cable from the
camcorder
Perform steps 1 and 2 above. Press the power
source PUSH release button (Q), and slide the
connecting plate up and take it out (W).
Cautions:
• BEFORE REMOVING THE DC CABLE,
ALWAYS STOP RECORDING OR PLAYBACK
AND TURN THE POWER OFF. Removing the
DC cable while shooting or during playback may
damage the tape by causing it to wrap around
the video head drum or may destroy the
SmartMedia card, rendering it unreadable and
unwritable.
• Disconnect the camcorder from the AC adapter
if the camcorder is not to be used for a long
period of time.
W
Q
DC cable
connecting plate
W
Q
Power source
PUSH release button
Power source
connection panel
Q
W
POWER indicator
To power
outlet
DC OUT jack
VL-PD6H/009-018 01.4.24, 0:24 PM11
Downloaded from: http://www.usersmanualguide.com/