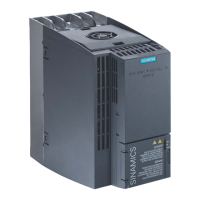
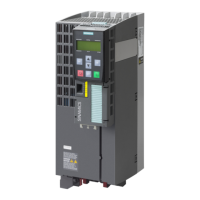
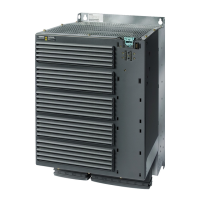
Inverter variant Holes to be drilled in cabinet
wall
Fixing method Tightening torque
(Nm)
Frame Size C 4 4 x M6 screws and nuts 2.5
Frame Size D 4 4 x M8 screws and nuts 2.5
Mounting sequence
Proceed the following procedure to complete your mounting of the inverter directly to cabinet
wall:
Cabinet wall
Mounting holes
1.
Drill 4 holes in cabinet wall
1
Mounting
holes
Mounting screws
Screw
nuts
2.
Mount the inverter to the wall and fix it with supplied
mounting screws and screw nuts.
2
Figure 5-5 Mounting sequence (wall mounting)
Installation
5.1 Mechanical installation
SINAMICS V10
24 Operating Instructions, 08/2011, A5E03453178 (this is not an order number)
 Loading...
