Cabinet wall
Wall cut-out
Mounting holes
Mounting
holes
Make a cut-out in the cabinet wall and drill holes in the wall.
Insert the plastic rivets into the fully overlapped holes of the
mating parts of the push-through mounting kit to interlock
both parts in place.
Slide in the direction of the arrow head each part of the
mounting kit into the mounting slot of the inverter housing
until both parts are well engaged.
Push-through mounting kit
Put this side toward
inverter front
View after locking
Plastic rivet
Mount the inverter to the mounting
kit and tighten the 4 x M8 mounting
screws and screw nuts.
4 x M8 mounting
screws (Tightening
torque: 2.5 Nm)
4 x M8
screw nuts
Mounting the inverter to the cabinet wall, then
tighten the mounting screws and screw nuts
delivered with the product.
Screw
nuts
Mounting screws
This step is necessary
only when mounting
Frame Size D.
06FUHZ
0HWDOEDFNFRYHU
,IQHFHVVDU\XVLQJIRXU0VFUHZVPRXQWWKH
PHWDOEDFNFRYHUWRWKHEDFNRILQYHUWHUWRLPSURYH
FRROLQJHIIHFW
This step is also necessary only when mounting
Frame Size D.
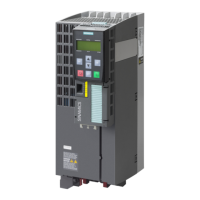
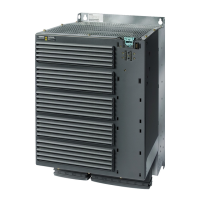
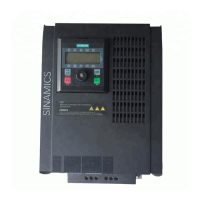
Figure 5-9 Push-through mounting of th inverter through cabinet wall (example)
Installation
5.1 Mechanical installation
SINAMICS V10
30 Operating Instructions, 08/2011, A5E03453178 (this is not an order number)
 Loading...