Operating Manual - English Triax QUATTRO
- 58 - Copyright Silca 2011
1
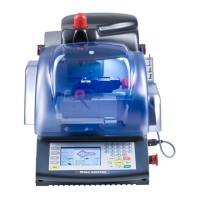
Remove the cutter and fit the calibration pin (6x40mm) in its place:
make sure it is pushed all the way up to the mechanical stop.
Press ENTER.
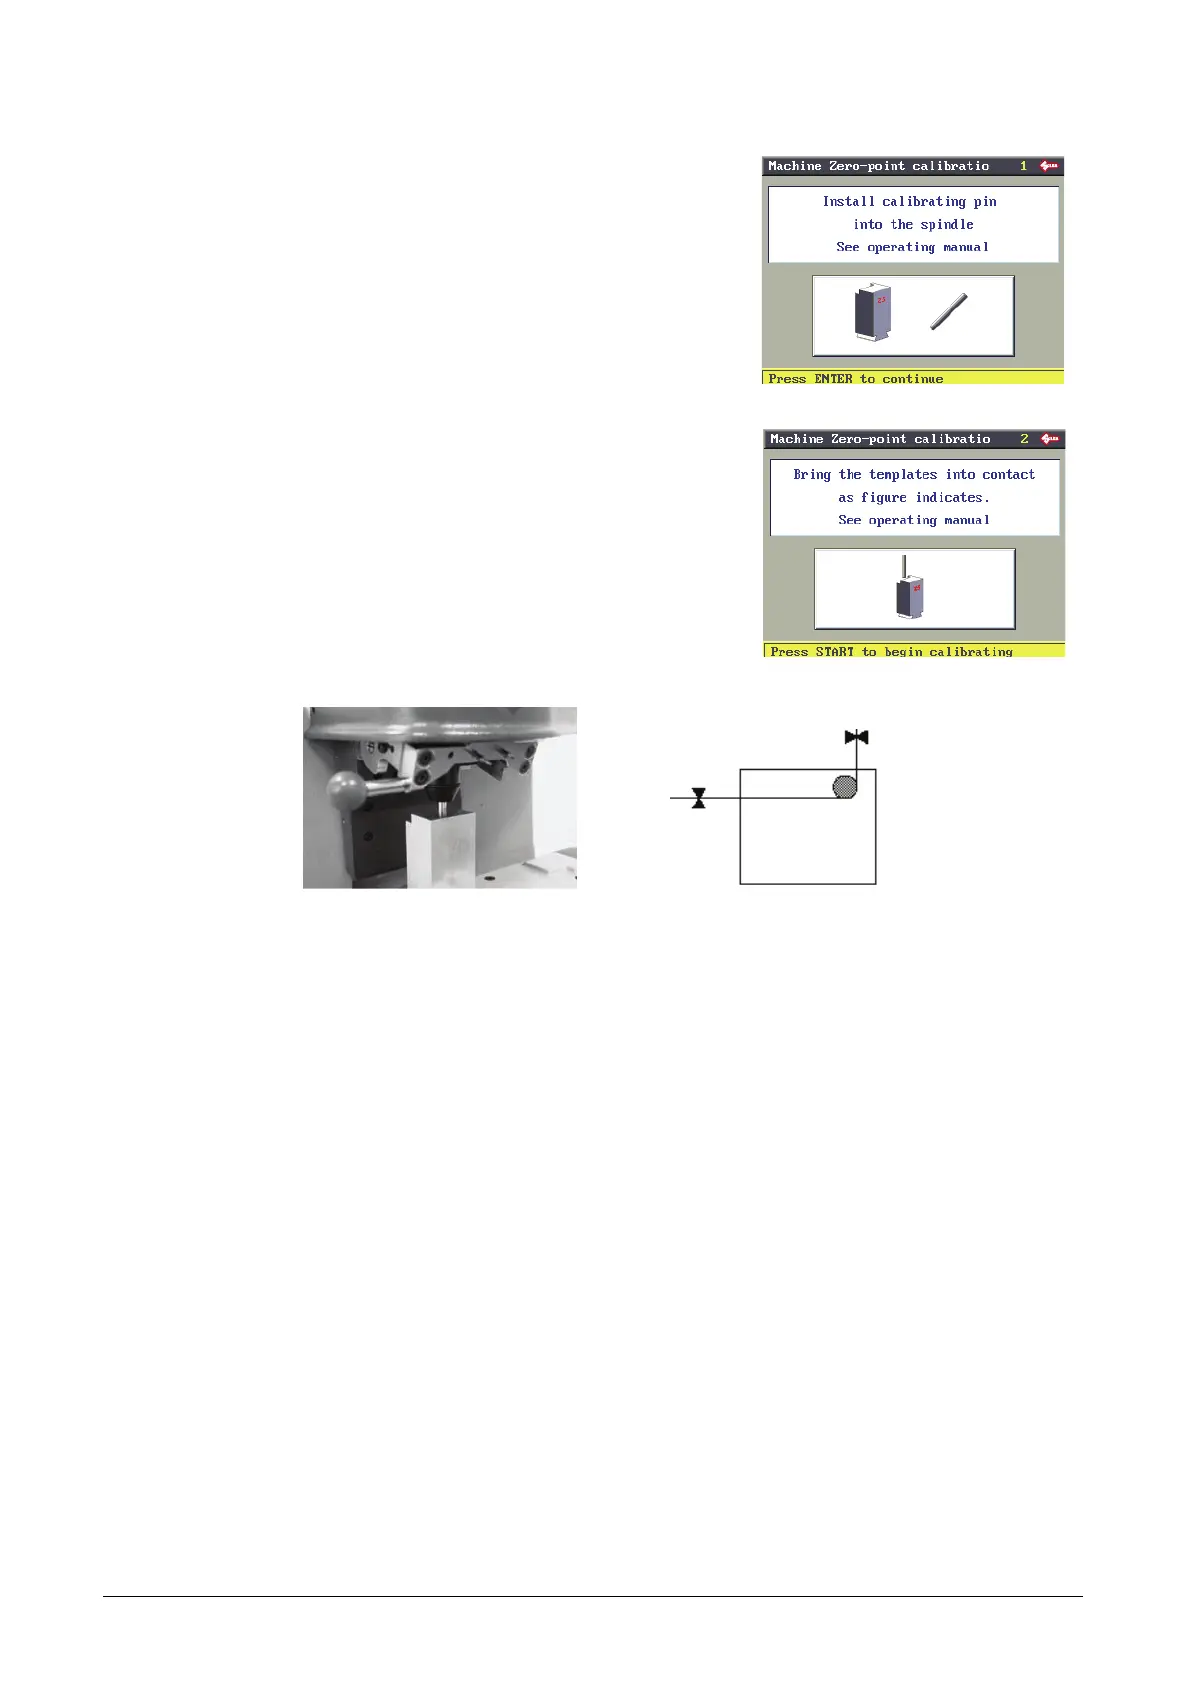
Check that the template (Z5) and calibration pin are in the position
shown in Fig. 23.
Lower the safety shield and press START.
Z5
Fig. 23
The machine takes the axes into the predefined position.