Operating Manual - English Triax QUATTRO
- 86 - Copyright Silca 2011
1
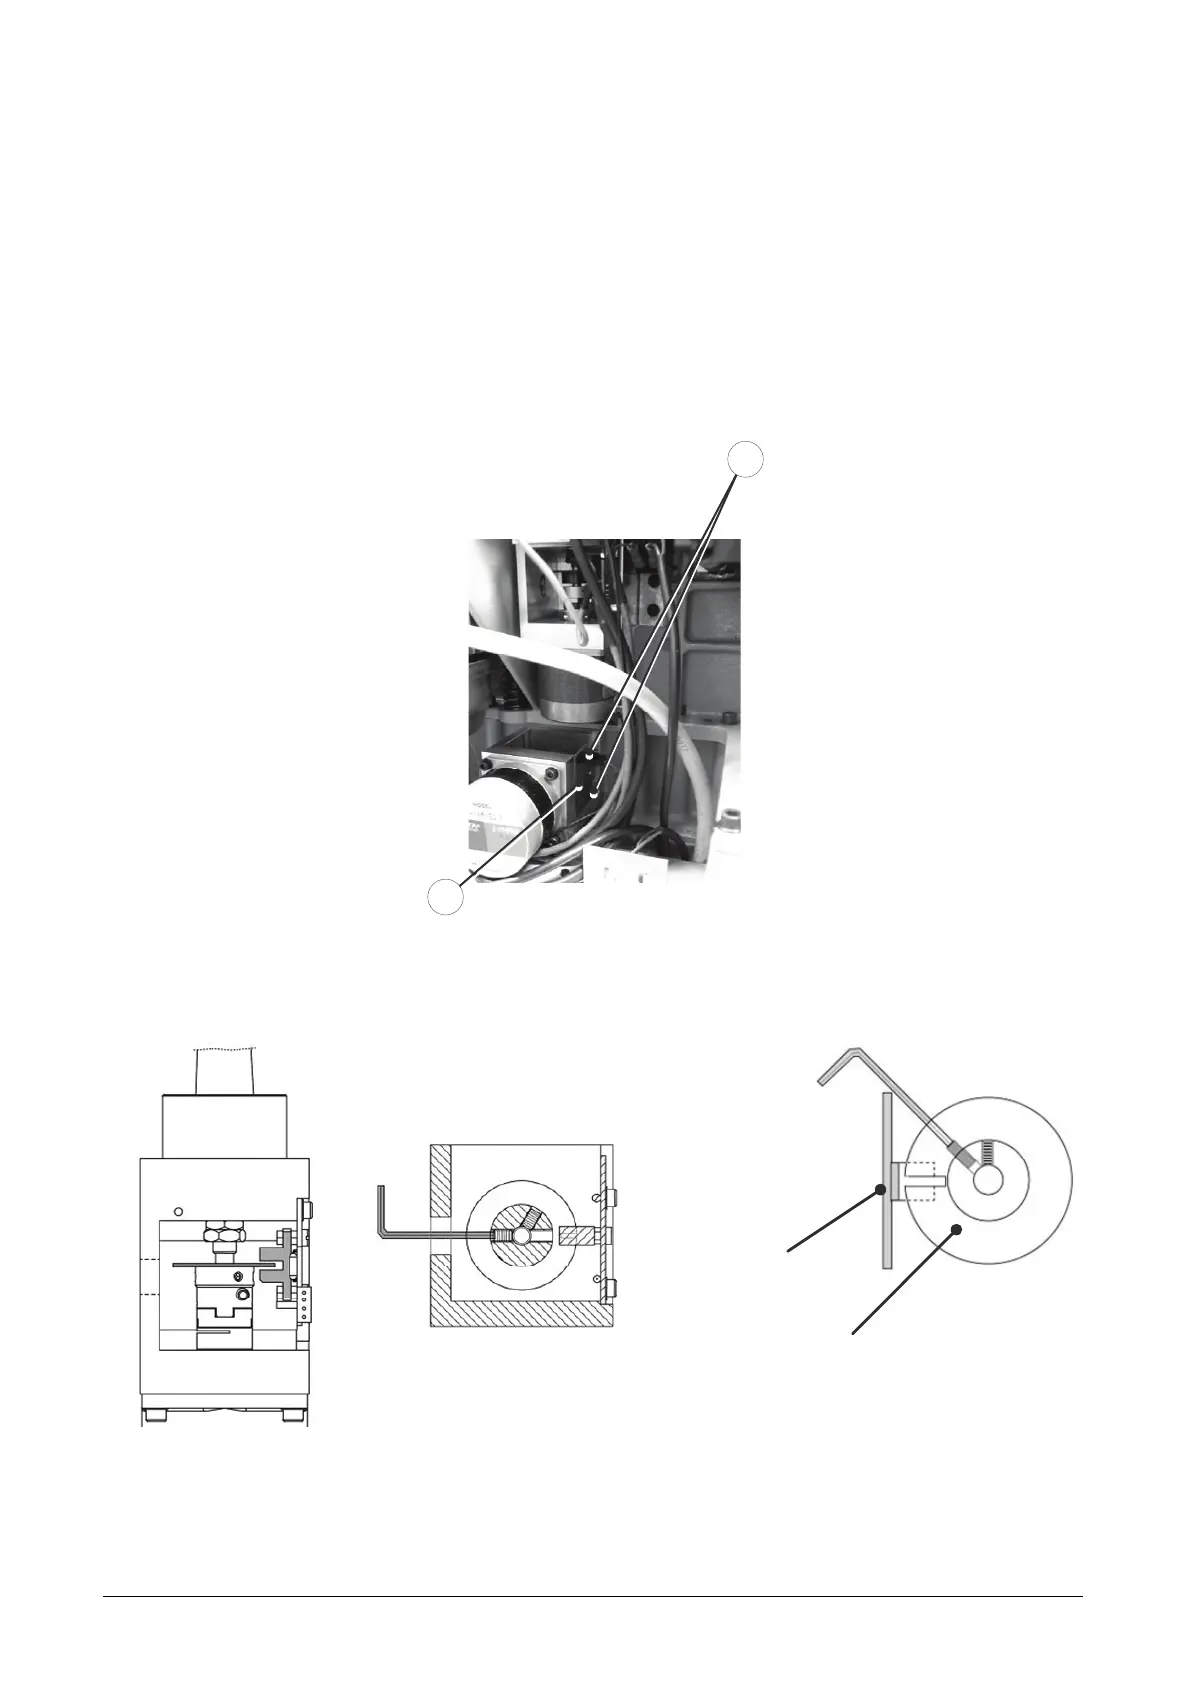
7.10 PHOTOCELL REPLACEMENT
7.10.1 REPLACING PHOTOCELL FOR LOWER AXIS (Y)
1. Switch off the machine and disconnect the power lead.
2. Remove the rear metal plate (see ACCESS TO REAR COMPARTMENT).
3. Loosen the 2 photocell fixing screws (I1) and remove.
4. Disconnect the photocell cable (I2).
5. Connect the cable to the new photocell.
6. Place the photocell in position and secure with the screws (I1).
7. Calibrate the machine (CALIBRATION FUNCTIONS).
I2
I1
Fig. 39
REGULATION PHOTOCELL DISK (see MACHINE ZEROS)
Photocell
Photocell disk