Lamp Test Key
Pressing the CLAMP TEST> key turns on the following LEDs:
l
SYSTEM ALARM LED
l
SUPERVISORY SERVICE LED
. SYSTEM TROUBLE LED
l
The five Control Key LEDs
l
The Master Controller LEDs.
In addition, all segments on the alphanumeric display are turned on as a test pattern. After a three-second sustained
press, the Tone-alert is turned on. When the <LAMP TEST> key is released, all LEDs, the alphanumeric display,
and the tone-alert are restored to their previous states. If a local annunciator exists, the LED associated with it is
tested as well.
Action Keys
There are six action keys on the DISPLAY/ACTION keypad:
l
DISABLE - (How To Disable a Point)
l
ENABLE - (How To Enable a Point)
l
OFF - (How To Turn a Point OFF)
l
ON - (How To Turn a Point ON)
l
AUTO - (How To Return a Point To AUTO).
See the Table of Contents for the location of the operating procedures.
Entry Keypad
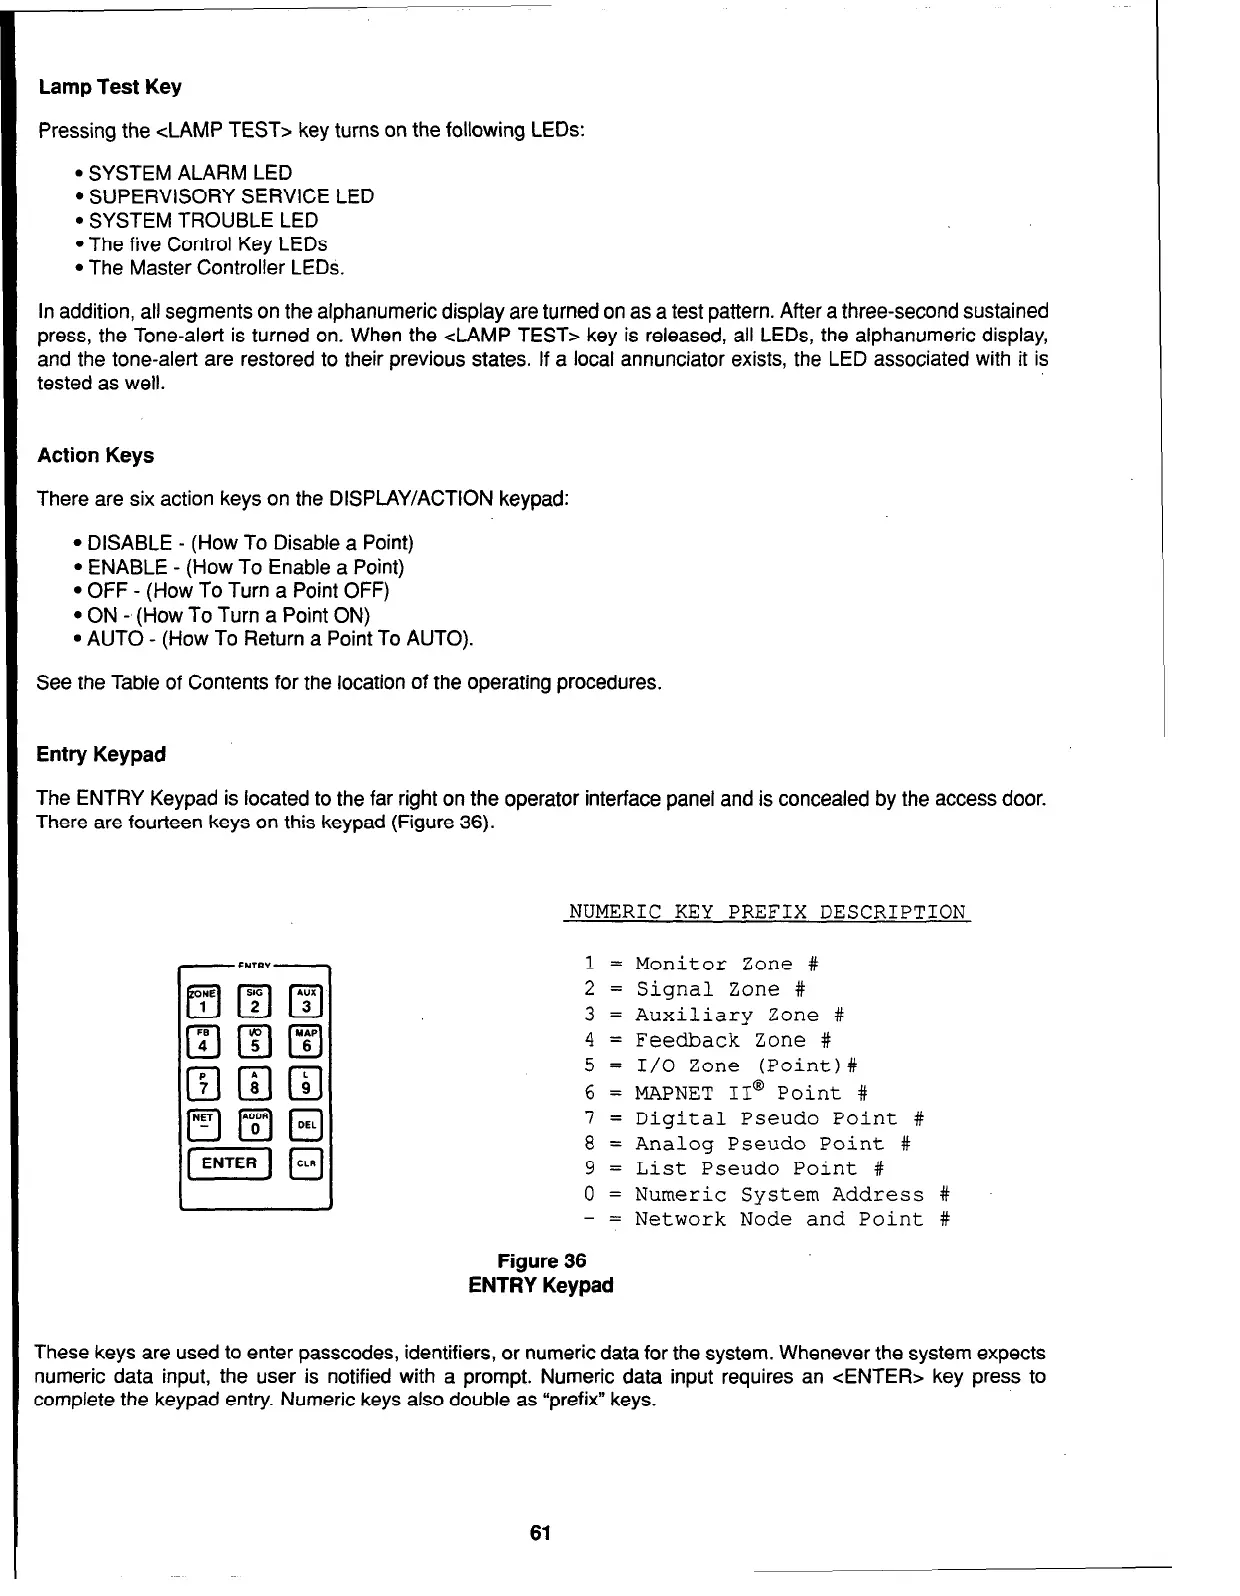
The ENTRY Keypad is located to the far right on the operator interface panel and is concealed by the access door.
There are fourteen keys on this keypad (Figure 36).
NUMERIC KEY PREFIX DESCRIPTION
1 = Monitor Zone #
2 = Signal Zone #
3 = Auxiliary Zone #
4 = Feedback Zone #
5 = I/O Zone (Point)#
6 = MAPNET II@ Point #
7 = Digital Pseudo Point #
8 = Analog Pseudo Point #
9 = List Pseudo Point #
0 = Numeric System Address #
-
= Network Node and Point #
Figure 36
ENTRY Keypad
These keys are used to enter passcodes, identifiers, or numeric data for the system. Whenever the system expects
numeric data input, the user is notified with a prompt. Numeric data input requires an <ENTER> key press to
complete the keypad entry. Numeric keys
also
double as “prefix” keys.
61