50
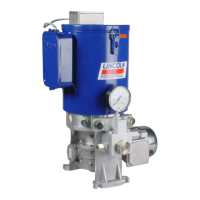
6.8.4 Initial filling of an empty pump with
follower plate
NOTE
For pumps without grease filling, the space
underneath the follower plate must be filled with
lubricant prior to first start
-up. All additional filling is
done exclusively via the filler nipple (Fig.
30/5) or the
optional fill connection on the pump.
CAUTION
Risk of injury from spring tension
Release the reservoir cover slowly, holding it
securely while doing so. Wear goggles.
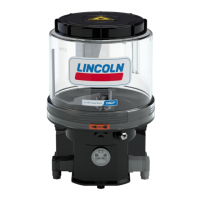
Fig.
Initial filling of an empty pump with follower plate
1. Turn the reservoir cover (Fig. 30/1) counterclockwise
and detach it from the reservoir.
2. Carefully release the spring (Fig. 30/3) from its fixation
on the follower plate (Fig. 30/4).
3. Carefully pull the contact rod (Fig. 30/2) out of the
follower plate (Fig. 30/4).
4. Remove the reservoir cover, contact rod, and spring
together.
5. Lightly oil the inner side of the reservoir and the sealing
lip of the follower plate.
Fig.
Inserting a cable tie and filling the pump
6. Tilt the follower plate (Fig. 31/2) in the reservoir slightly
so that the side opposite the filler nipple (Fig. 30/5) is
positioned at the highest point.
7. At this point, push the cable tie (Fig. 31/1) into the area
underneath the follower plate as shown.
8. Move the follower plate (Fig. 31/2) back into horizontal
position. Take care to ensure while doing so that an air
gap is created by the cable tie (Fig. 31/1).
9. Set the fill connection(Fig. 31/3) of the filling pump on
the filler nipple and fill the space underneath the
follower plate with lubricant. Take care to ensure that
no air inclusions remain under the follower plate and
that no lubricant reaches the upper side of the follower
plate.
10. Remove the cable tie (Fig. 31/1).
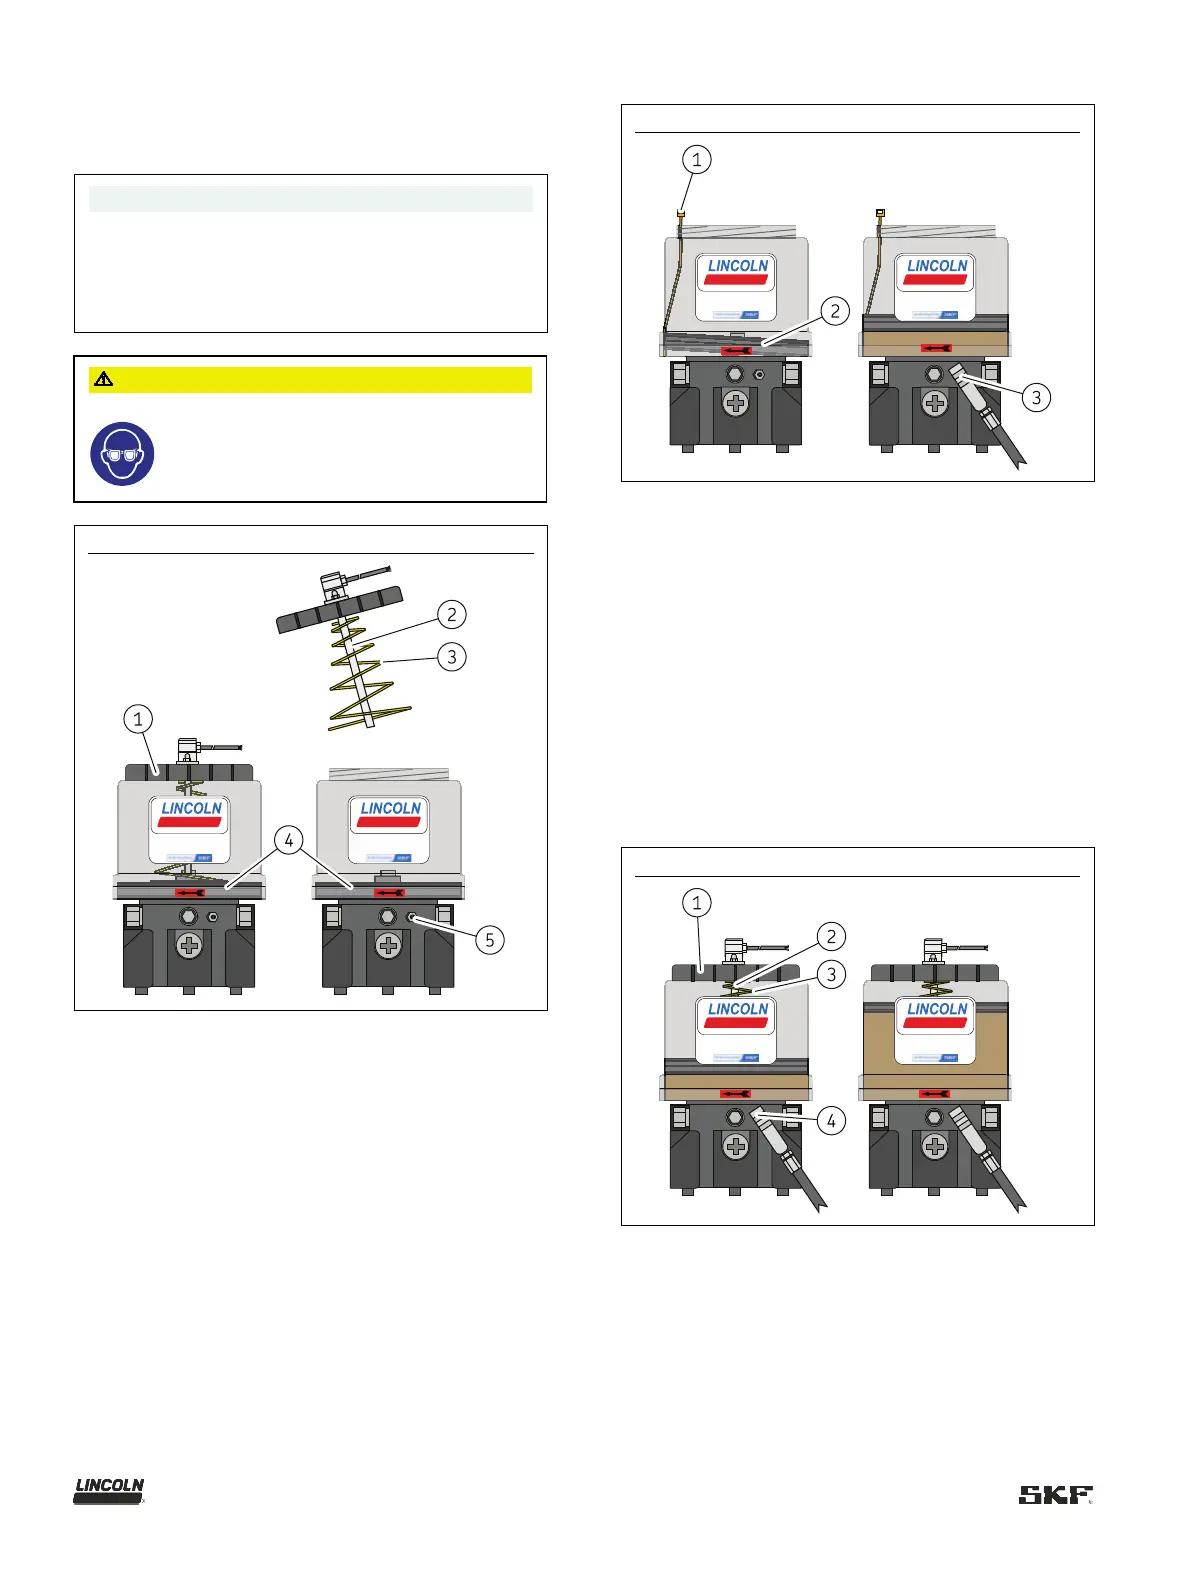
Fig.
Installing the contact rod and cover
11. Reinstall the spring (Fig. 32/3) and the contact rod
(Fig. 32/2) .
12. Close the reservoir cover (Fig. 32/1) in clockwise
direction.
13. Fill the pump via the filler nipple (Fig. 32/4) up to
the -MAX- marking.