49
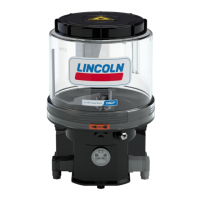
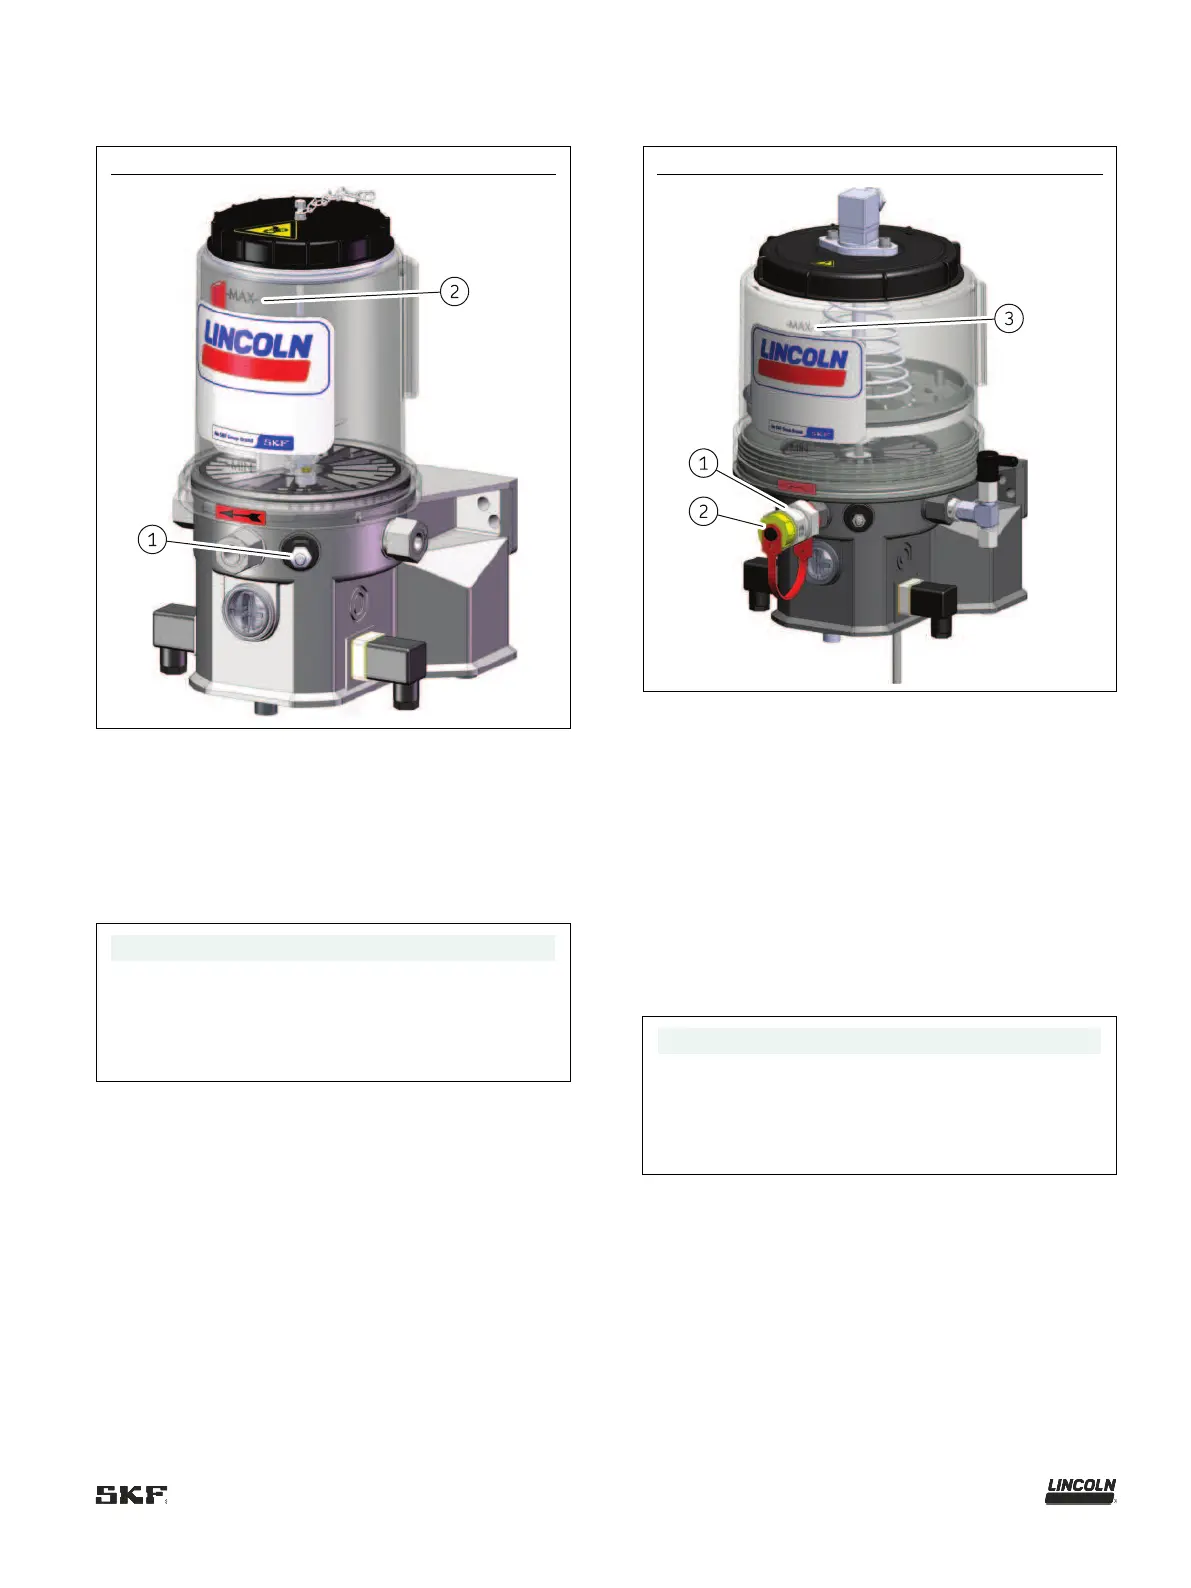
6.8.2 Filling via filler nipple
Fig.
Filling via the filler nipple
1. Connect the fill connection of the filling pump to the
filler nipple (Fig. 28/1).
2. Switch on the filling pump and fill the reservoir up to
just below the - MAX - marking (Fig. 28/2).
3. off the filling pump and remove it from the filler nipple
(Fig. 28/1) of the pump.
NOTE
In the case of pumps with an ultrasonic sensor, fill the
reservoir until both LEDs on the ultrasonic sensor
light up green.
Then switch off the filling pump and remove it from
the pump.
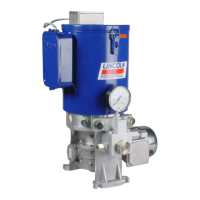
6.8.3 Filling via the optional fill connection
Fig.
Filling via the optional fill connection
1. Switch on the pump and allow it to run during filling.
2. Unscrew the protective cap (Fig. 29/2) from the fill
connection (Fig. 29/1).
3. Connect the fill connection of the filling pump to the fill
connection (Fig. 29/1).
4. Switch on the filling pump and fill the reservoir up to
just below the -MAX- marking (Fig. 29/3).
5. off the filling pump and remove it from the fill
connection (Fig. 29/1) of the pump.
6. Screw the protective cap (Fig. 29/2) onto the fill
connection (Fig. 29/1).
7. Switch off the pump.
NOTE
In the case of pumps with an ultrasonic sensor, fill the
reservoir until both LEDs on the ultrasonic sensor
light up green.
Then switch off the filling pump and remove it from
the pump.