Prime - 600
46
5. Connect the optical transducer supplied by EurSMC as an optional
accessories, to the “T Sense” connection of the Prime - 600.
6. Access the work mode menu and set the mode that adapts to the test to
be carried out.
7. Access the resistance range menu.
We recommend using the “Auto” mode as better precisions can be
obtained, although the resistance range to be measured can also
be set.
Steps to be followed to perform the test:
1. Connect the crocodile clips of the high current cables to the current taps of
the device tested.
2. Connect the voltage measurement cables to the appropriate sensing
connections of the device tested.
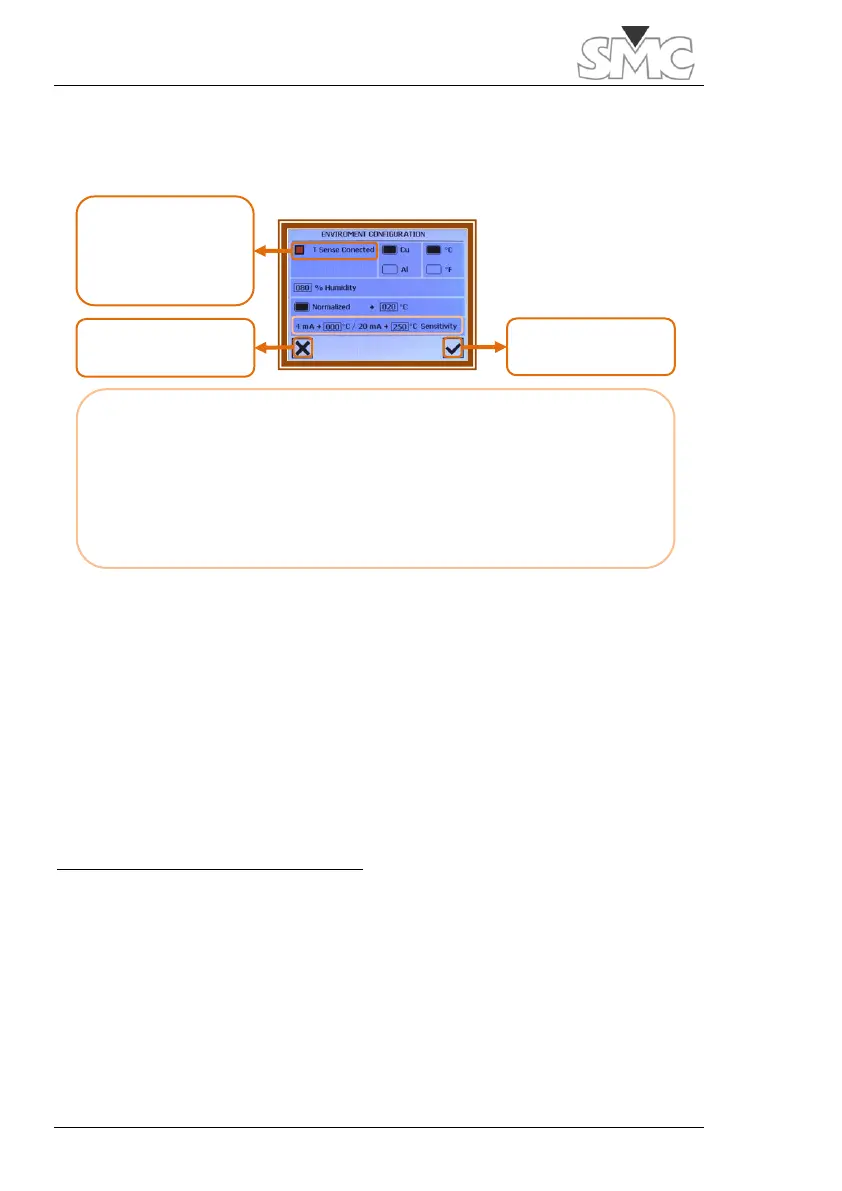
On red, it
indicates that the
transducer is
connected
* With transducer connected, the window is activated to set its
parameters. The values of the one supplied by EuroSMC are
selected by default .
Measurement range: 0ºC to 250ºC.
Conversion: 4mA at 0ºC – 20mA at 250ºC
 Loading...