Top Margin
3
6
10
10
12
12
15
15
Bottom Margin
6
6
6
10
6
12
6
15
This indicates you
will
insert your paper to start printout
13
lines from the top and that you want
a
13
line bottom margin. Because the Paper Length setting
is
66 and single line spacing is
indicated in the Format, the system sets pa g e ends every
40
lines (66 total lines minus 26 lines
for Top a n d Bottom Margins
=
40 lines of printing).
If
you set the Format for double line spacing with the same Top Margin, Bottom Margin, and
Paper Length
settings,
the system would set page endings every 20
lines.
You
would still insert
your paper
13
lines from the top and printing would stop
13
lines from the bottom.
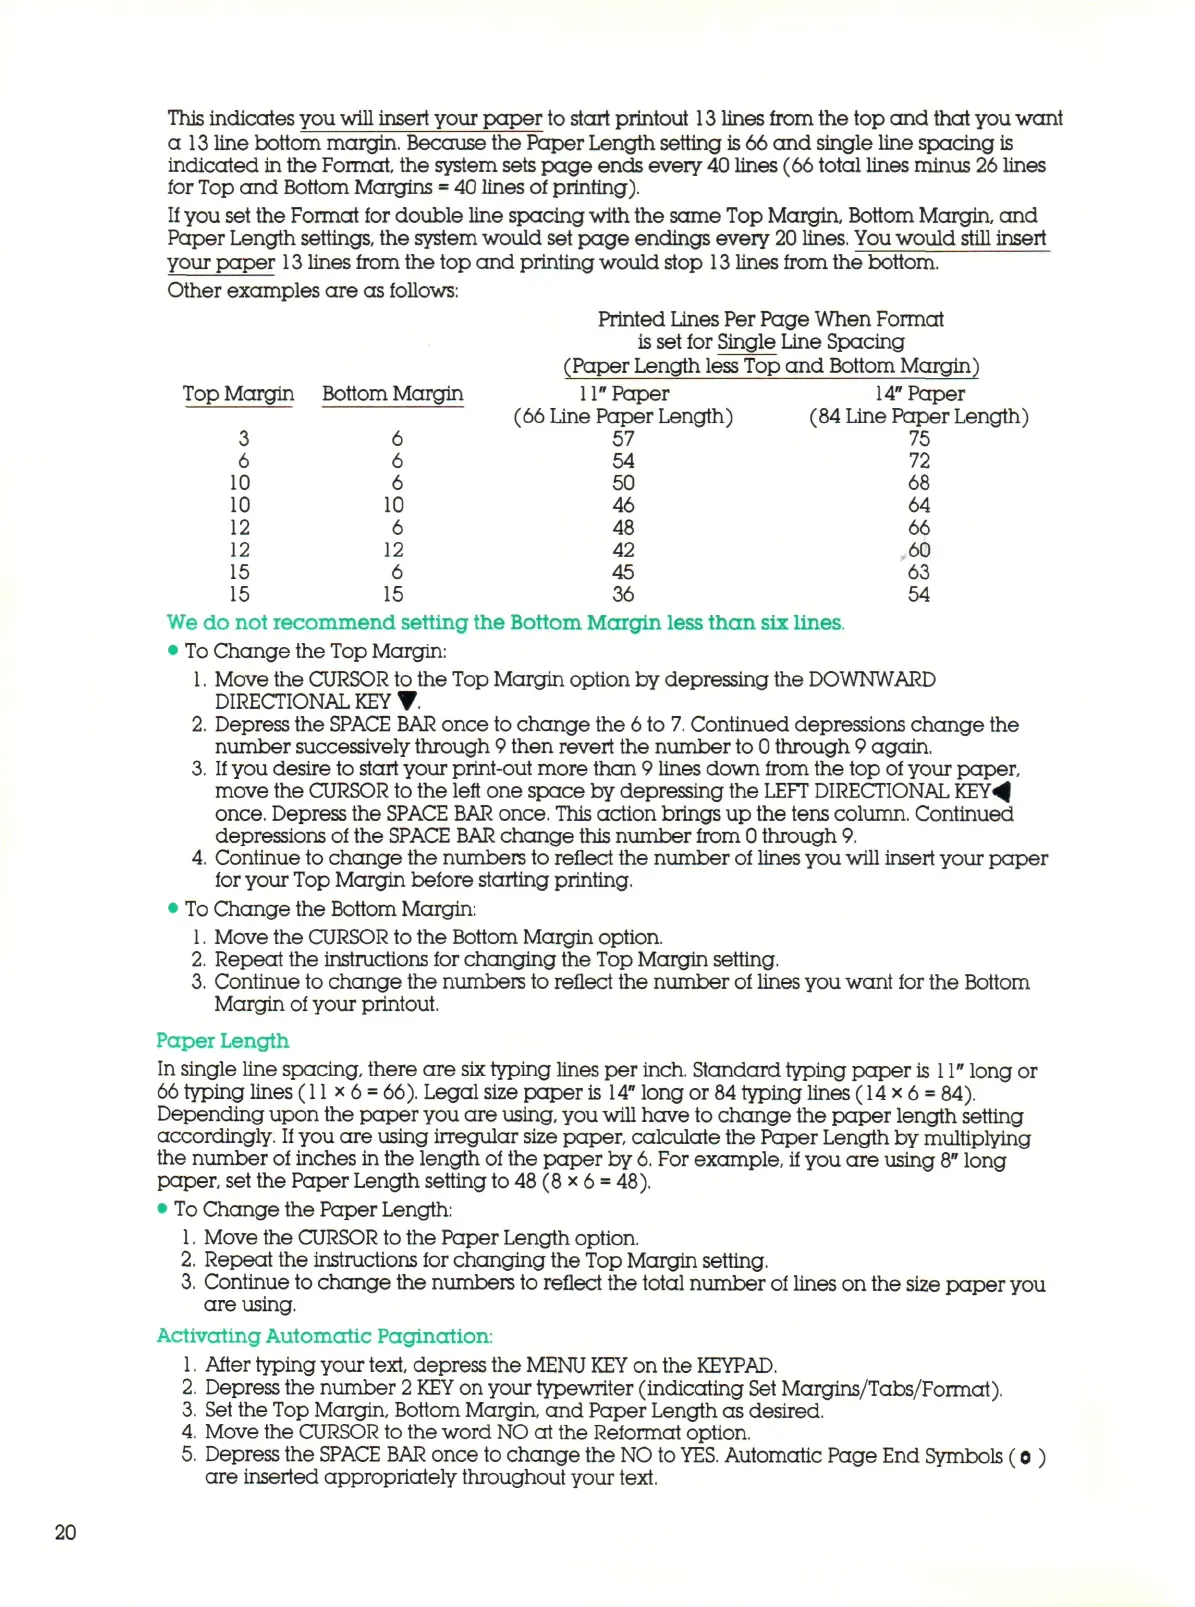
Other examples are as follows:
Printed Lines Per Page When Format
is
set for Single Line Spacing
(Paper Length less Top and Bottom Margin)
11"
Paper
14"
Paper
(66 Line Paper Length) (84 Line Paper Length)
57 75
54 72
50 68
46 64
48 66
42 60
45 63
36 54
We do not recommend setting the Bottom Margin less than six lines.
•
To
Change the Top Margin:
1.
Move the CURSOR to the Top Margin option by depressing the DOWNWARD
DIRECTIONAL
KEY
• .
2.
Depress the
SPACE BAR
once to change the 6 to
7.
Continued depressions change the
number successively through 9 then revert the number to 0 through 9 again.
3.
If
you desire to start your print-out more than 9 lines down from the top of your paper,
move the CURSOR to the left one space by depressing the
LEFT
DIRECTIONAL KEY^|
once.
Depress the
SPACE BAR
once.
This
action brings up the tens column. Continued
depressions of the SPACE
BAR
change this number from 0 through 9.
4.
Continue to change the numbers to reflect the number of lines you will insert your paper
for your Top Margin before starting printing.
•
To
Change the Bottom Margin:
1.
Move the CURSOR to the Bottom Margin option.
2.
Repeat the instructions for changing the Top Margin setting.
3.
Continue to change the numbers to reflect the number of lines you want for the Bottom
Margin of your printout.
Paper Length
In single line spacing, there are
six
typing lines per inch. Standard typing paper
is
11"
long or
66
typing lines (11x6
=
66).
Legal size paper
is
14"
long or 84 typing lines (14x6
=
84).
Depending upon the paper you are using, you will have to change the paper length setting
accordingly.
If
you are using irregular size paper, calculate the Paper Length by multiplying
the number of inches in the length of the paper by
6.
For example, if you are using
8"
long
paper, set the Paper Length setting to
48
(8 x 6
=
48).
• To Ch an ge the Paper Length:
1.
Move the CURSOR to the Paper Length option.
2.
Repeat the instructions for changing the Top Margin setting.
3.
Continue to change the numbers to reflect the total number of lines on the size pa pe r you
are using.
Activating Automatic Pagination:
1.
After typing your
text,
depress the
MENU KEY
on the
KEYPAD.
2.
Depress the number
2 KEY
on your typewriter (indicating Set Margins/Tabs/Format).
3.
Set the Top Margin, Bottom Margin, and Paper Length as desired.
4.
Move the CURSOR to the word
NO
at the Reformat option.
5.
Depress the SPACE
BAR
once to change the NO to
YES.
Automatic Page End Symbols (o )
are inserted appropriately throughout your text.
20