17
EN
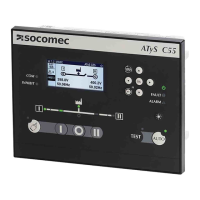
ATySController C55/65 - 549866C - SOCOMEC
STEP 2: Fixing the controller on the door:
Remove all connectors then place the ATS controller inside the door cut-out and clip the door mounting screws into the side
of the controller (2 screws on each side). It is important to respect the tightening torque indicated below and follow good
engineering practise when installing the ATS controller.
The back of the controller includes xing points for cable collars (see illustration below)
Screw Tightening torque
PH1 / 0.2 Nm / 1.77 lb.in
Insert the 4 door
mounting screws in
thedesignated slot
and push back to
lock in place.
Example of cable way.
1
2
10 mm
10 mm
Cable must be more than 10mm away from the RTC battery cover and USB.
Do not drill holes above the controller after it has been mounted.
8.2.2. Backplate mounting
STEP 1: Placing the 4 mounting legs on the controller
Insert the mounting legs into the 4 slots (2 top side and 2 bottom side, (cf. below top side view).
0.25
6,4
R 0.24
R 6,25
0.12
3
1.53
±0,01
39
±0,3
0.86
22,05
±0,02
15,5
±0,5
135°
0.07
2
0.31
±
8
±0,1
 Loading...