1-1. DSR-2000
92
Chapter 4 Editing
Chapter 4 Editing
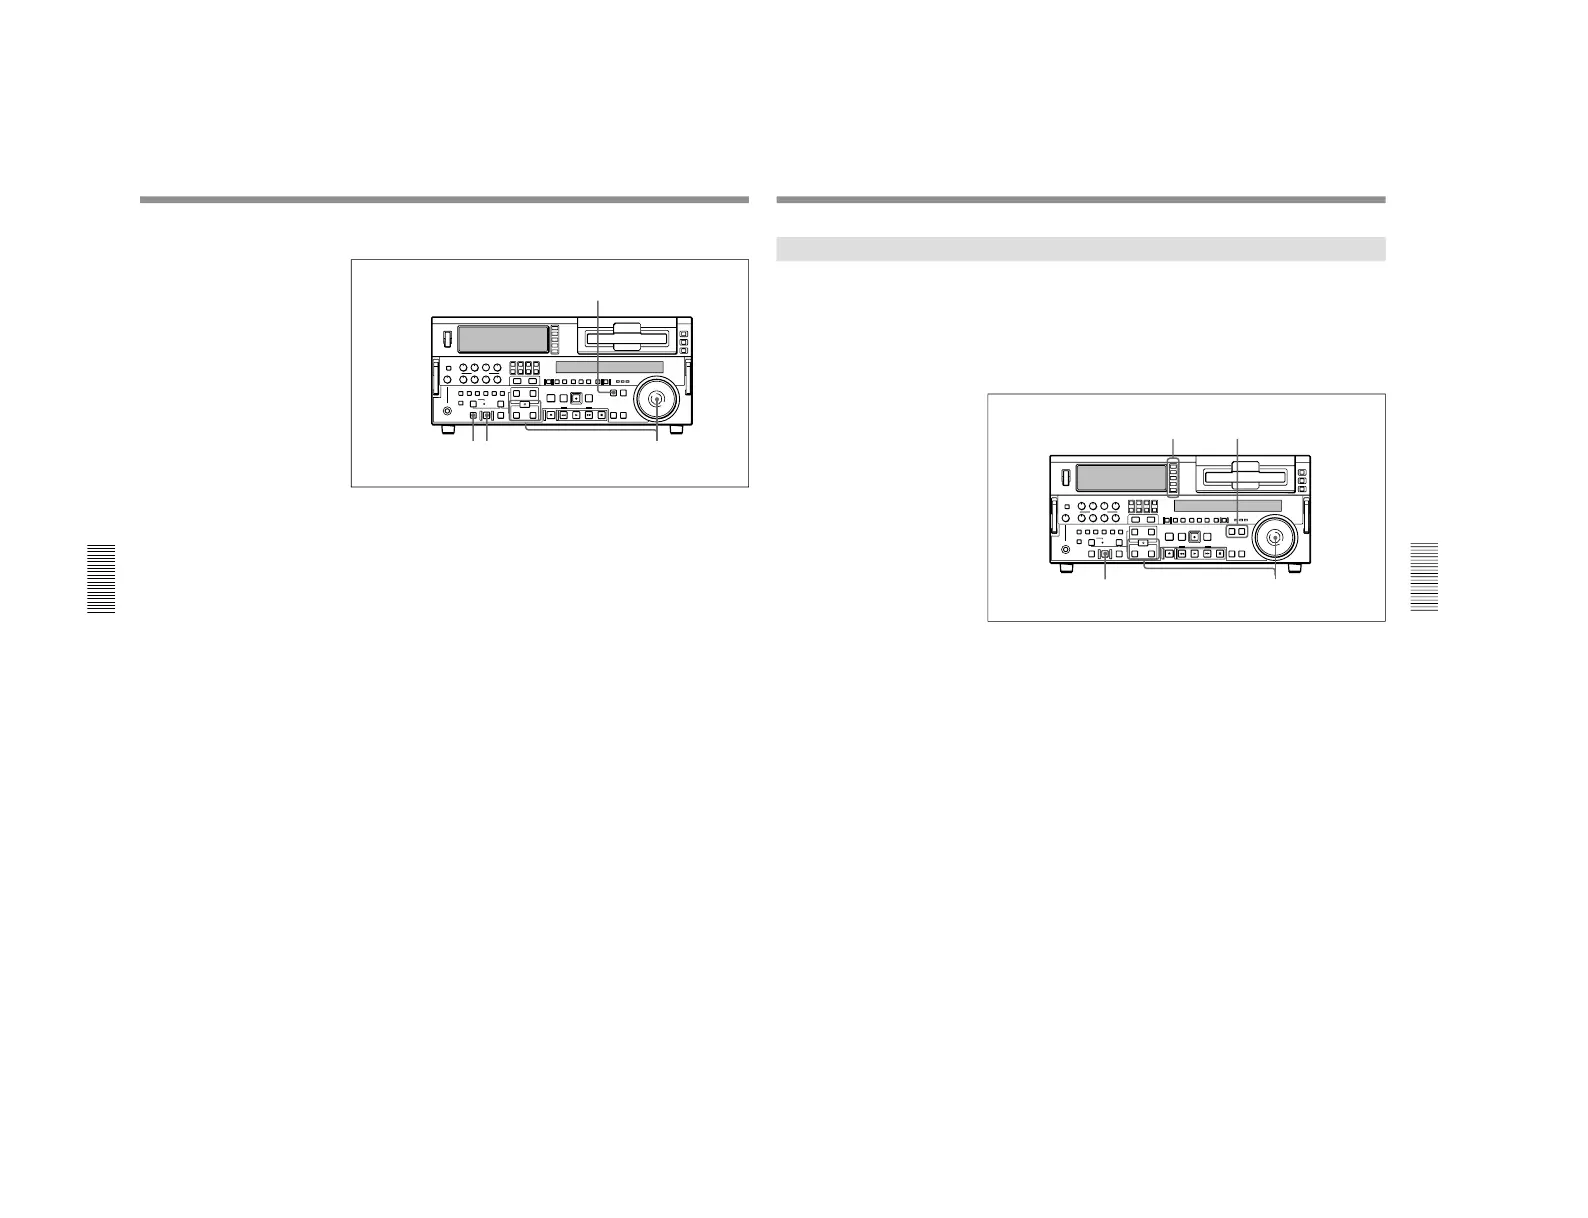
To carry out continuous editing, use the following procedure.
1
Press the PLAYER button, turning it on.
2
Set the player IN and OUT points.
For details of how to set IN and OUT points, see the section
“Setting Edit
Points” (page 72).
On the recorder, the OUT point for the previous edit becomes the new
IN point.
3
Press the PREVIEW button to carry out a preview.
4
Press the AUTO EDIT button.
The edit starts.
When the edit finishes, the recorder stops at the OUT point and the
player stops about 2 seconds after the OUT point.
To stop the edit
Press the ENTRY/SHIFT button together with the OUT button.
The edit ends, and the point where you pressed the buttons becomes
the OUT point.
To abort the edit
Press the STOP button.
By repeating this process, you can carry out continuous editing.
With extended menu item 326, a setting can be made so that the preceding OUT
point automatically becomes the new IN point.
Chapter 4 Editing
Chapter 4 Editing
93
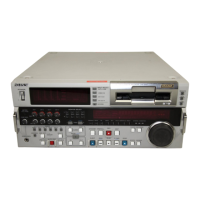
Standalone Editing
This method allows you to use as the player an external device which
cannot be controlled remotely through the REMOTE-IN or REMOTE-
OUT connector. For example, you can record a color bar signal from a
signal generator in the joints between the scenes of an already completed
tape.
For standalone editing, use the following procedure.
1
In the input selection section, select the signal being generated by the
signal generator connected to the unit.
For details of the input selection section, see page 14.
2
Press both the PLAYER button and RECORDER button, turning them
off.
3
Set the IN point and, if necessary, also OUT point.
The AUTO EDIT button flashes.
For details of how to set IN and OUT points, see the section
“Setting Edit
Points” (page 72).
4
Press the AUTO EDIT button.
The edit is carried out.