1-1. DSR-2000
Chapter 4 Editing
Chapter 4 Editing
95
Adding a Narration (Sound-on-Sound)
By means of preread editing with an audio mixer connected (see page 87),
you can mix in an audio signal with the existing recorded soundtrack, but
extension menu item 819 provides a simple sound-on-sound editing
function for adding a narration, using this unit alone.
To add a narration from microphone input
As an example, the following procedure describes how to record a
narration mixed with audio channels 1 and 2 already recorded on the tape,
when the microphone is connected to input audio channel 1.
In this case, first connect the microphone to the AUDIO IN CH-1
connector, and set the audio input and editing mode as follows.
• In the input selection section (see page 14), with the CH1, 1/2 button,
select an analog audio signal.
• In the edit mode setting section (see page 20), press the INSERT CH-1
and CH-2 buttons, turning them on.
After checking the above settings, use the following procedure.
1
Set extension menu item 819 as follows.
Extension menu item 819 settings (on monitor screen)
For details of extension menu item 819 settings, see page 123.
2
Press the MIXING button in the upper control panel, turning it on.
3
Carry out insert editing on audio channels 1 and 2 (CH-1 and CH-2)
while reciting the narration into the microphone.
Recording channel numbers
94
Chapter 4 Editing
Chapter 4 Editing
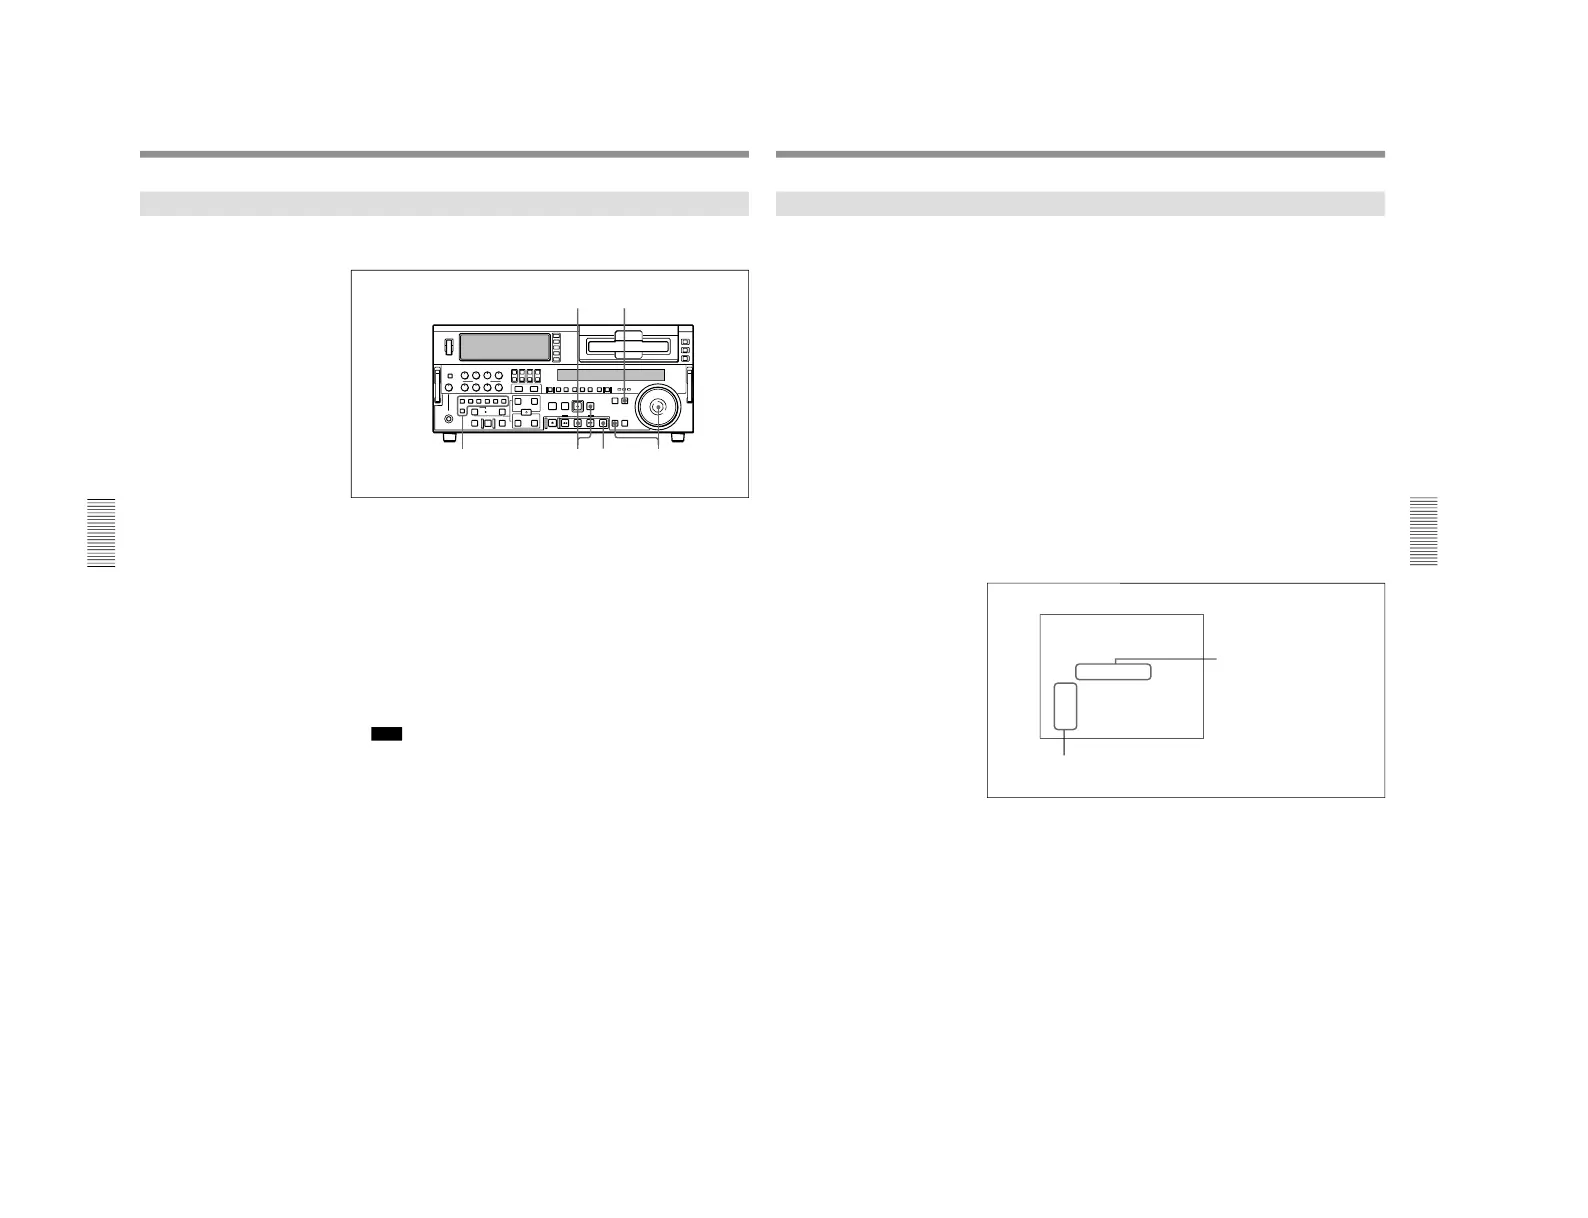
Manual Editing
To carry out manual editing, start playback on the player beforehand, then
use the following procedure.
1
Press the RECORDER button, turning it on.
2
Use the search dial in jog or shuttle mode to find the edit start point
(the recorder IN point), and stop the tape just before this point.
3
Select an edit mode.
For details of how to select an edit mode, see the section
“Selecting an Edit
Mode” (page 71).
4
Press the PLAY button.
The recorder begins playback.
Note
It takes about two seconds until the playback video stabilizes. For this
reason, start the playback from before the segment of video you wish
to use.
5
At the edit start point (the recorder IN point), press the EDIT button
and PLAY button simultaneously.
The edit starts.
6
At the edit end point (the recorder OUT point), press the PLAY button.
The edit ends, and the recorder continues with playback.
7
Press the STOP button to stop the recorder playback.