10-19
HDS-7150/7100
10-3-13. Setting of the GPI Input
There are eight GPI input ports (terminals) in the HDS-7100 used to set the following operations to ports
1 to 8.
ACTION Operation
MECUT PGM/PST CUT
DSKCUT DSK CUT
MEAT ME AUTO TRANS
DSKAT DSK AUTO TRANS
FTB FADE TO BLACK
SS 1-30 SNAP SHOT RECALL 1 to 30
NOP NO OPERATION
(1) On the set-up menu screen, press the function keys in the following sequence.
[F6] (PERIPH) → [F3] (GPI_I)
The GPI INPUT menu is displayed.
(2) Press [F2] (PORT). Enter the desired port number using the numeric keys and fix it using the
ENTER key.
(3) Press [F3] (TRIGER) to select a trigger polarity.
The polarity is switched among the following four patterns upon pressing [F3] (TRIGER) :
UP : Triggers at the rising edge of the input pulse.
DOWN : Triggers at the falling edge of the input pulse.
EDGE : Triggers at the reverse (edge) of the input pulse.
L_LVL : When the input pulse is low, the aspect ratio of the screen is 16:9.
(4) Rotate knob 6 to display the action to start up by the trigger to the port selected at step (2).
Each action is displayed on the [F6] screen by rotating knob 6.
(5) Press [F5] (ACTION).
The selected action is displayed on the [F5] screen.
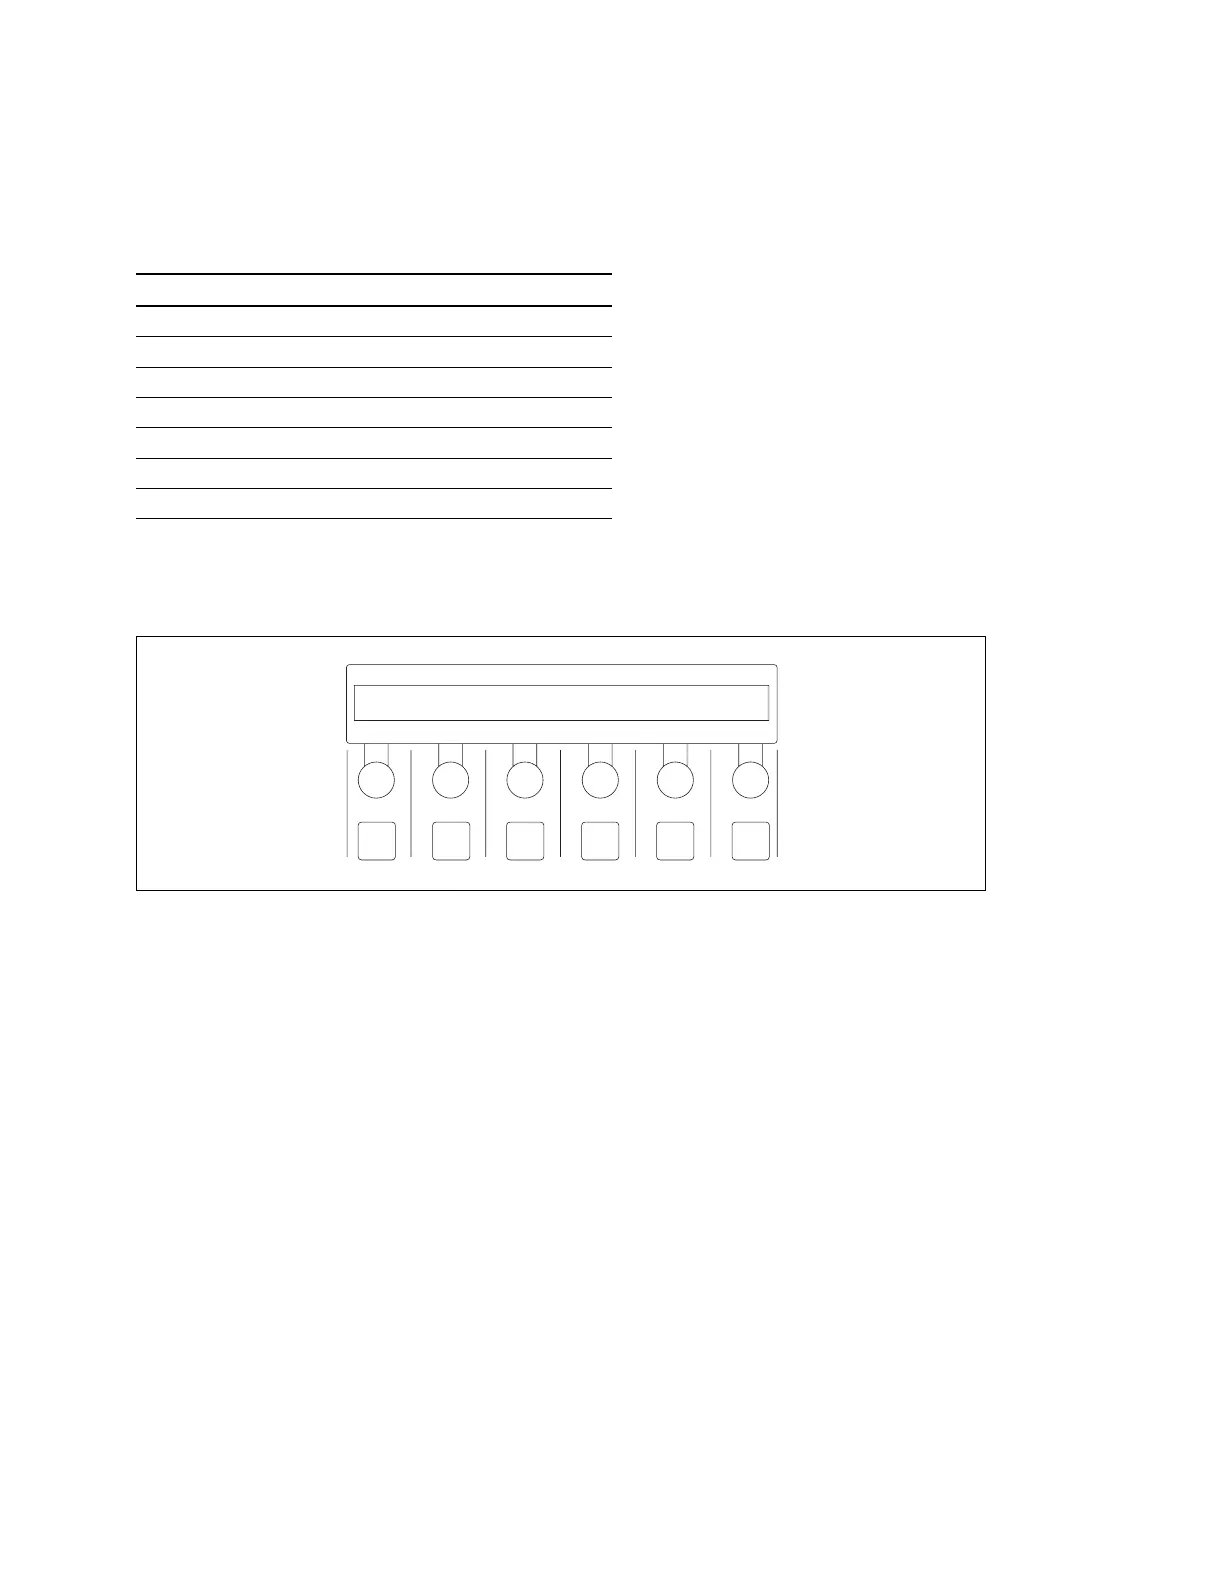
F1 F2 F3 F4 F5 F6
PERPH
GPI_I
ACTION
MECUT
LIST
MECUT
PORT
1
TRIGER
UP
HDS-7100
10-3. Set-up