Chapter 3 Maintaining the Sun Fire Servers 3-55
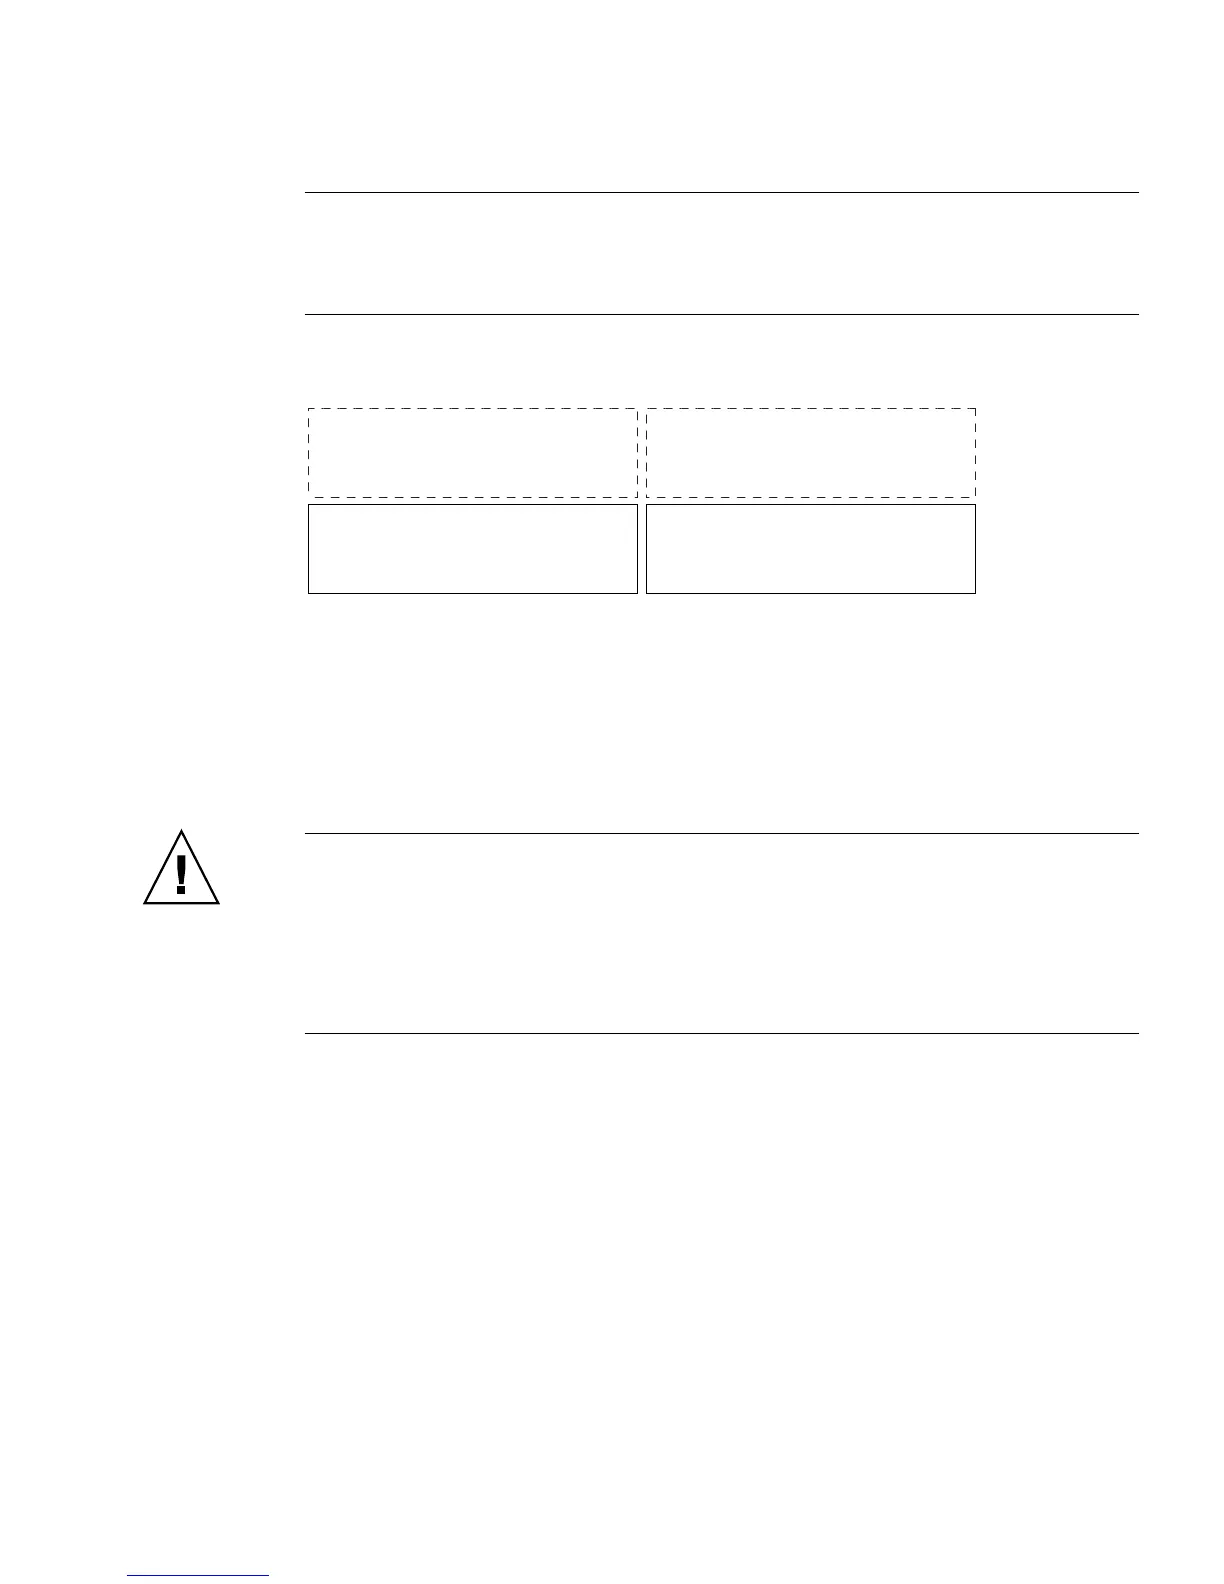
Note – Sun Fire X4100/X4100 M2 only – In FIGURE 3-44, Drive 0 and Drive 1 are
represent the standard system configuration; Drive 2 and Drive 3 are shown to
represent the optional factory configuration of four hard drives (no DVD-ROM
drive).
FIGURE 3-44 Designation of Hard Disk Drives
A single drive failure will not cause a data failure if the drives are configured as a
mirrored RAID 1 volume (optional). The drive can be hot-swapped, and when a new
drive is inserted, the contents are automatically rebuilt from the rest of the array with
no need to reconfigure the RAID parameters. If the bad drive was configured as a
hotspare, the new drive is automatically configured as a new hotspare. For
information about setting up RAID configurations, refer to the X64 Servers Utilities
Reference Manual .
Caution – Possible data loss: If you insert an drive that has been configured with a
RAID volume into a server that did not previously have its drives configured with
RAID volumes, the existing drive(s) in the server will be converted to RAID volumes
during automatic synchronization and any existing data on the existing drive(s) in
the server will be erased. Before permanently removing an drive that is part of an
active RAID volume, use the LSI Configuration Utility to delete the RAID volume
from the drive to avoid causing this problem.
Supported components and their part numbers are subject to change over time. For
the most up-to-date list of replaceable components for these servers, refer to:
http://sunsolve.sun.com/handbook_pub/Systems
1. Click the name and model of your server.
2. On the product page that opens for the server, click Full Components List to
view a list of components.
Use the following procedure to replace a drive.
1. Observe the LEDs on the faces of the drives, and identify the defective drive.
■ Middle LED on (amber): The drive is faulty and should be replaced.
Drive 0 Drive 1
Drive 3Drive 2