Chapter 3 Maintaining the Sun Fire Servers 3-33
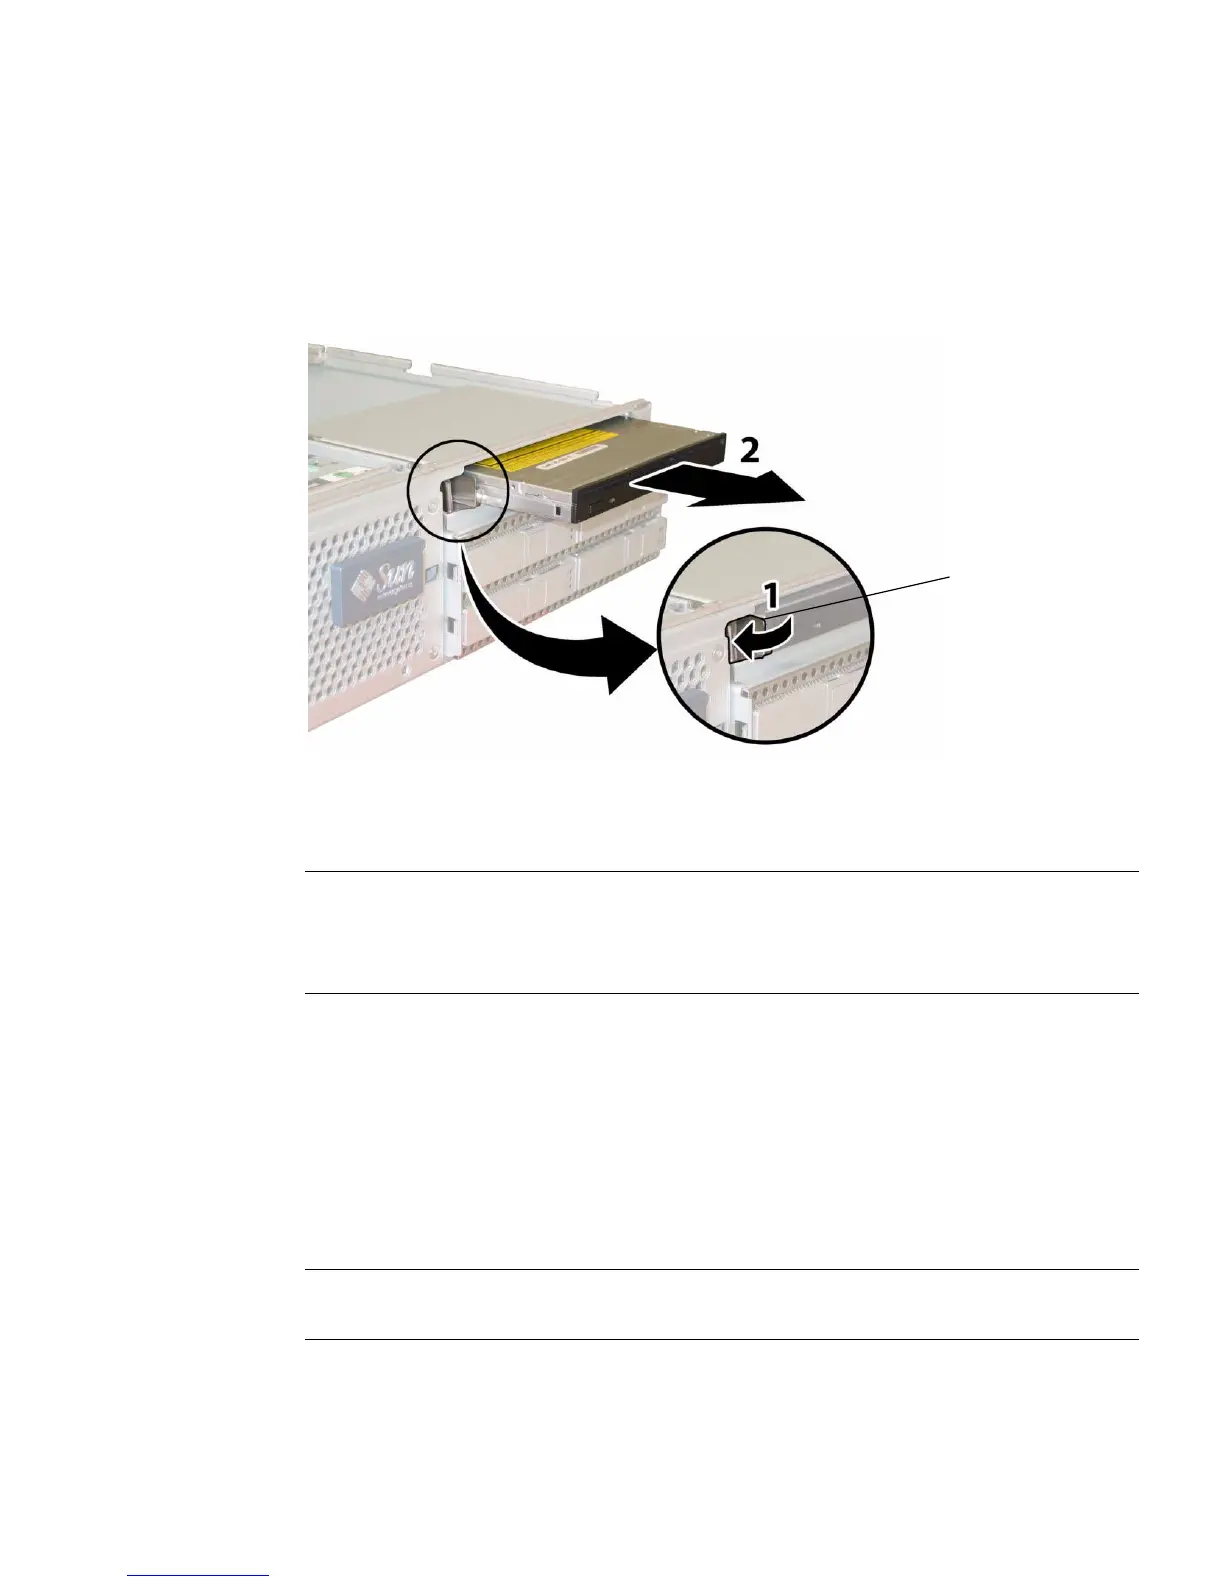
8. Pull the spring latch at the front of the DVD-ROM drive to the left and hold it.
Use your other hand to reach behind the drive and push it out through the front
of the chassis. See
FIGURE 3-25.
FIGURE 3-25 Removing the DVD-ROM Drive
Installation is the reverse of this procedure. When reinstalling screws, tighten to
7 in-lbs (0.8 Nm) using an adjustable torque driver.
Note – Sun Fire X4100/X4100 M2: When you replace the DVD-ROM drive, the flex
cable, and its cable retainers, reposition the flex cable to the folded position shown in
FIGURE 3-23 on page 32. Do not pinch the flex cable against the back of the DVD-ROM
drive, which might damage the flex cable.
3.12.5 Installing a DVD-ROM Drive Upgrade Kit
■ Follow these steps to install a DVD-ROM upgrade kit to a system that previously
did not have a DVD-ROM drive.
■ If you are removing and replacing an existing DVD-ROM drive, see Section 3.12.4 on
page 3-30.
Note – This component is an FRU and should be replaced only by qualified service
technicians. Contact your Sun Service representative for assistance.
Spring
latch