134
Installation
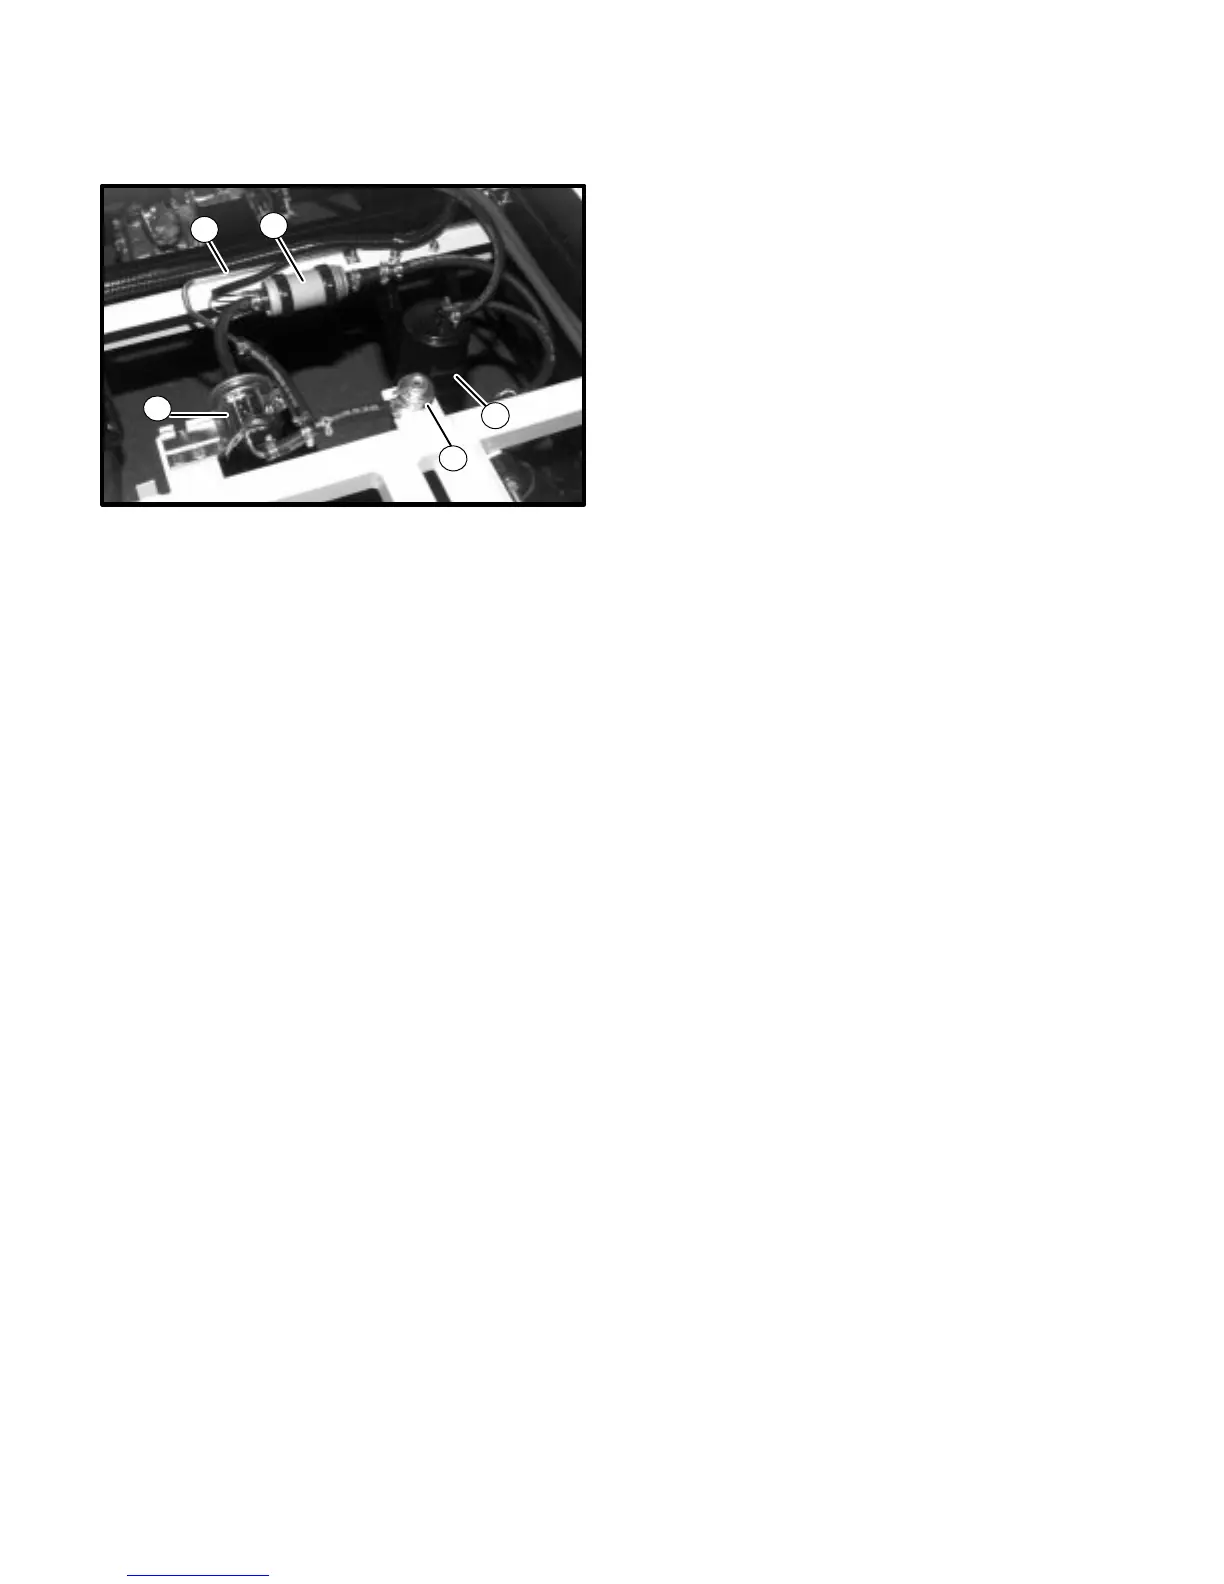
1) Install filter and clamp, and connect inlet and outlet
hoses to fuel filter.
2
1
3
4
5
1. Fuel Filter
2. Fuel Line
3. Fuel Pump
4. Carbon Canister
5. Regulator
2) Connect negative cable to battery.
3) After installation, start engine and check system for
leaks.
Fuel Tank
Removal
1) Disconnect negative battery cable from battery.
2) To release the pressure in fuel tank, remove fuel filler
cap and then reinstall it.
3) Raise vehicle (refer to jacking instructions for safe pro-
cedures).
4) Disconnect fuel gauge electrical wiring.
5) As fuel tank has no drain plug, drain fuel by pumping
fuel out through fuel filler neck. Use hand operated pump
device to remove fuel.
6) Disconnect fuel return hose.
7) Disconnect fuel vapor hose.
NOTE:
Before finally removing fuel tank, recheck to ascer-
tain all hoses and electric wires are disconnected
and free.
8) Remove fuel tank.
Installation
Reverse removal procedure for installation using care for
the following:
Refer to general description of this item for piping and
clamp positions.
Make sure for correct hose to pipe connection
Clamp hoses securely.
Upon completion of installation, start engine
and check hose joints for leaks.