If timing light is out, rotate magneto housing in the same direction as its magnet's rotation a
few degrees beyond point where light comes on. Then slowly turn magneto housing in opposite
direction until light just goes out. Secure magneto housing in this position and recheck
adjustment. Replace timing window plugs.
Repeat the above steps for second magneto. Check magneto synchronization with 11-91 10-1
timing light or equivalent.
If
necessary, loosen magneto holddown bolts of one magneto and
"bump" with soft mallet to synchronize magnetos. Tighten all magneto
holddown bolts. Refer
to Figure 72-50-01 for proper torque.
Disconnect timing light from magneto. Make connections between magneto and ignition switch
using
18
gage wire following airframe manufacturer's wiring instructions.
WARNING
.
.
.
The
magneto is in
a
SWITCH ON
condition when the switch wire is
disconnected. Therefore, the usual precaution must be observed.
74-00-02 HARNESS ASSEMBLY INSTALLATION
Before installing harness on magneto check mating surfaces for cleanliness. Spray entire face
of grommet with a light coat of silicone spray parting agent* to prevent harness grommet
from sticking to magneto distributor block. For S-20 series magnetos, install and tighten
screws around plate alternately to seat cover squarely on magneto. Apply 25 to 35 in.-lbs.
torque to screws.
*Silicone spray parting agent
$512,
IMS
Company
10373
Stafford
Road,
Auburn,
OH
44022.
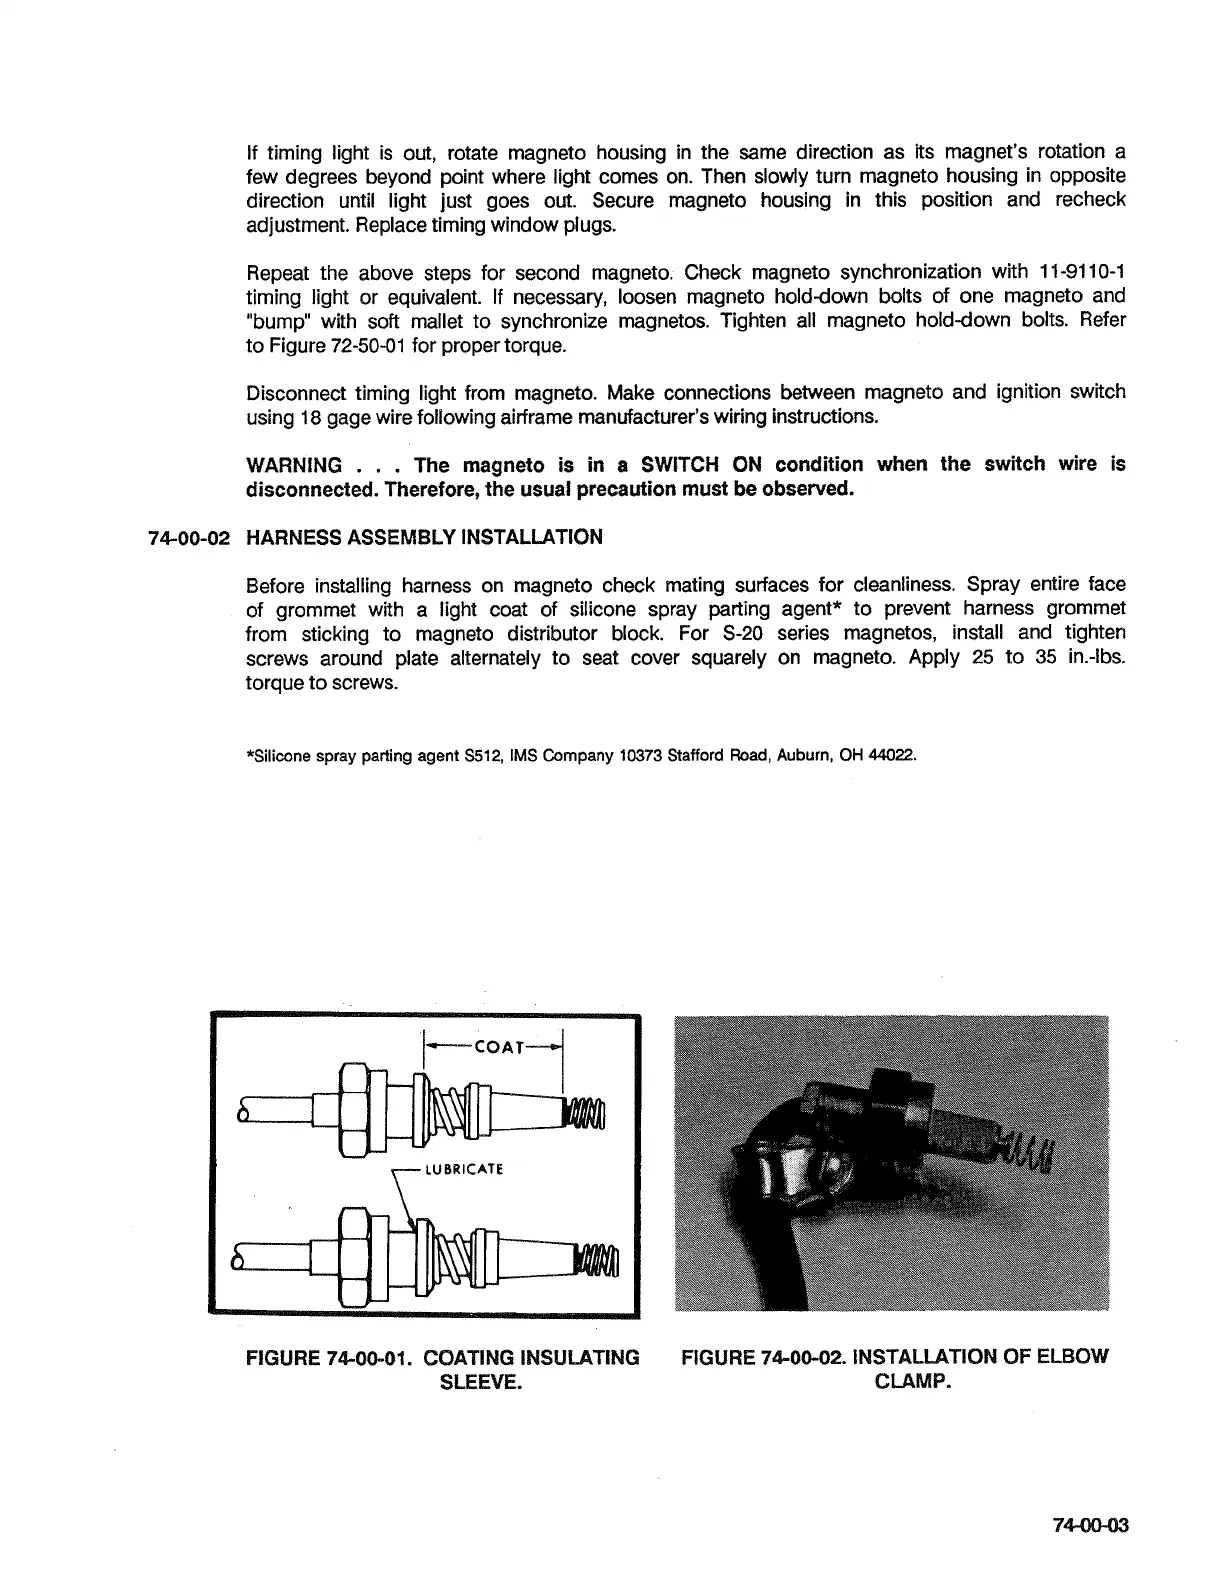
FIGURE 74-00-01. COATING INSULATING
FIGURE
7600-02. INSTALLATION
OF
ELBOW
SLEEVE. CLAMP.
 Loading...