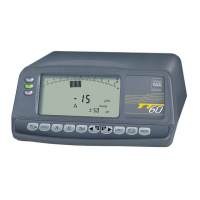
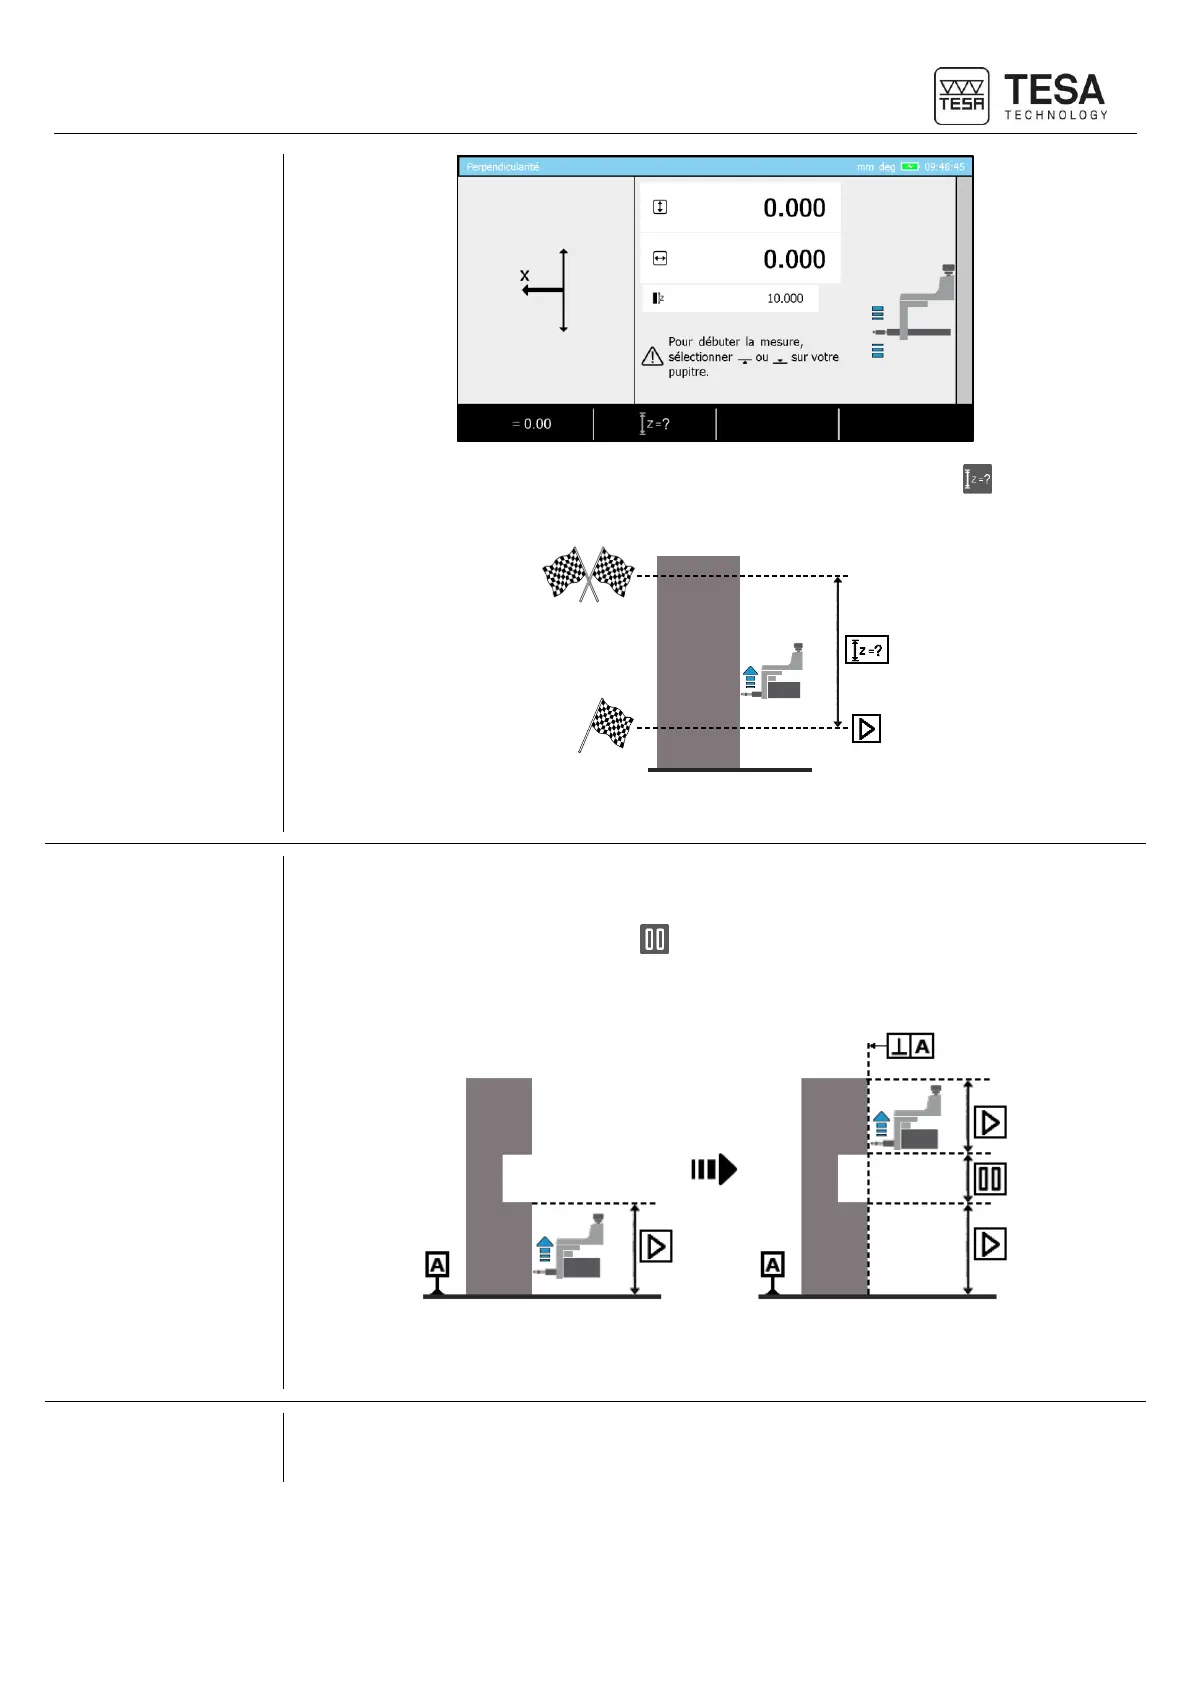
This distance can be set by pressing on the following context-based action: . If a value is
inserted, it is displayed on the screen as shown in the above picture (10mm).
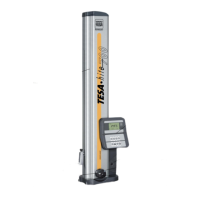
The schema above symbolically represents a measurement upwards with the IG13. Once the
measurement automatically stopped, the results will be displayed.
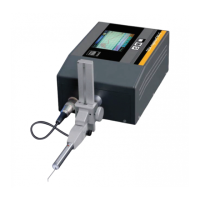
In certain situations, or application cases, it is not possible to continually measure a workpiece
in order to define the perpendicularity error for example.
This is why a context-based option is visible at the bottom of the screen when the
measurement is started. This option allows you to pause the measurement in order to be able
to displace the probe from one measurement zone to the other without influencing the results by
capturing points you do not want to measure.
The schema above represents a situation in which the option is necessary. While the
measurement is direct in the first zone, the option is required in order to allow the displacement
of the IG13 on the upper part of the workpiece without changing the measurement results.