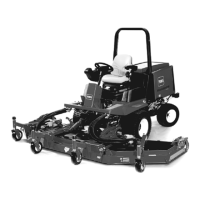
InstallingtheFrontLiftArms
1.Iftheliftarmpivotshaft(item3inFigure220)wasremovedfromtheframe,
applyanti-seizelubricanttothepivotshaftsurfaceandinserttheshaftinto
theframe.Aligntheholesintheframewiththepivotshaft.Securethepivot
shaftwithnewrollpin.
2.Ifthecuttingdeckpivotshaft(item7inFigure220)wasremovedfromthelift
arm,insertthecuttingdeckpivotshaftintheliftarmandsecurewiththebolt.
3.Slidethefrontliftarmontothepivotshaft.
4.Securethefrontliftarmtothemachineasfollows:
A.Applymediumstrengththreadlocker(orequivalent)tothethreadsofthe
bolts(items10,12,and13inFigure220).
B.Positionthetipperbrackettotheliftarmandframebracket.
C.Installthebolts,atandthrustwashers(items11and14inFigure220),
andlocknut(item2inFigure220)tothetipperbracket,pivotshaft,and
framebracket.
D.Tightenthe1/2inchfasteners(items12and13inFigure220)to109to
135N∙m(80to100ft-lb).Then,tightenthe5/8inchfasteners(item10in
Figure220)to183to223N∙m(135to165ft-lb).
5.Connecttheliftcylindertotheliftarm(item5inFigure221)asfollows:
A.Aligntheliftcylinderrodendwiththeliftarmmountinghole.
B.Slidethecylinderpinwiththeretainingringandthrustwasherthrough
theliftcylinderandliftarm.
C.Installthesecondthrustwasheronthepinandsecurewiththesecond
retainingring.
6.Mountthecuttingdecktotheliftarm;refertoInstallingtheCuttingDeck
CarrierFrame(page7–24).
7.Lubricatetheliftarmandliftcylindergreasettings.
Groundsmaster
®
4300-D
Page6–33
Chassis:ServiceandRepairs
16226SLRevC

 Loading...


