86
5.ADVANCED FUNCTIONS
4.MAILBOX (ITU-T COMPATIBLE) (Cont.)
5
Setting up the Relay Mailbox
This section describes how to set up the relay mailbox in the local hub.
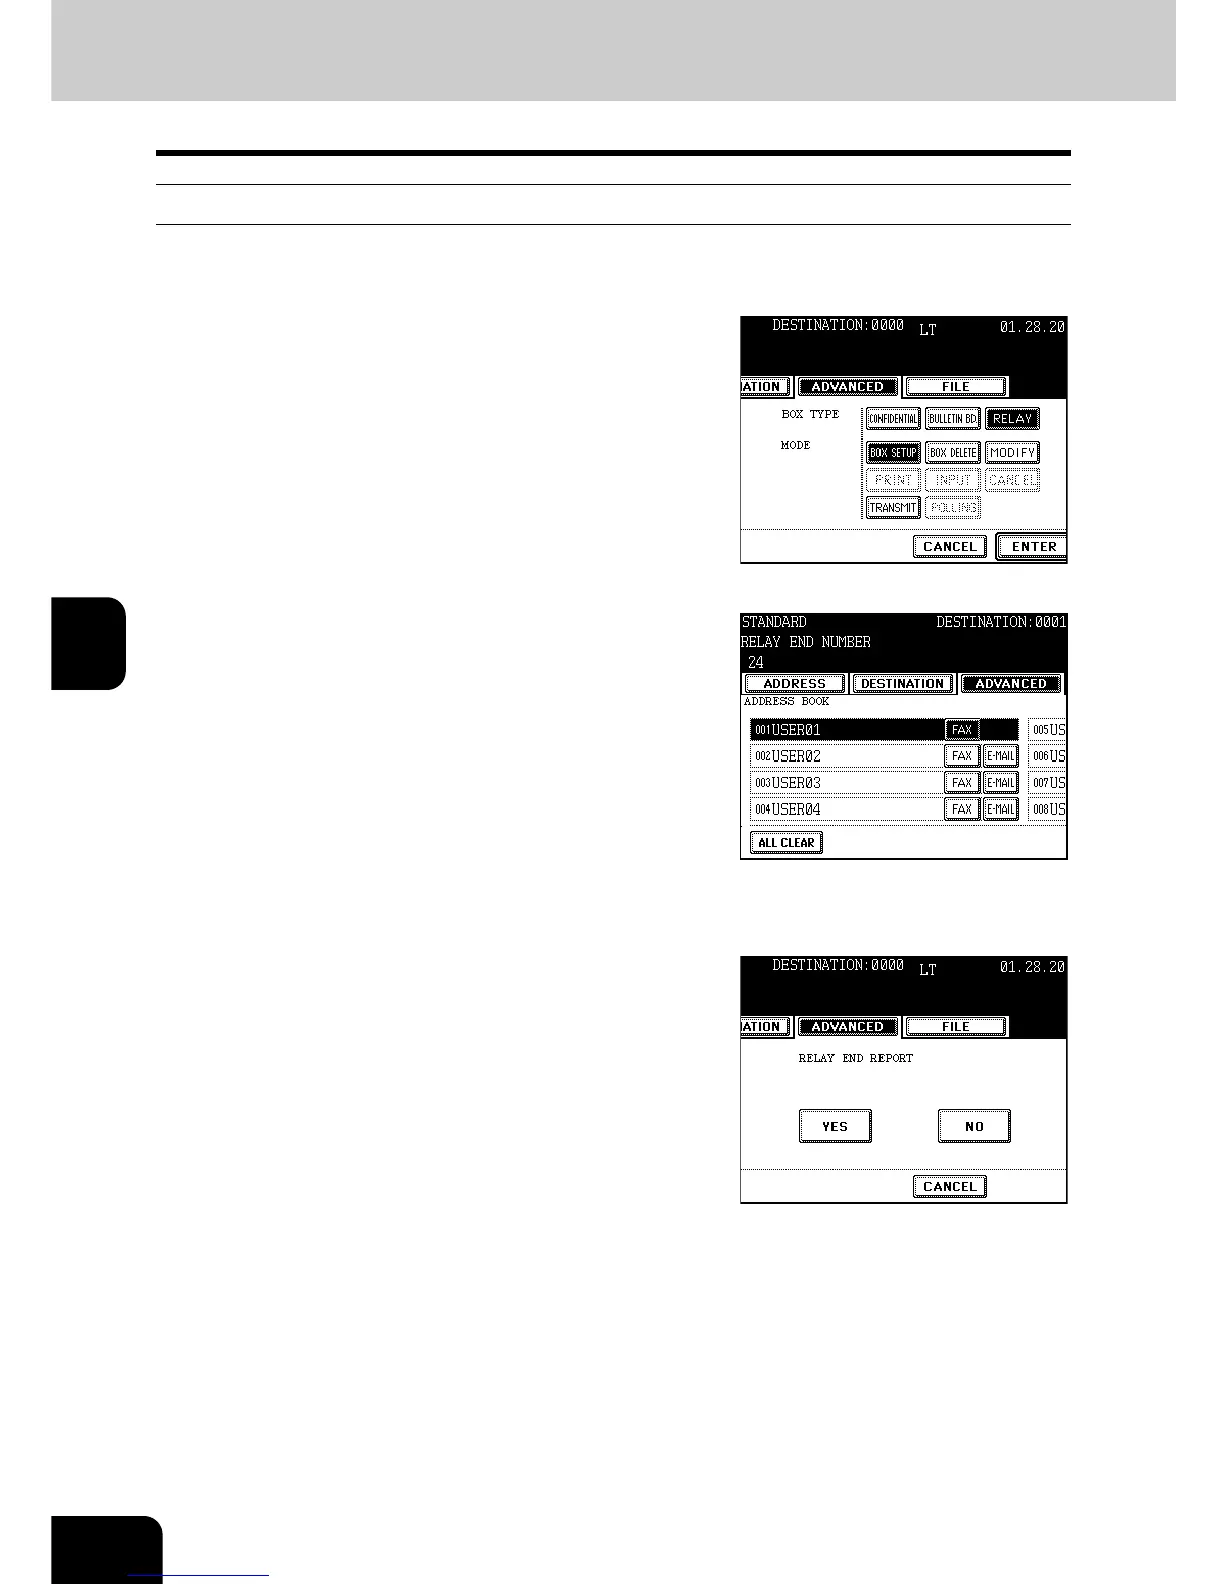
1
Follow steps 1 to 5 in the “Setting Up a
Mailbox for confidential and Bulletin
Board Communication”
- Press the [RELAY] button in step 3.
2
Specify the Relay Destination to be
registered from the address book or
groups.
- Press the [GROUP] button to display the group list.
- Press the [Prev] or [Next] button to scroll through the screens.
- You can search for the ID number ("Searching by ID Number"
Page 42) and address ("Searching by Address (Search Address)"
Page 43).
3
Make sure that the registration details are
correct, and press the [ENTER] button.
4
If you want to send the Relay Destination
Transmission Report, press [YES] button.
- If you press the [NO] button, do not continue to step 5 and 6.
- For the Relay Destination Transmission Report, "Automatically
Printing Lists & Reports" Page 115

 Loading...