4.17 Microphone 4 Replacement Procedures
4.17 Microphone
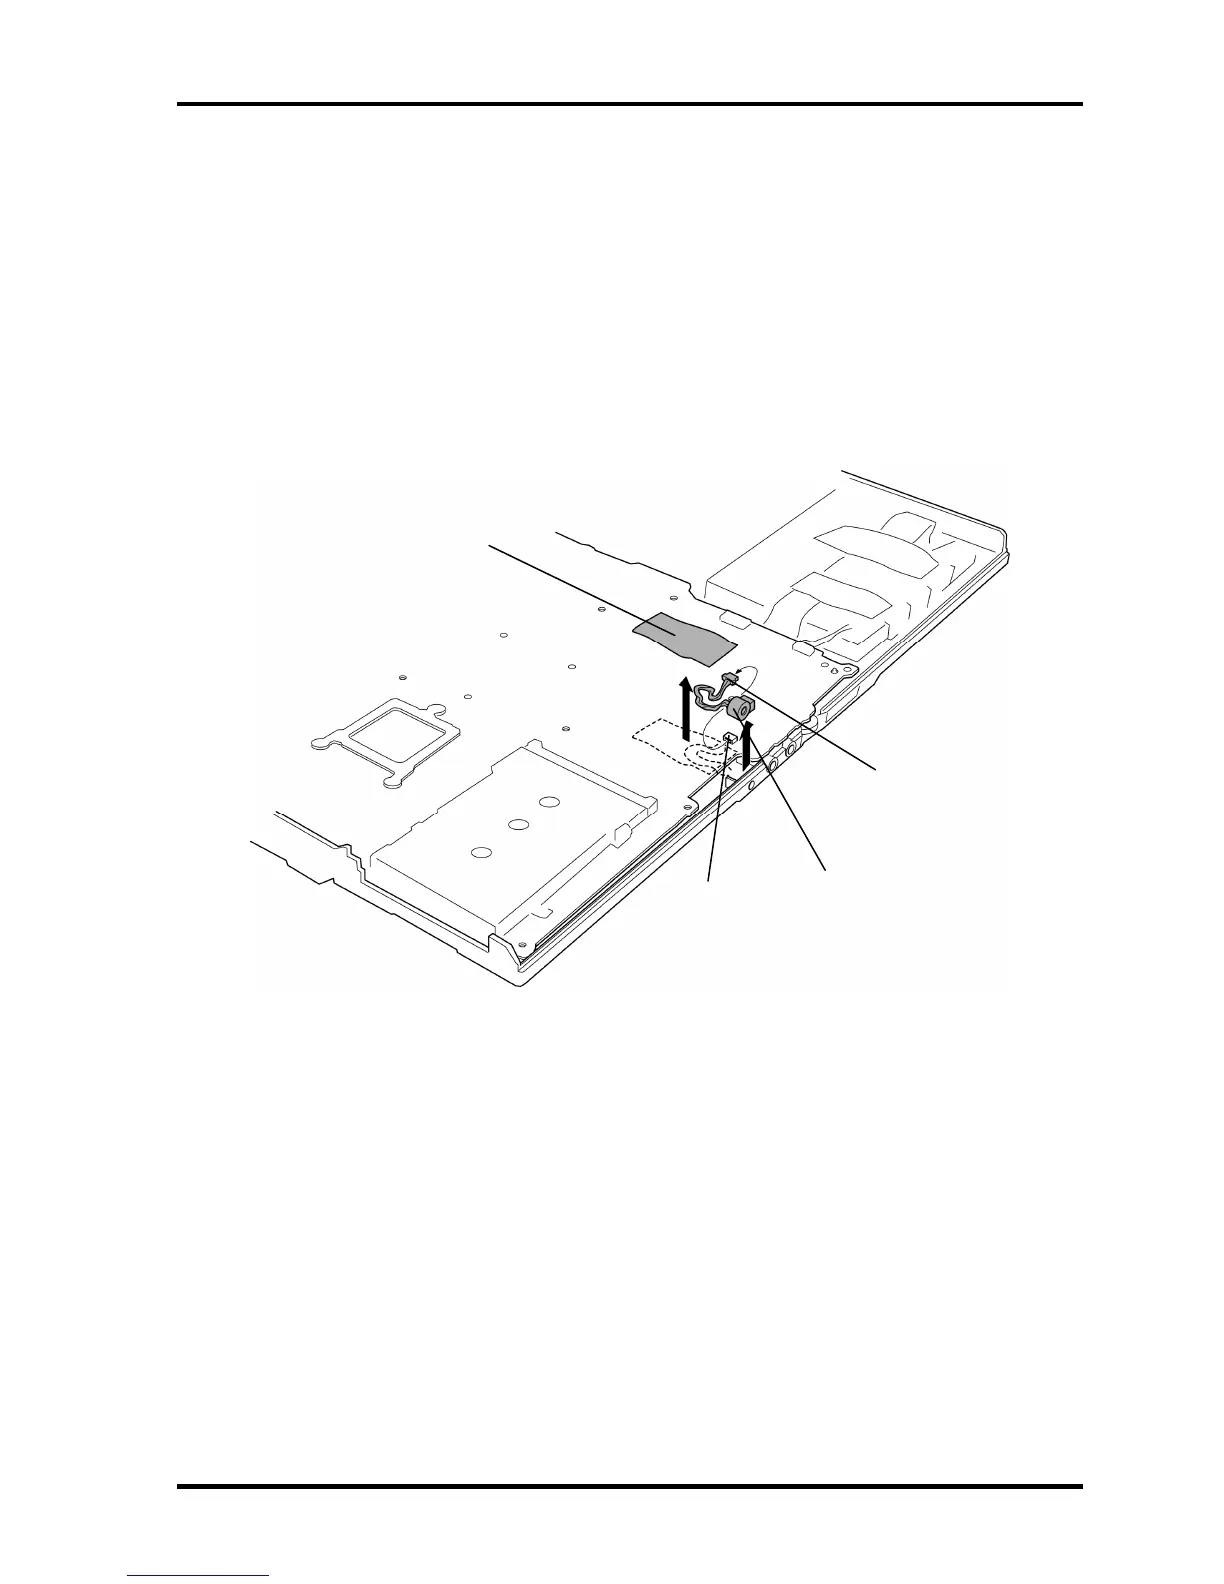
Removing the Microphone
To remove the microphone, follow the steps below and refer to Figure 4-28.
1. Peel off the glass tape.
2. Disconnect the microphone cable from the connector CN6050 on the system board
and remove the microphone from the slot of the base assembly.
Microphone
Microphone cable
Glass tape
CN6050
Figure 4-28 Removing the microphone
Installing the Microphone
To install the microphone, follow the steps below and refer to Figure 4-28.
1. Connect the microphone cable to the connector CN6050 on the system board.
2. Install the microphone into the slot of the base assembly and secure it with the glass
tape.
TECRA A9/TECRA S5/TECRA P5/Satellite Pro S200 Maintenance Manual (960-633) [CONFIDENTIAL] 4-47

 Loading...