116
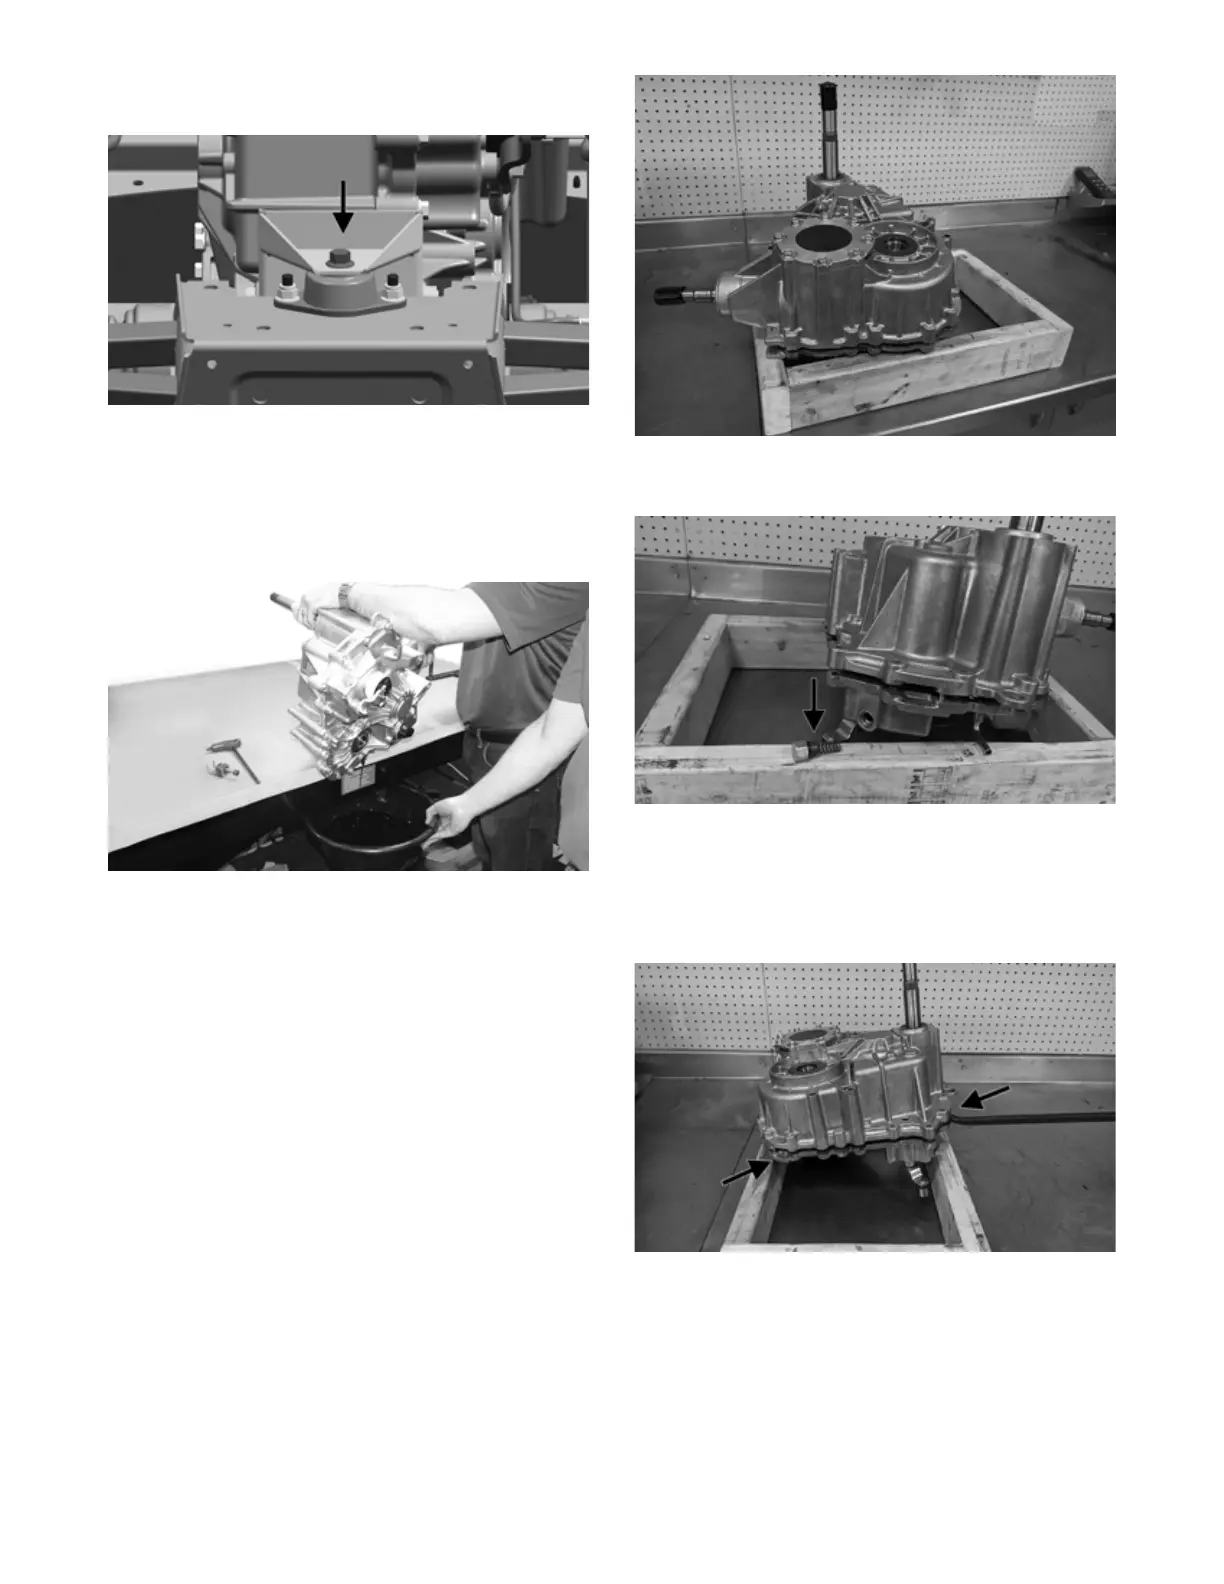
11. Remove rear mount bolt and lift transaxle out of the
vehicle.
OHA119
SEPARATING TRANSAXLE HALVES
1. With the transaxle on a bench, drain the fluid into a
suitable pan.
NOTE: Tip the transaxle toward the drain hole to
pour out all fluid.
TA004
2. Install the drain plug and tighten to 16 ft-lb (21.8
N-m).
3. Remove gear position switch and speed sensor (see
Electrical System section).
4. Remove the screws securing the case halves together.
5. Lay the transaxle flat on the bench with input shaft
facing up.
NOTE: Place the transaxle on a frame to keep tran-
saxle level and allow it to be moved as needed.
OHA124
6. Remove the 19 mm detent near the gear position
switch. Account for the spring and O-ring.
OHA123
7. Pry the two halves apart at the three designated pry
areas and remove the top half.
NOTE: DO NOT pry anywhere along the sealing
surface. Any scarring of the sealing surface may pre-
vent proper sealing.
OHA125