34
16. Use tape to cover and seal the intake opening.
OHA120A
17. Drain coolant from the cooling system.
18. Remove coolant supply hose clamp and coolant
return hose clamp, then move hoses out of the way.
OHA138
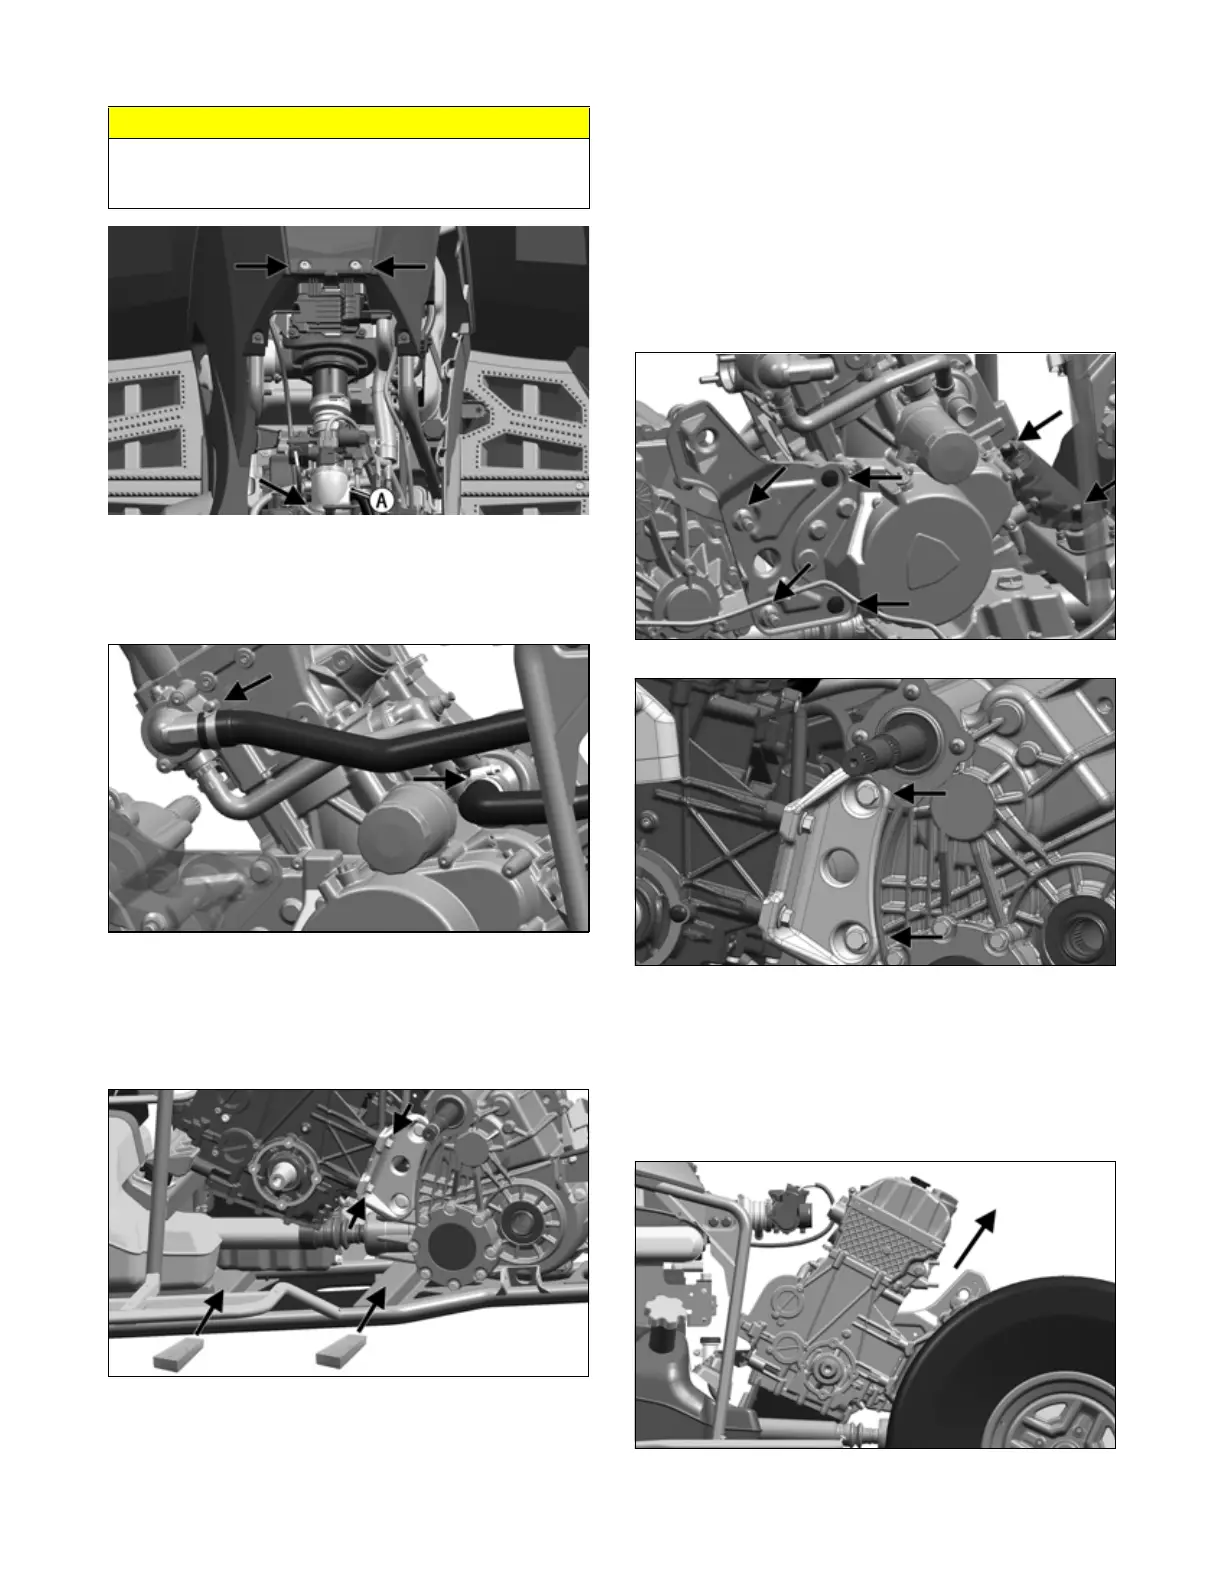
19. Place a block on the frame strut under the oil pan and
another under the transaxle to prevent engine or tran-
saxle from falling when mounting bolts are removed.
Remove the two left-side mounting bracket cap
screws securing the engine.
OHA141A
NOTE: Blocks will aid in positioning engine when
installing.
NOTE: Shims may have been used to properly
locate the engine in the chassis. Note and mark the
location of any shims.
20. Remove the two right-side mounting plate bolts
securing engine, then remove the nuts holding plate
to transaxle and discard nuts. From left side of vehi-
cle, remove the bolts securing plate to transaxle.
Remove both the right-side plate and left-side
mounting bracket.
21. Remove the two front engine mounting bracket lock
nuts and discard.
OHA142
OHA112B
22. Carefully remove engine by lifting up and out.
Account for any shims and shim location used for
proper placement of engine in chassis.
NOTE: Throttle body may need to be removed if
more clearance is needed (see Fuel/Lubrication/Cool-
ing section).
OHA143
CAUTION
Any objects or liquid entering the intake opening will
fall into the engine causing severe damage if the crank-
shaft is rotated or the engine started.