IPv4 Static ARP
System > L3 Feature > IPv4 Static ARP
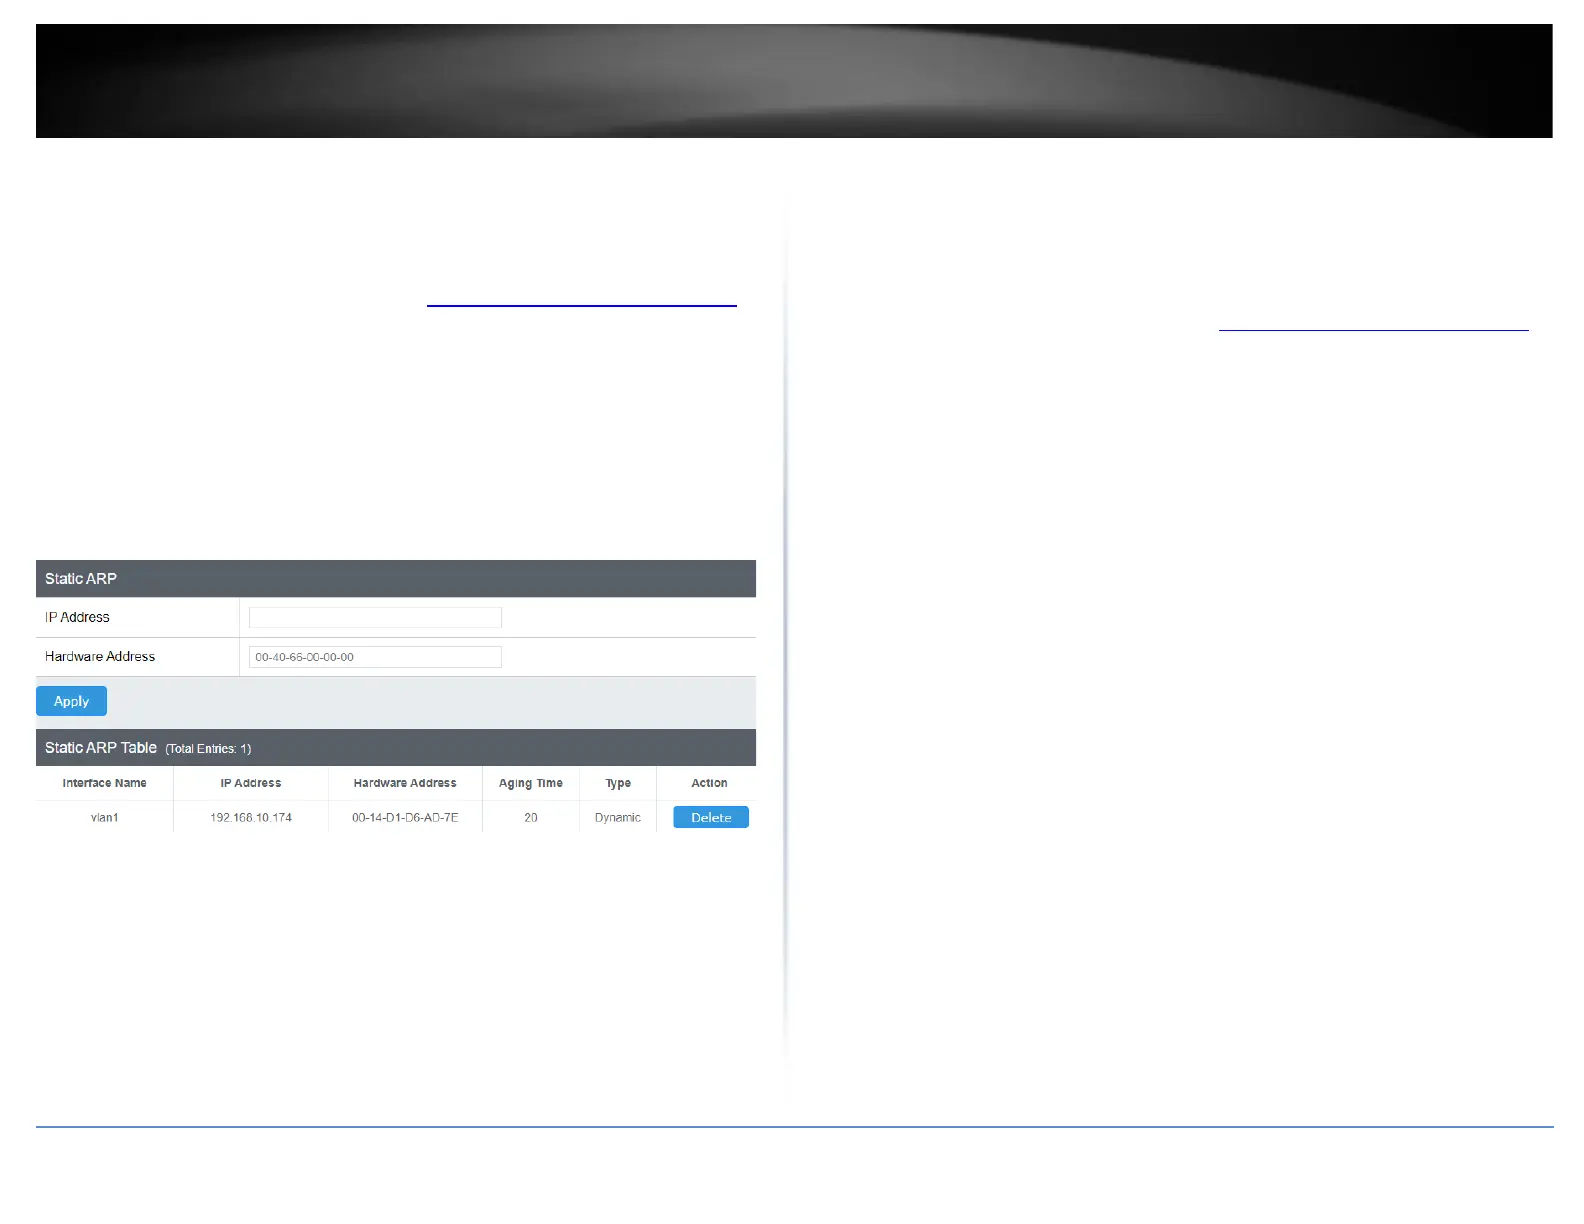
This section allows you to statically set ARP entries per each configured VLAN.
1. Log into your switch management page (see “Access your switch management page”
on page 5).
2. Click on System, L3 Feature, and then IPv4 ARP Table.
3. To add a static ARP entry, fill out the following fields and then press Apply. To delete
an entry, press Delete in the lower table.
• IP Address: enter the IP address you would like to statically set to the ARP table.
• Hardware Address: enter the MAC address that you would like to assign to the IP
entered above.
4. At the bottom of the left hand panel, click Apply.
5. Select the Config you would like to save the settings to, then click Save Settings to
Flash.
Note: This step saves all configuration changes to the NV-RAM to ensure that if the
switch is rebooted or power cycled, the configuration changes will still be applied.
IPv4 Static/Default Route
System > L3 Feature > IPv4 Static/Default Route
This section allows you to set your switch’s IPv4 routing table default gateway IP
address, or specify a static route.
1. Log into your switch management page (see “Access your switch management page”
on page 5).
2. Click on System, L3 Feature, and then IPv4 Static/Default Route.
3. Review the settings. When you have completed making changes, click Apply to save
the settings, click Delete to delete the routing table entry.
• Default Route: Check this box to apply this route as the default gateway and
enter the default gateway IP address in the Next Hop IP Address field. To specify a
static route, uncheck the box to specify the following:
o IP Address: Enter the IP address for this routing entry. (e.g.
192.168.200.200)
o Mask: Enter the subnet mask for this routing entry. (e.g.
255.255.255.0)
• Next Hop IP Address: Enter the next hop for the routing entry. (e.g
192.168.20.200)
• Backup Status: Specify if this routing entry is to be the Primary or Backup entry.
Note: If this assigning the default gateway IP address, select Primary.