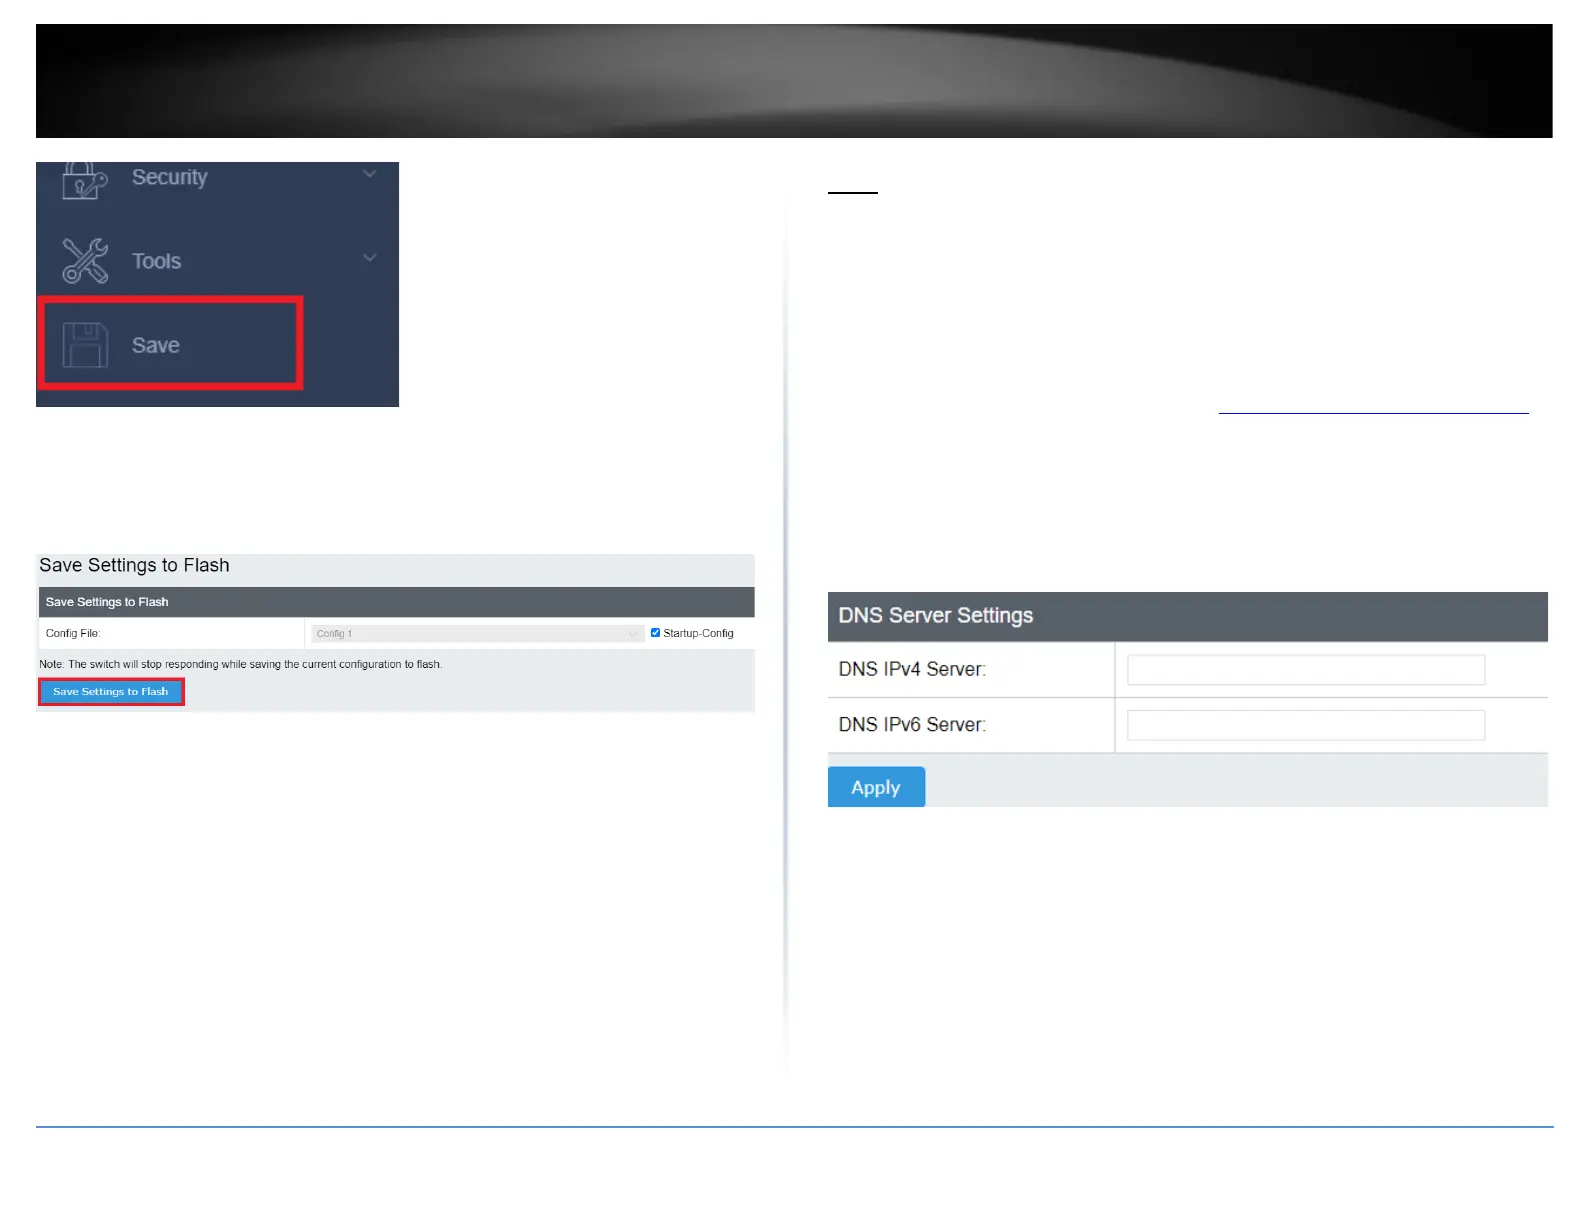
5. Select the Config you would like to save the settings to, click Save Settings to Flash,
then click OK.
Note: This step saves all configuration changes to the NV-RAM to ensure that if the
switch is rebooted or power cycled, the configuration changes will still be applied.
DNS
Set your DNS server settings
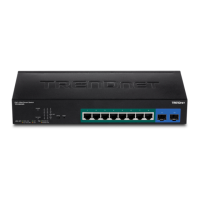
System > DNS
This setting allows you to configure your IPv4/IPv6 DNS server settings for the purpose
or resolving hostnames. For example, when specifying your SNTP server time settings
via domain name, the switch will not be able to resolve the SNTP domain name specified
until you configure the switch DNS server setting.
1. Log into your switch management page (see “Access your switch management page”
on page 5).
2. Click on System, and click on DNS.
3. Enter your DNS IPv4 Server address and/or DNS IPv6 Server address in the provided
fields then click Apply.
4. At the bottom of the left hand panel, click Save.
5. Select the Config you would like to save the settings to, click Save Settings to Flash,
then click OK.
Note: This step saves all configuration changes to the NV-RAM to ensure that if the
switch is rebooted or power cycled, the configuration changes will still be applied.