VLAN
Security > DHCP Snooping > VLAN
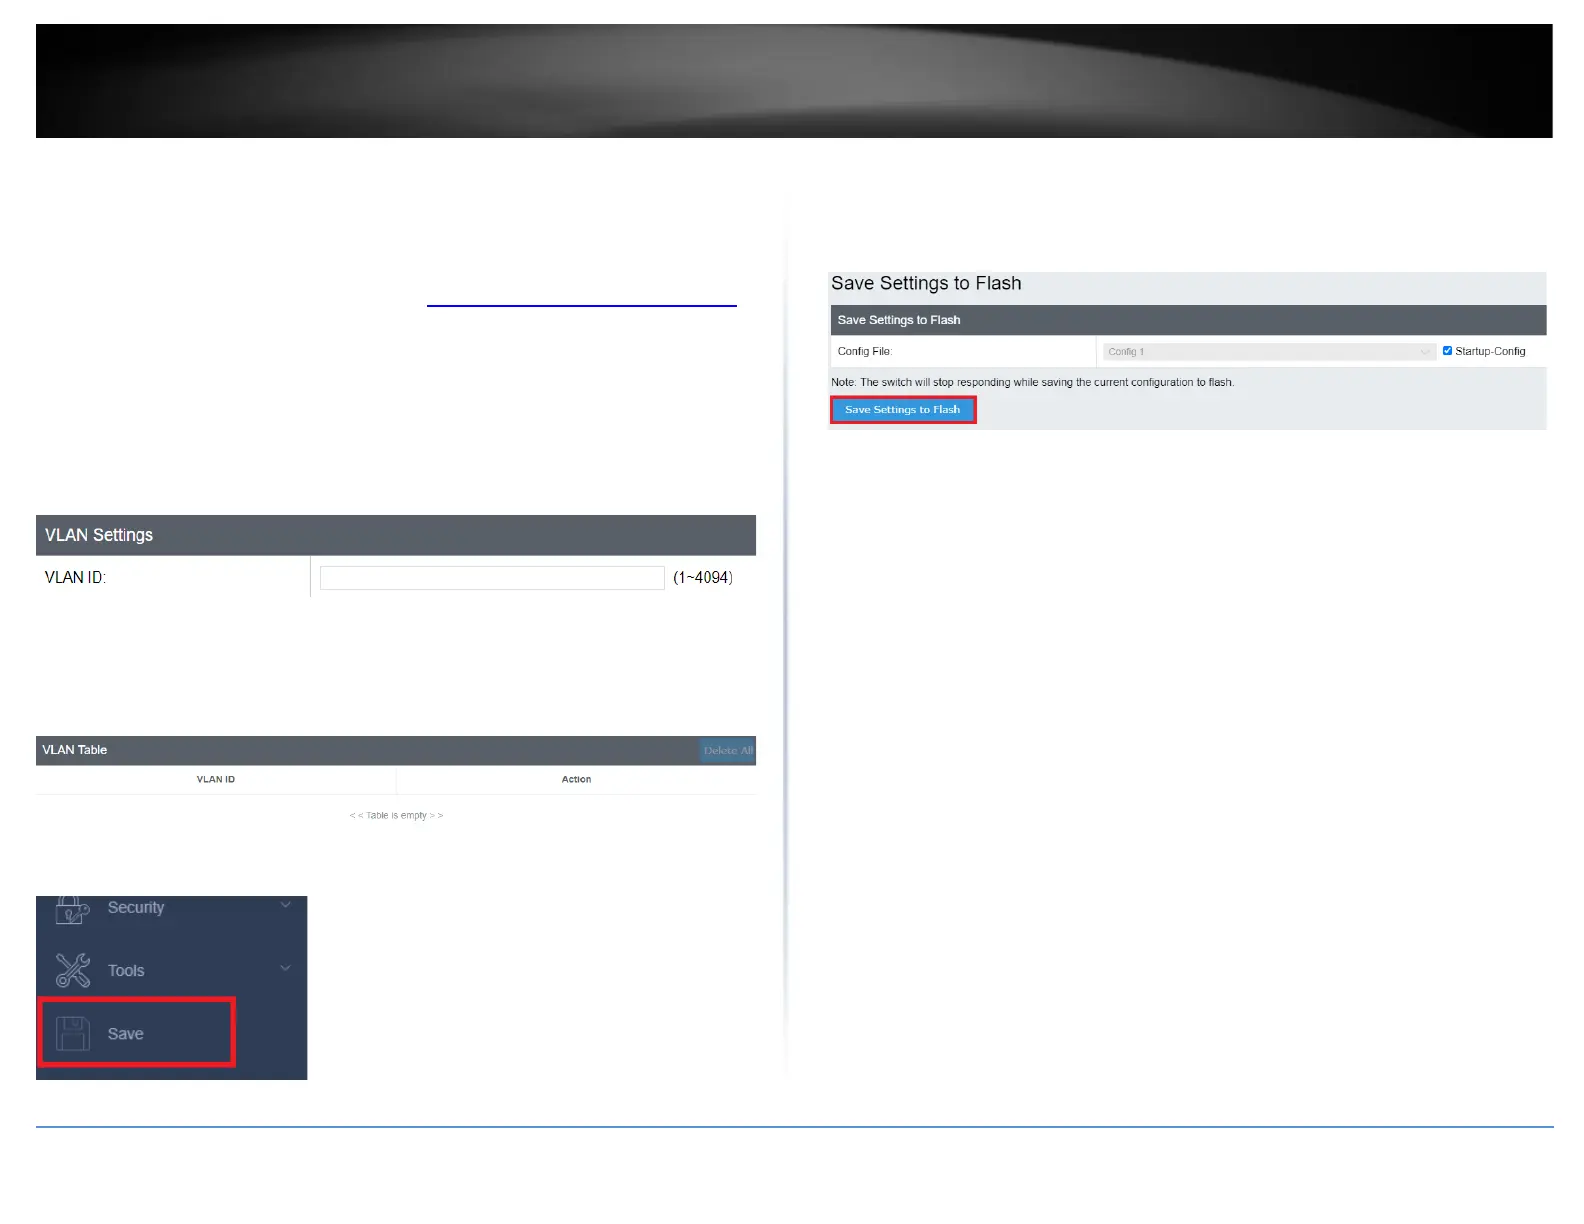
In this section, you can define an existing VLAN to apply DHCP snooping.
1. Log into your switch management page (see “Access your switch management page”
on page 5).
2. Click on Security, click on DHCP Snooping, and click on VLAN.
3. In the field, enter the existing VLAN ID to apply DHCP Snooping. Then click Add to add
the VLAN entry to the table.
In the list, you can click Modify to modify an entry or click Delete or delete the entry.
You can also click Delete All to delete all of the entries in the table. If the entries span
multiple pages, you can navigate page number in the Page field and click Go or you can
click First, Previous, Next, and Last Page to navigate the pages.
4. At the bottom of the left hand panel, click Save.
5. Select the Config you would like to save the settings to, then click Save Settings to
Flash.
Note: This step saves all configuration changes to the NV-RAM to ensure that if the
switch is rebooted or power cycled, the configuration changes will still be applied.