SNMP
Settings
System > SNMP > Settings
You can manage a switch by viewing and configuring the management information base
(MIB) objects on the device with the Simple Network Management Program (SNMP).
This chapter describes how to configure SNMP. A Group Name, IP address of the switch
and at least one community string is the minimum required to manage the switch using
SNMP.
The SNMP Engine ID screen allows network managers to define the SNMP Engine ID or
to assign the default Engine ID to SNMP.
Note: If you disable the SNMP on the switch, the switch will not be manageable via
SNMP using MIBs.
1. Log into your switch management page (see “Access your switch management page”
on page 5).
2. Click on System, click on SNMP, and click on Settings.
3. Review the settings. Click Apply to save changes.
• SNMP Agent Status: Click the drop-down list to one of the following options.
o Enabled - When you enable this parameter, the SNMP agent is active.
You can manage the switch with SNMP network management
software and the switch’s private MIB.
o Disabled - When you enable this parameter, the SNMP agent is
inactive.
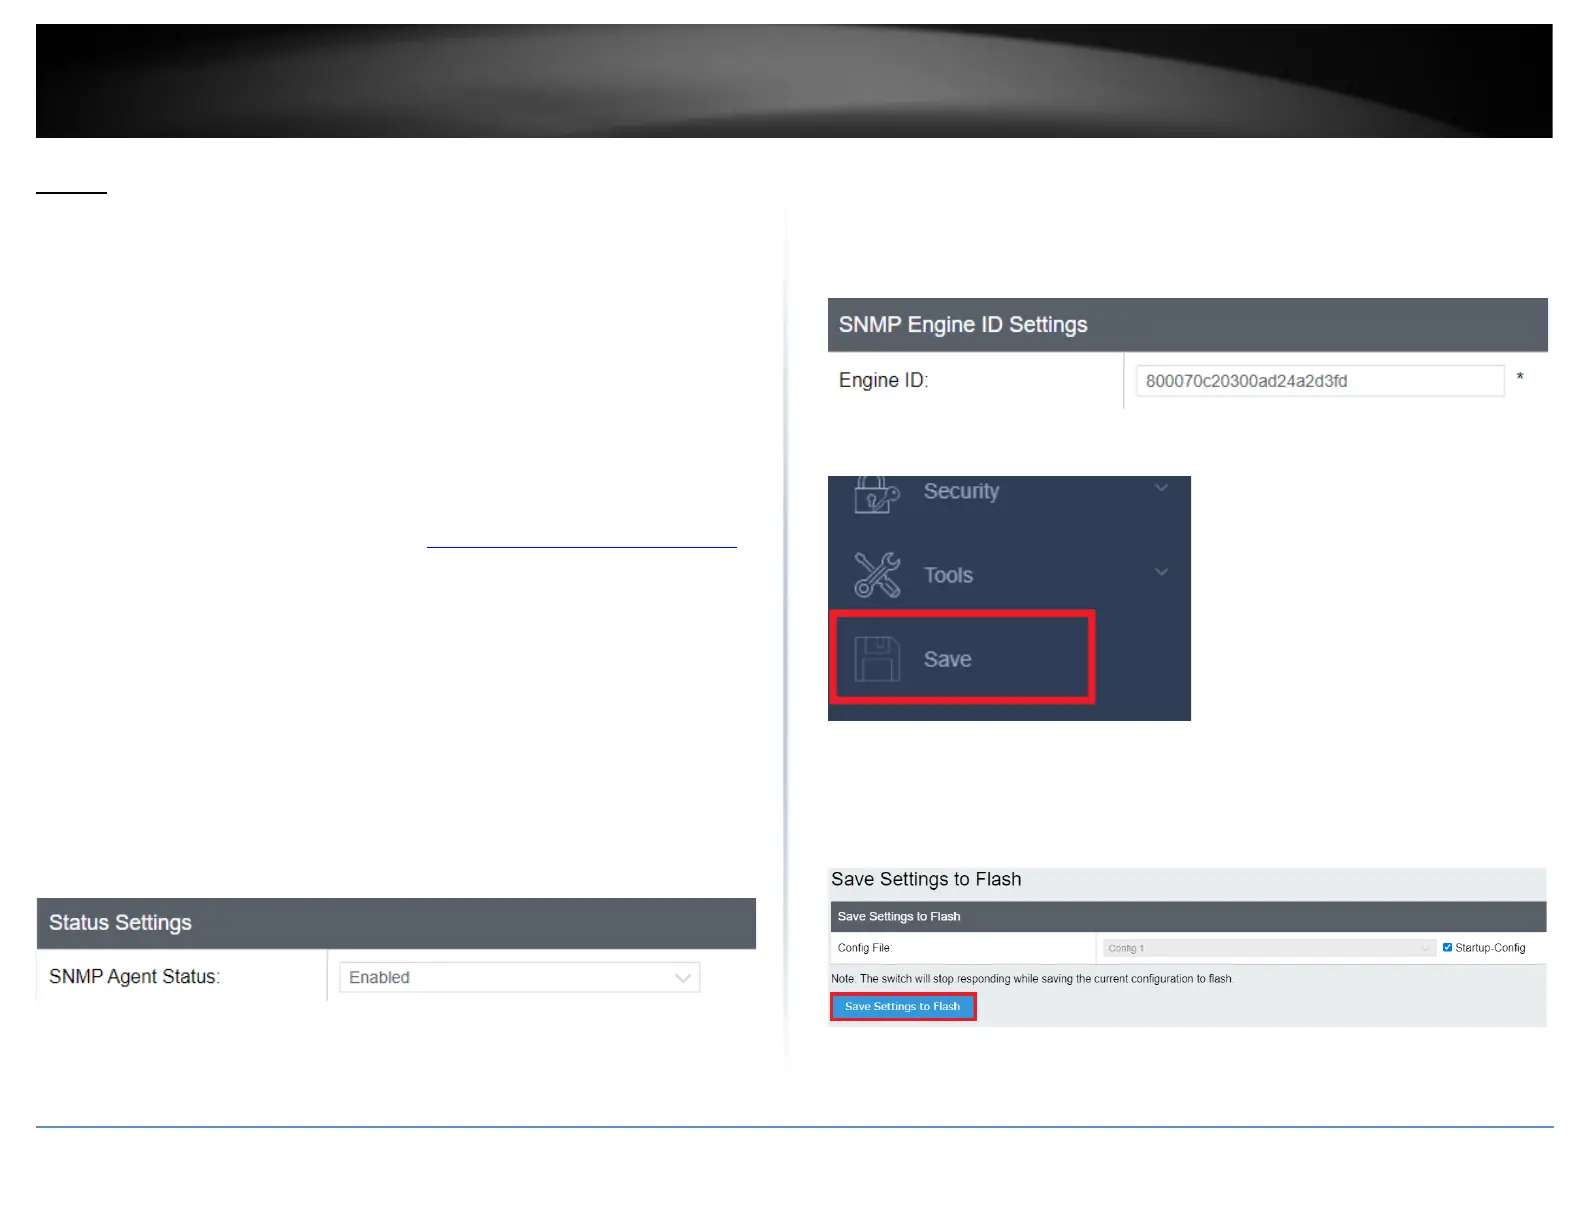
• Engine ID (10-64 Hex Characters) – Enter the local device Engine ID. The field
value is a hexadecimal string. Each byte in hexadecimal character strings is two
hexadecimal digits. The Engine ID must be defined before SNMP is enabled.
• Reset to Default – Use the device-generated Engine ID (Reset to Default will
override any entry in the Engine ID field).
4. At the bottom of the left hand panel, click Save.
5. Select the Config you would like to save the settings to, click Save Settings to Flash,
then click OK.
Note: This step saves all configuration changes to the NV-RAM to ensure that if the
switch is rebooted or power cycled, the configuration changes will still be applied.