Set the time and date
1.1. On the Home screen, tap the clock item, or tap the title bar and then on the pull-down list, tap the
clock icon . The Clock & Alarms screen appears.
2. Tap the Time tab.
3. In the Time Zone field, select the required time zone from the drop-down list.
4.
In the Date field, tap the down arrow and then select the correct date.
Tip – On the calendar which appears, tap on the month or year to select the required value.
5.
In the Time field, tap in turn the hour, minute, and second values and then tap the up or down
arrows to set the correct time. Tap AM / PMto toggle between the two values to select as required.
6. Tap OK.
Device lock
Tap the Device Lock icon on the Start screen to lock the screen and keypad while the handheld
remains turned on.
Once the handheld is locked, the screen and most of the keys do not respond until the handheld is
unlocked. The exception is the Power key, which always respond when pressed.
Communication with external devices such as a GNSS receiver, or external sensors used by GNSS field
software, is not interrupted by locking the handheld. This means that you can keep using the GNSS field
software when the handheld is locked. For example, you could lock the device so that you can safely
transport it between features, while keeping the software connected to the GNSS receiver so that you
can continue recording GNSS positions.
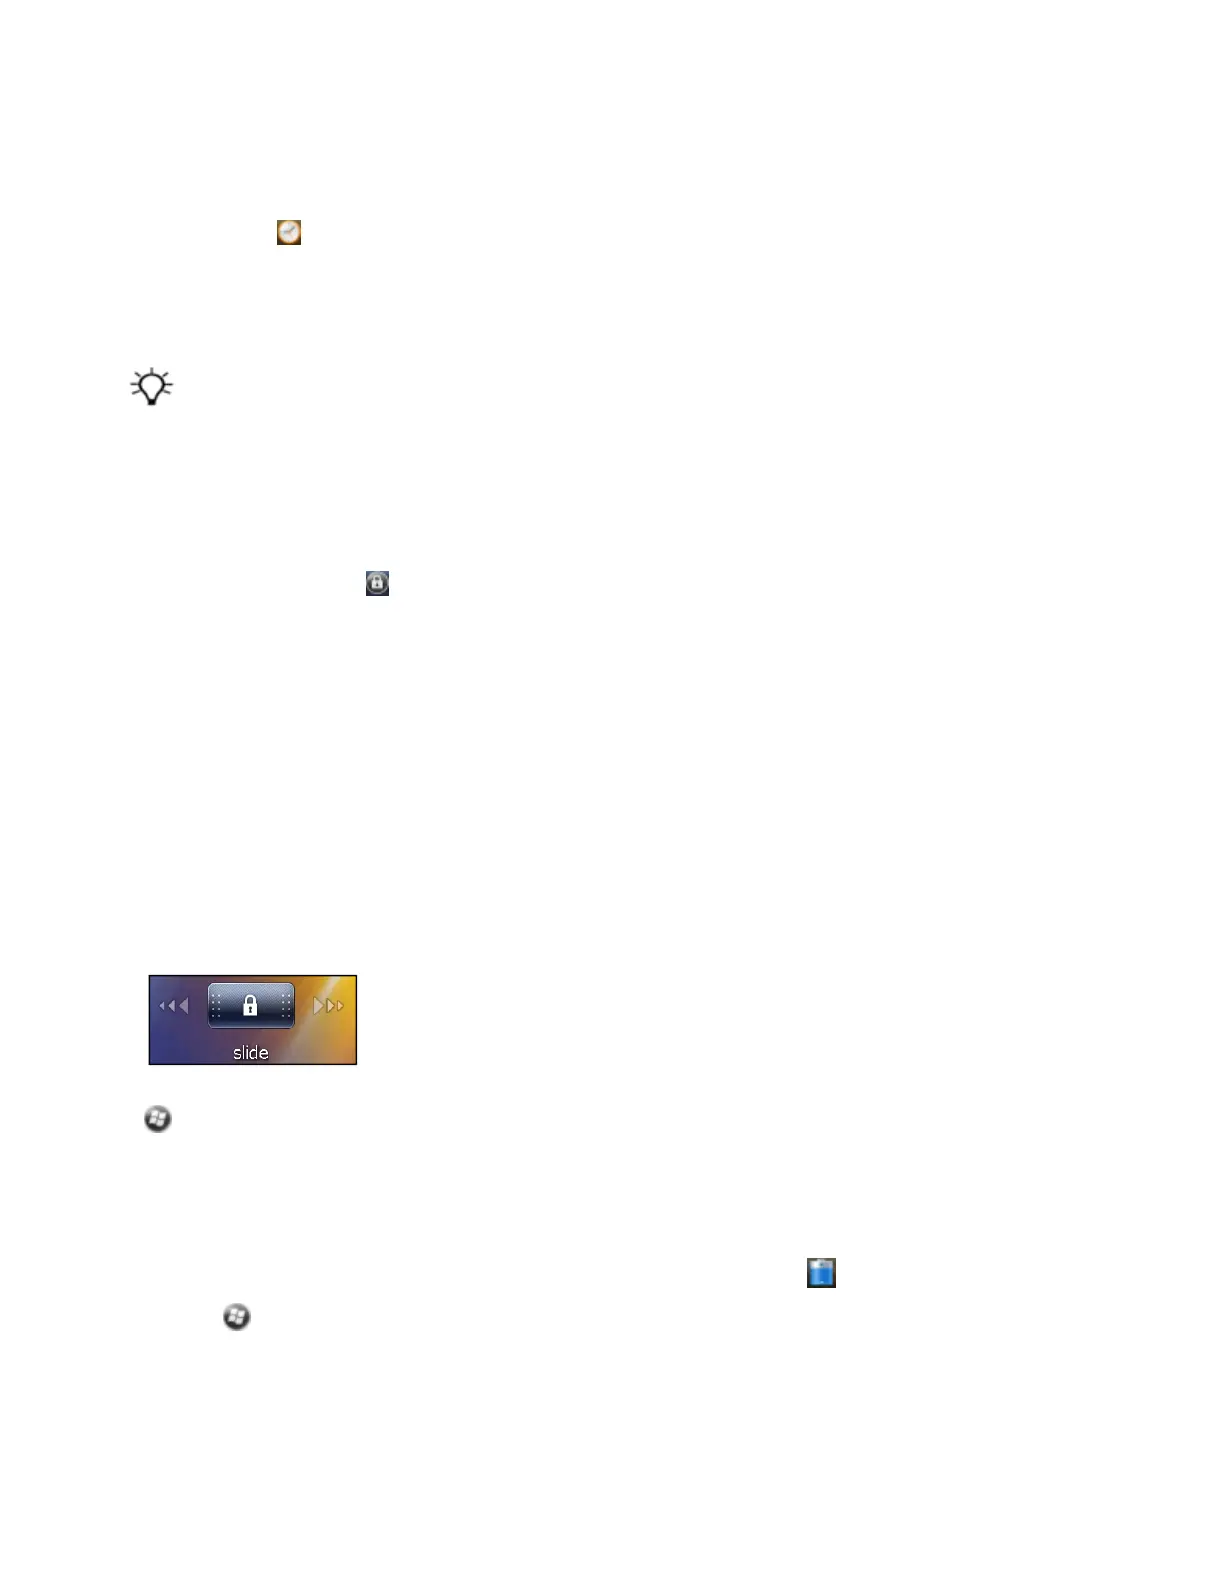
The lock screen provides multiple unlock sliders for different applications, when there are new
notifications. For example, if a new email has arrived, an email unlock slider takes you straight to the
email.
To unlock the device, slide the Unlock icon for the required application to take you straight to that
application.
You can help to keep your data secure by requiring a password each time the handheld is turned on. Tap
/Settings/Lock to set a password or to change password settings.
Power
To open the Power control, do one of the following:
l
Tap the title bar of the Home screen or the Start screen, and then tap .
l
Tap /Settings/ Power.