4: Running and Operating
Indicators/Icons on the Display
Stopping a Study
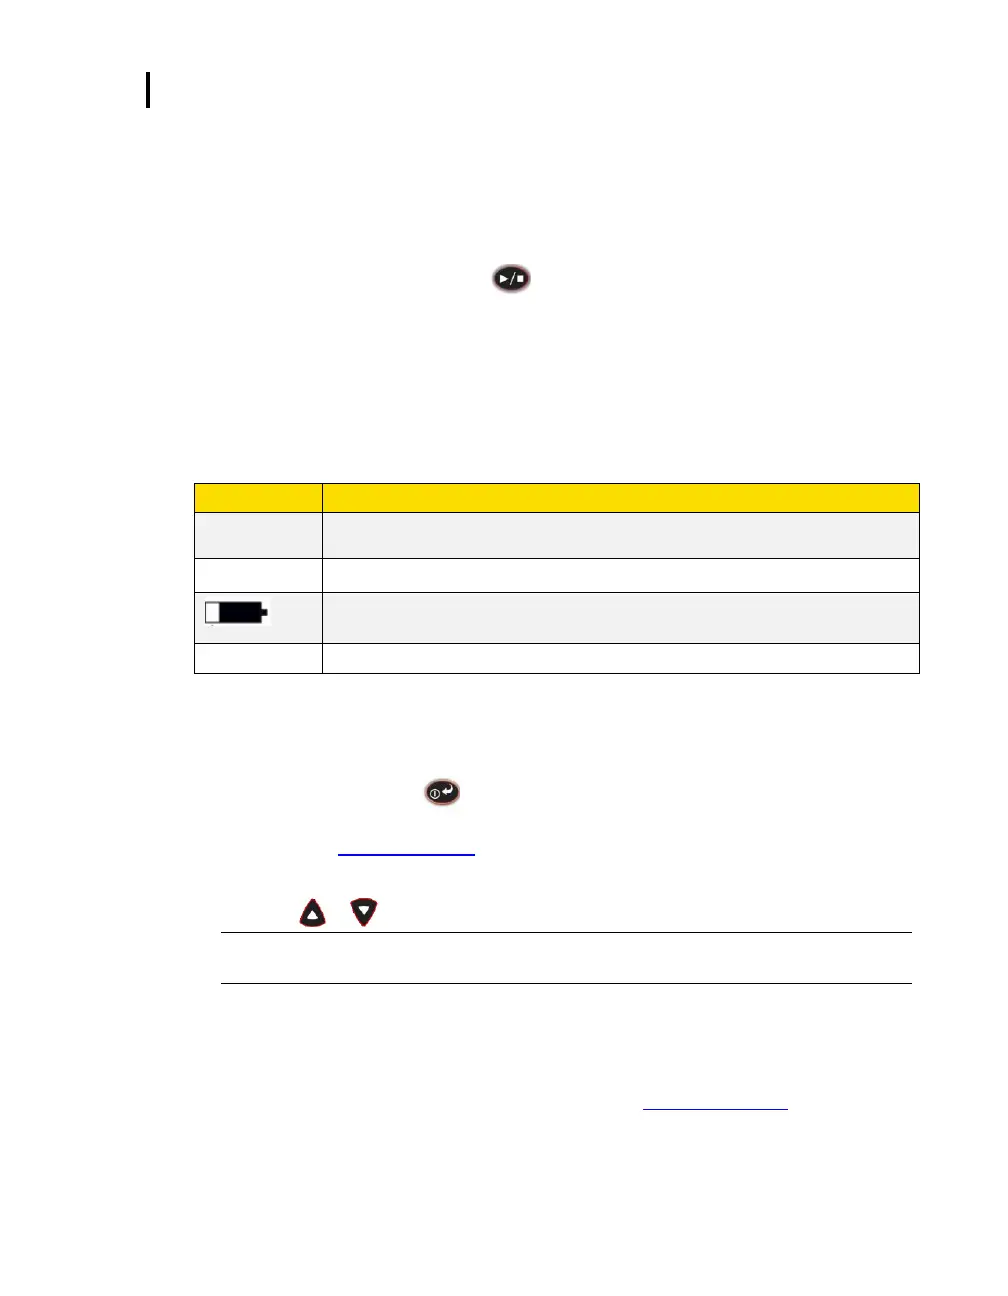
While the dosimeter is running, you can end the study by pressing and holding the stop button.
How to stop a noise study
1. While running, press and hold the button.
a. A 3, 2, 1 countdown will appear.
b. The stop indicator ■ will be shown in the display.
Indicators/Icons on the Display
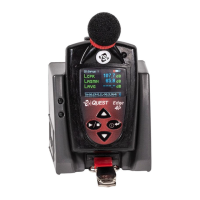
The Edge is equipped to notify you of operational/status updates. These indicators (or alert
notices) are located on the top right-hand side of the screen. Table 4-1 explains the function of
each indicator.
Stop—indicates the dosimeter is currently in the stop status (opposed to run).
Run—indicates the dosimeter is currently logging a study.
Battery charge status—when completely shaded in black, this indicates full battery
power. If half shaded, this represents ½ battery power
Overload—will appear whenever the input signal exceeds the range of the dosimeter.
Table 4-1: Indicators (i.e., run, stop, battery, and OL)
Viewing Measurements on the Display
The up/down arrows on the keypad of the dosimeter enable you to move through the various
measurements. Use the enter button to switch the display between (toggle) dosimeters
one, two, and three measurements and settings. For specific information on the views of the
Edge, please see “Views on the Edge”.)
Viewing measurements
1. Press the or arrow. This will move you through the views on the display.
NOTE: If you enabled only one measurement to appear on the display, when you press the
up/down arrows it will not show any other measurement values.
Locking or Securing your Dosimeter During Run
As explained previously under DMS setup parameters, the security or lock feature is designed to
lock the meter during run to ensure the study will not be stopped unless the lock feature is
disabled. (Setting this feature is programmed via DMS. See “Locking or Securing” for more
details.)
 Loading...