TROUBLESHOOTING CUTMASTER 10MM, 12MM
Manual 0-5230 6-3 Troubleshooting
2. Torch is being moved too fast across work piece
a. Reduce cutting speed.
3. Excessive oil or moisture in torch
a. Hold torch 1/8 inch (3 mm) from clean surface while purging and observe oil or moisture buildup
(do not activate torch). If there are contaminants in the gas, additional filtering may be needed.
4. Torch parts worn
a. Check torch shield cup, cutting tip, start cartridge and electrode. Replace as needed.
M. When torch trigger is activated gas in torch flows and then stops, but will not pilot. AC indicator light blink-
ing.
1. Torch parts not properly installed in torch. There may have been an attempt to remove torch parts without
turning off ON/OFF power switch to OFF on unit.
a. Turn ON/OFF switch to OFF position and then check to make sure torch parts are properly installed.
b. Turn ON/OFF switch to OFF and then back to ON.
6.02 Checking Unit Before Applying Power
!
The following safety information shall be read before starting troubleshooting and servicing.
1. Turn SW1 to OFF position, and disconnect unit from primary line voltage before working on unit.
2. Significant DC voltage can remain on capacitors after unit is OFF. Wait until all front panel LED’s are OFF
before removing case.
3. Check DC bus voltage according to Section 6.06 after removing case and make sure the DC bus voltage is
closed 0V.
4. Before troubleshooting or applying power to unit, complete the checks through 6.05 and 6.14, to avoid
causing further damage.
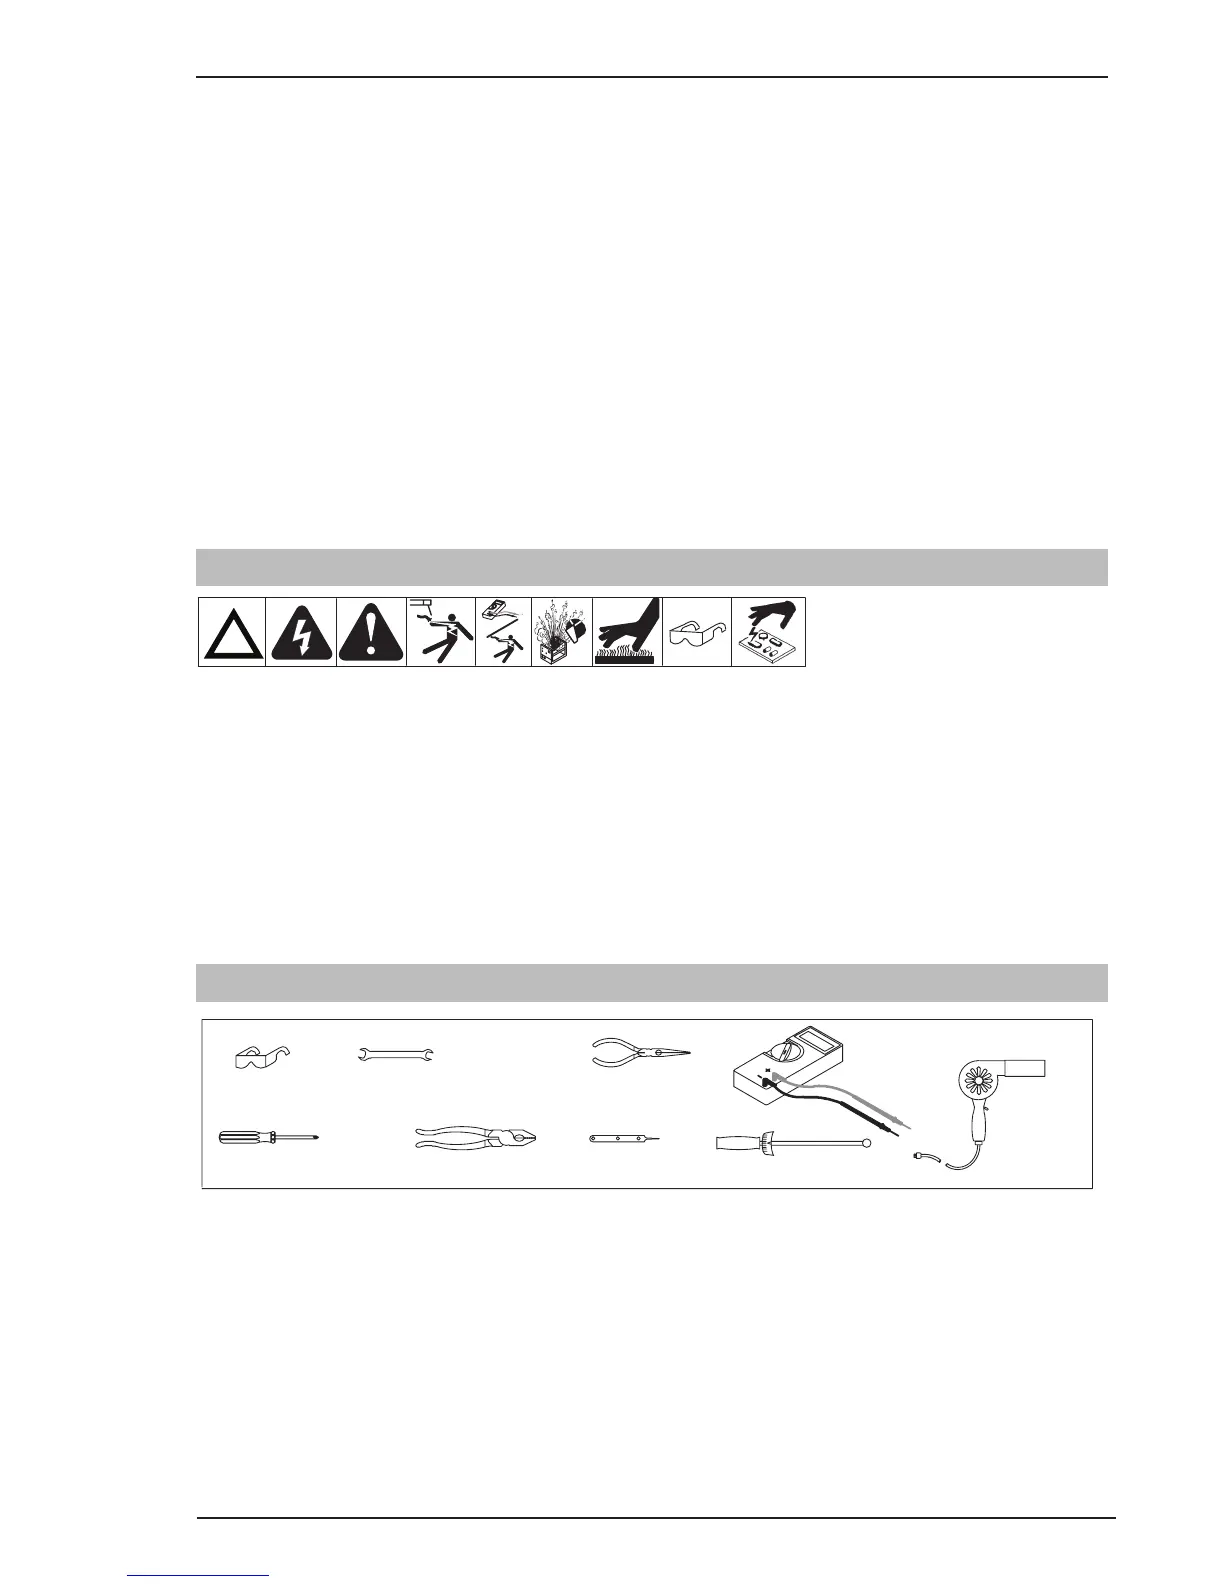
6.03 Tools Needed for Troubleshooting and Servicing
Art # A-09849
Figure 6-1 Tools Needed for Troubleshooting and Servicing
• DigitalMultimeter
• DCClip-onammeter
• Screwdriverandspanner
• CRO(20Mhzbandwidth)&isolatingtransformer