Document: LT0344 Vigilant MX1 Operator Manual
Issue 2.4 8 August 2017 Page 3-5
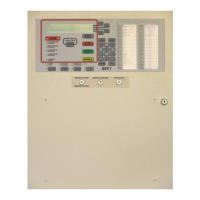
Vigilant MX1
Site Name
MX1 V1.34 NZS 4512:2003 09:48:27
System is off-normal 15/01/10
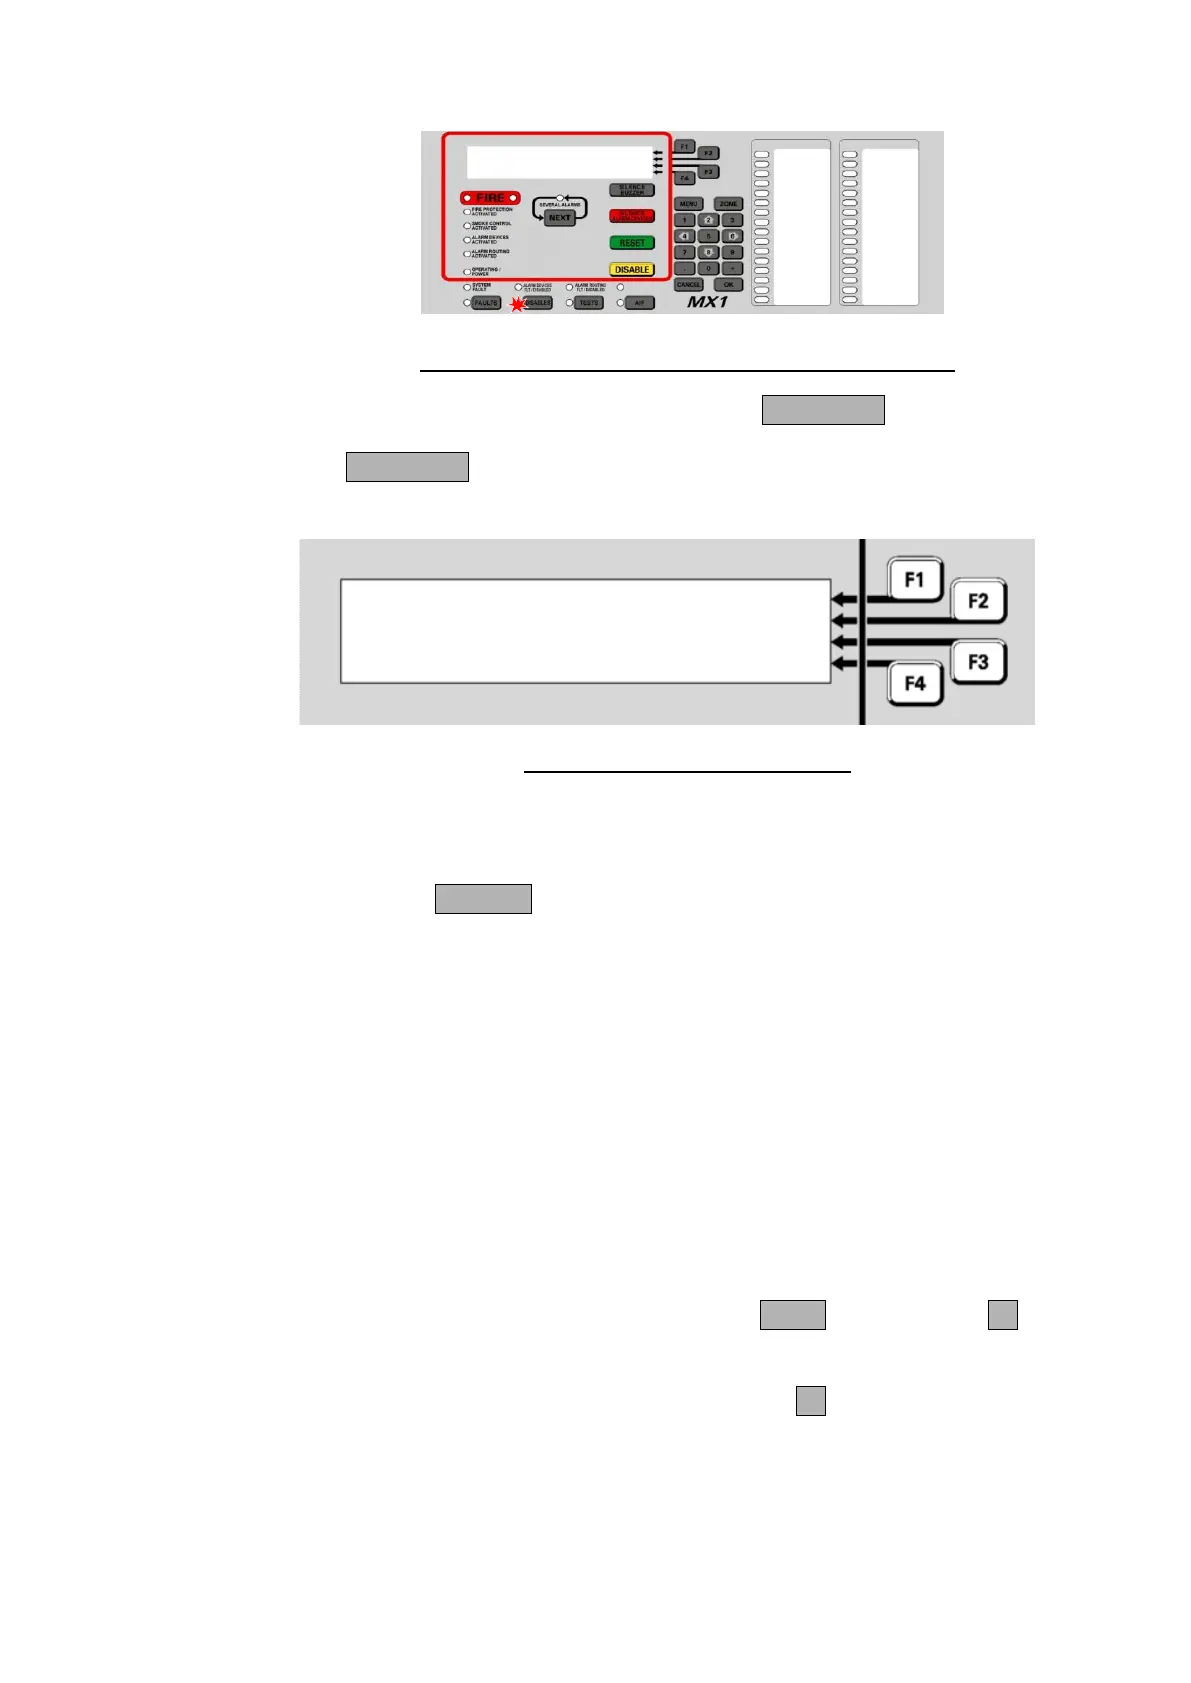
Fig 3-3 – Operator Interface Showing Disables Condition
To view the list of disabled items, press the DISABLES key.
The DISABLES key will work from most displays as well as the base
display. This will show the first item in the Disables list.
Zone 001 Std Detection G1 | ENABLE
Office | PREV
| NEXT
Fault Disabled | MENU
Fig 3-4 – Viewing the Disables List
In the example here, zone 001 has a fault as well as being disabled, but
the Disabled condition means that this will not produce a Fault indication.
However, it will still appear in the list of items that can be viewed by
pressing the FAULTS key. Similarly disabled zones in alarm will indicate
the alarm status when the Disables key is pressed.
Disabling a zone is a convenient way of hiding the state of all the points
associated with that zone. However, the points themselves are not
disabled by disabling the zone and may still affect other zones or outputs
that they are mapped to.
Note that the disabled point or zone may have other conditions present
(fault, alarm, etc.), but that these indications are prevented from affecting
the system by the point or zone being disabled.
The disabled zones are listed first, in numerical order, followed by the
disabled points, also in numerical order.
To step through the Disables list, press the NEXT key or NEXTF3 soft
key.
To step to the previous item, press the PREVF2 soft key.
If there are no disabled items in the list, the display shows “no disables
found” and then changes to the “Disable” menu. See page 3-6, “Disable
Menu Options”.
Viewing the
Disabled Items