Vigilant MX1 Operator Manual Document: LT0344
Page 8-12 8 August 2017 Issue 2.4
From time to time it may be necessary to replace an MX loop device with
a new one. When supplied, new MX devices are factory set to address
255. This section describes two methods to install and automatically re-
address replacement MX devices.
From the base display press MENU three times, then press
AUTOADDF4 to show two choices:
OneAtTmeF1 – “One at a Time” – allows one device to be
replaced at a time by removing that device, fitting the appropriate
replacement, then re-addressing the replacement from the MX1 front
panel.
MultipleF2 – allows multiple devices to be disabled from the
front panel, then each device to be replaced (one at a time) and for
the replacement to be automatically re-addressed when it is fitted.
This allows multiple devices to be replaced in one trip away from the
MX1.
This method can be used when
- a single addressable device is to be replaced, and
- the replacement device is of the same type, and
- the replacement device is unaddressed (i.e., set to the factory
default address of 255).
Remove the device to be replaced (note that this may create a device fail
fault) and fit the replacement unit. Press OneAtTmeF1 at the AutoAdd
menu. This will result in one of the following displays – Figures 8-14 – 8-
18.
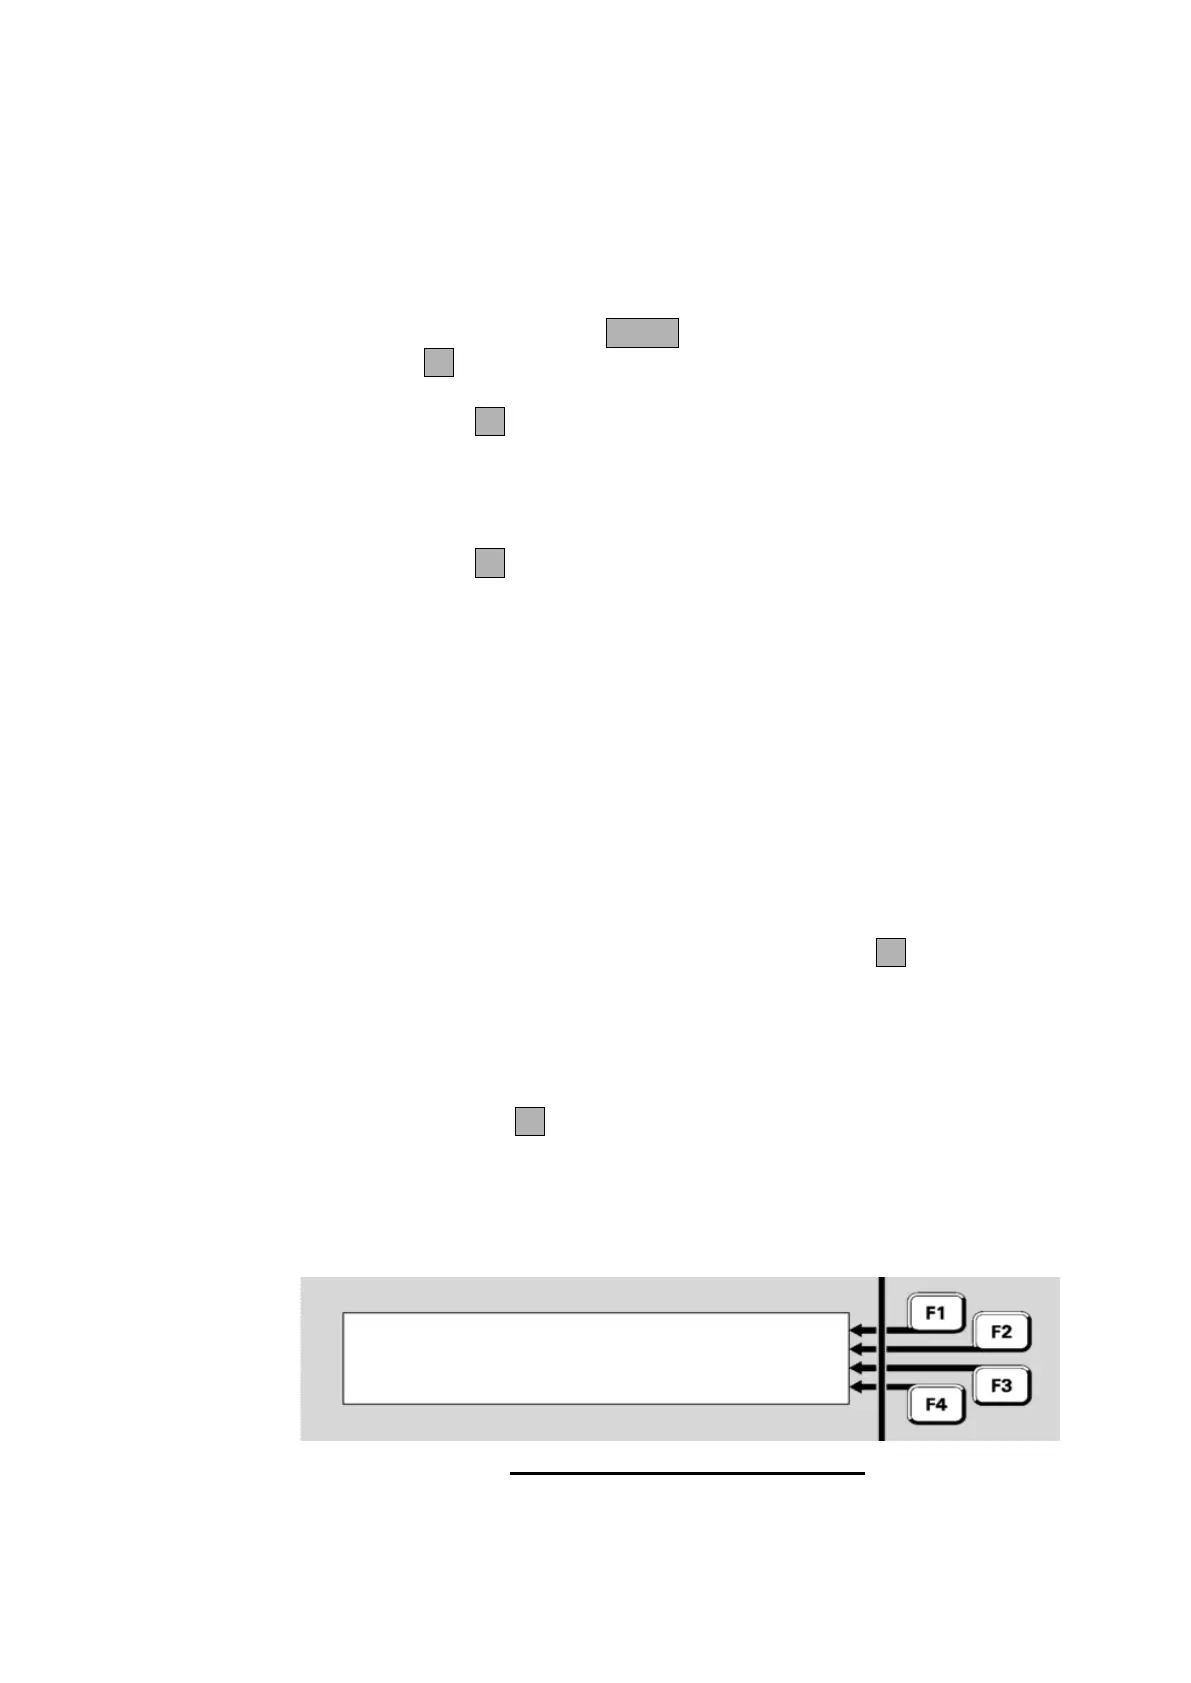
Figure 8-14 shows the device that has been removed and that the
replacement device has been recognised and is ready to be
programmed. Press F4 to program the replacement device with the
missing device’s address. Once done, the device-fail fault on the point
should clear, and affected zones can be reset to clear their faults.
Repeat the process for additional devices needing replacement.
Device X.XXX in Device Fail
1 unaddressed device present
Press F4 to address device 255 to XXX
Fig 8-14 – Device Programming Menu
One At A Time
Re-Addressing