EasyManuals Logo

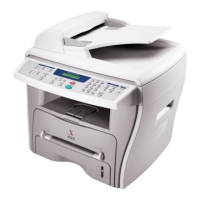
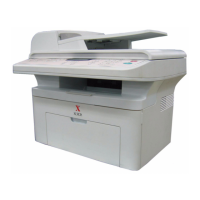
Xerox WorkCentre PE220 User Manual

Xerox WorkCentre PE220
200 pages
To Next Page IconTo Next Page
To Previous Page IconTo Previous Page
Page #73 background imageLoading...
Page #73 background image
5Printing
Xerox PE220 5-7
11. At the next screen click Have Disk, and browse to your CD-ROM drive.
Open the "driver" directory, then open the "Print" directory, then open the
"AddPrint" directory and then choose "Win9x" directory and click OK.
12. The next screen will display the "Xerox WorkCentre PE220 Series "
driver, click Next.
13. Click the port that the printer cable is attached to, in this case USB and
click Next.
14. You can type in a name for your new printer or accept the default then
click Next.
15. Choose "Yes" to print a test page and click Finish. The PE220 driver will
now be installed and a test page should print.
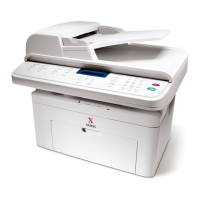
Table of Contents

Other manuals for Xerox WorkCentre PE220

Questions and Answers:

Question and Answer IconNeed help?

Do you have a question about the Xerox WorkCentre PE220 and is the answer not in the manual?

Xerox WorkCentre PE220 Specifications

General IconGeneral
Print TechnologyLaser
Print Resolution600 x 600 dpi
Copy Resolution600 x 600 dpi
Fax Transmission Speed33.6 Kbps
Paper Capacity250 sheets
ConnectivityUSB 2.0
FunctionsPrint, Copy, Scan, Fax
Grayscale Depth8-bit
Standard Media Capacity250 sheets
PC ConnectionUSB 2.0
Scan Resolution600 x 600 dpi
Color Depth24-bit
Media Size ClassA4
Max Media Size8.5 x 14 inches
Supported Media TypeEnvelopes, Transparencies, plain paper
Supported Operating SystemsWindows, Mac OS
Print SpeedUp to 22 ppm

Related product manuals