12
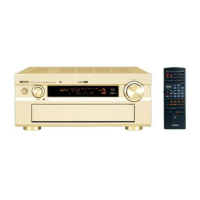
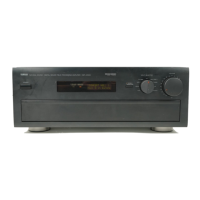
RX-V3300/DSP-AZ2
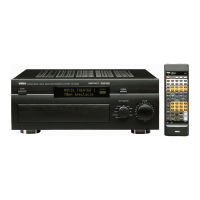
RX-V3300/DSP-AZ2
Sub Chassis
サブシャーシ
Bracket
ブラケット
Support
サポート
DSP P. C. B.
VIDEO (5) P. C. B.
A
A
A
9
B
9
9
9
8
A
CB502
CB505
Fig. 2
4. Removal of DSP P.C.B.
a. Remove 2 screws (8) and then remove the Supports.
(Fig. 2)
b. Remove 10 screws (9) and then remove the Bracket.
(Fig. 2)
c. Remove 3 screws (0). (Fig. 3)
d. Remove CB502 and CB505. (Fig. 2)
e. Remove the DSP P.C.B. upward together with the
shield case. (Fig. 2)
5. Removal of Sub Chassis
a. Remove 6 screws (A). (Fig. 2)
b. Remove the Sub Chassis forward. (Fig. 2)
6. Removal of VIDEO (5) P.C.B.
a. Remove 2 screws (B). (Fig. 2)
b. Remove the VIDEO (5) P.C.B. which is connected
directly to the lower P.C.B. with connectors. (Fig. 2)
4. DSPP.C.B.の外し方
a. 8のネジ2本を外し、サポートを取り外します。(Fig.2)
b. 9のネジ10本を外し、ブラケットを取り外します。
(Fig.2)
c. 0のネジ3本を外します。(Fig.3)
d. CB502、CB505を外します。(Fig.2)
e. シールドケースといっしょに、DSPP.C.B.を上方に取
り外します。(Fig.2)
5. サブシャーシの外し方
a. Aのネジ6本を外します。(Fig.2)
b. サブシャーシを前方に取り外します。(Fig.2)
6. VIDEO(5)P.C.B.の外し方
a. Bのネジ2本を外します。(Fig.2)
b. VIDEO(5)P.C.B.を取り外します。下方のP.C.B.と直
接コネクター接続されています。(Fig.2)
0 C
ground point
アース箇所
Fig. 3