6-9
IM 04P01B01-01E
Setup Operations for Convenient Functions (Setting Mode)
6
6.8 Setting the Message String
This section explains the details of setting the message strings to be printed on the chart
paper. Up to five message strings can be registered.
Procedure
1.
Hold down the
MENU
key for 3 seconds to enter Setting mode.
2.
Press the key or SHIFT + key to select Aux and then press the key.
3.
Press the key or SHIFT + key to select Message and then press the
key.
4.
Set each item and press the key.
Use the
key or SHIFT + key to select values.
For the procedure on how to enter values or characters, see section 4.2.
If you press the ESC key in the middle of the operation, the settings entered up to
then are cancelled, and the display returns to a higher level menu.
5.
When the Setting complete screen appears, do either of the following:
To correct the setting, press the
key.
If you are done, press the ESC key.
6.
Hold down the
MENU
key for 3 seconds to return to Operation mode.
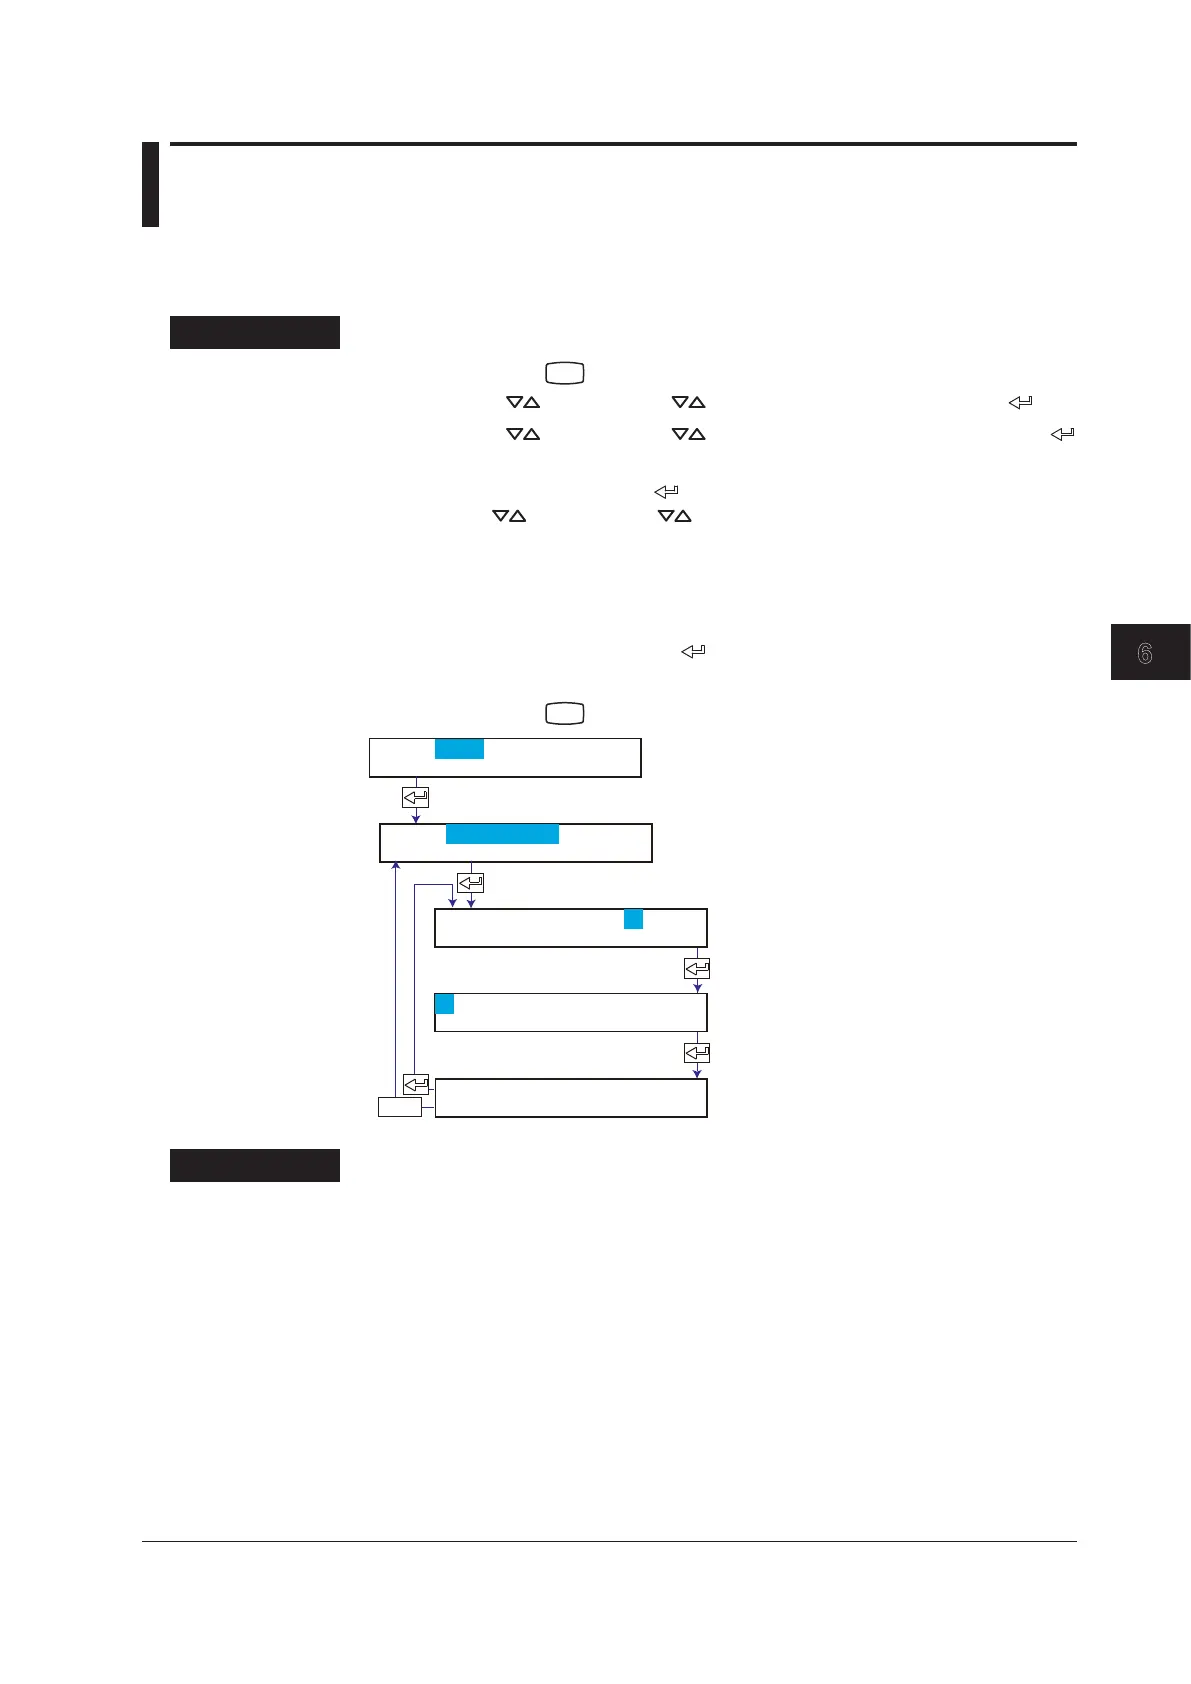
Select the message No.
Set message string.
The new setting takes effect.
ESC/?
Aux=Message
Message No.=1
CHR:A-Z
Message 1
Explanation
Characters That Can Be Used for Messages
Set the message using up to 16 characters.
The available characters are as follows:
Alphabet,numbers,symbols(%,#,°,@,+,–,*,/,(,),µ,Ω,
2
,
3
, .), and space
<Related Topics> Printing messages: Section 3.10
 Loading...