IM 04P01B01-01E
11-6
11.5 Adjusting the Pen Position (Pen Model)
This section explains the details of adjusting the pen position on the chart paper.
It is recommended that the pen be adjusted once a year to assure its recording accuracy.
Note
Pen position is adjusted under standard operating conditions when the recorder is shipped from
the factory. Because the chart paper may expand or contract depending on the environment in
which the recorder is used, it is recommended that the position be readjusted before use.
Procedure
1.
Warm up the recorder for at least 30 minutes.
2.
Check that the operating environment such as ambient temperature and humidity
is within the normal operating conditions (see section 12.6).
3.
Hold down the
key for 3 seconds to enter Setting mode.
4.
Hold down the and keys simultaneously for 3 seconds to enter Basic
Setting mode.
5.
Press the key or SHIFT+ key to select P_Adj and then press the key.
6.
Press the key to select Zero (left edge of the chart paper) or Full (right edge
of the chart paper) and then press the
key.AdjustZerorstandthenFull.
7.
Select the Pen No.
8.
Adjust the pen position.
Increase or decrease the setting to align the pen position with the scale line on
the chart paper. Then, press the
key. To change the setting, press the
key to move the cursor and
key to change the value.
The pen moves after the
key is pressed.
A value change of 1 corresponds to 0.033 mm change in the pen position. De-
creasing the value moves the pen to the left and increasing the value moves the
pen to the right.
9.
Press the key to set adjust other pens.
Press the ESCkeytonishtheadjustment.Thescreenreturnstothe
Basic=P_Adj screen.
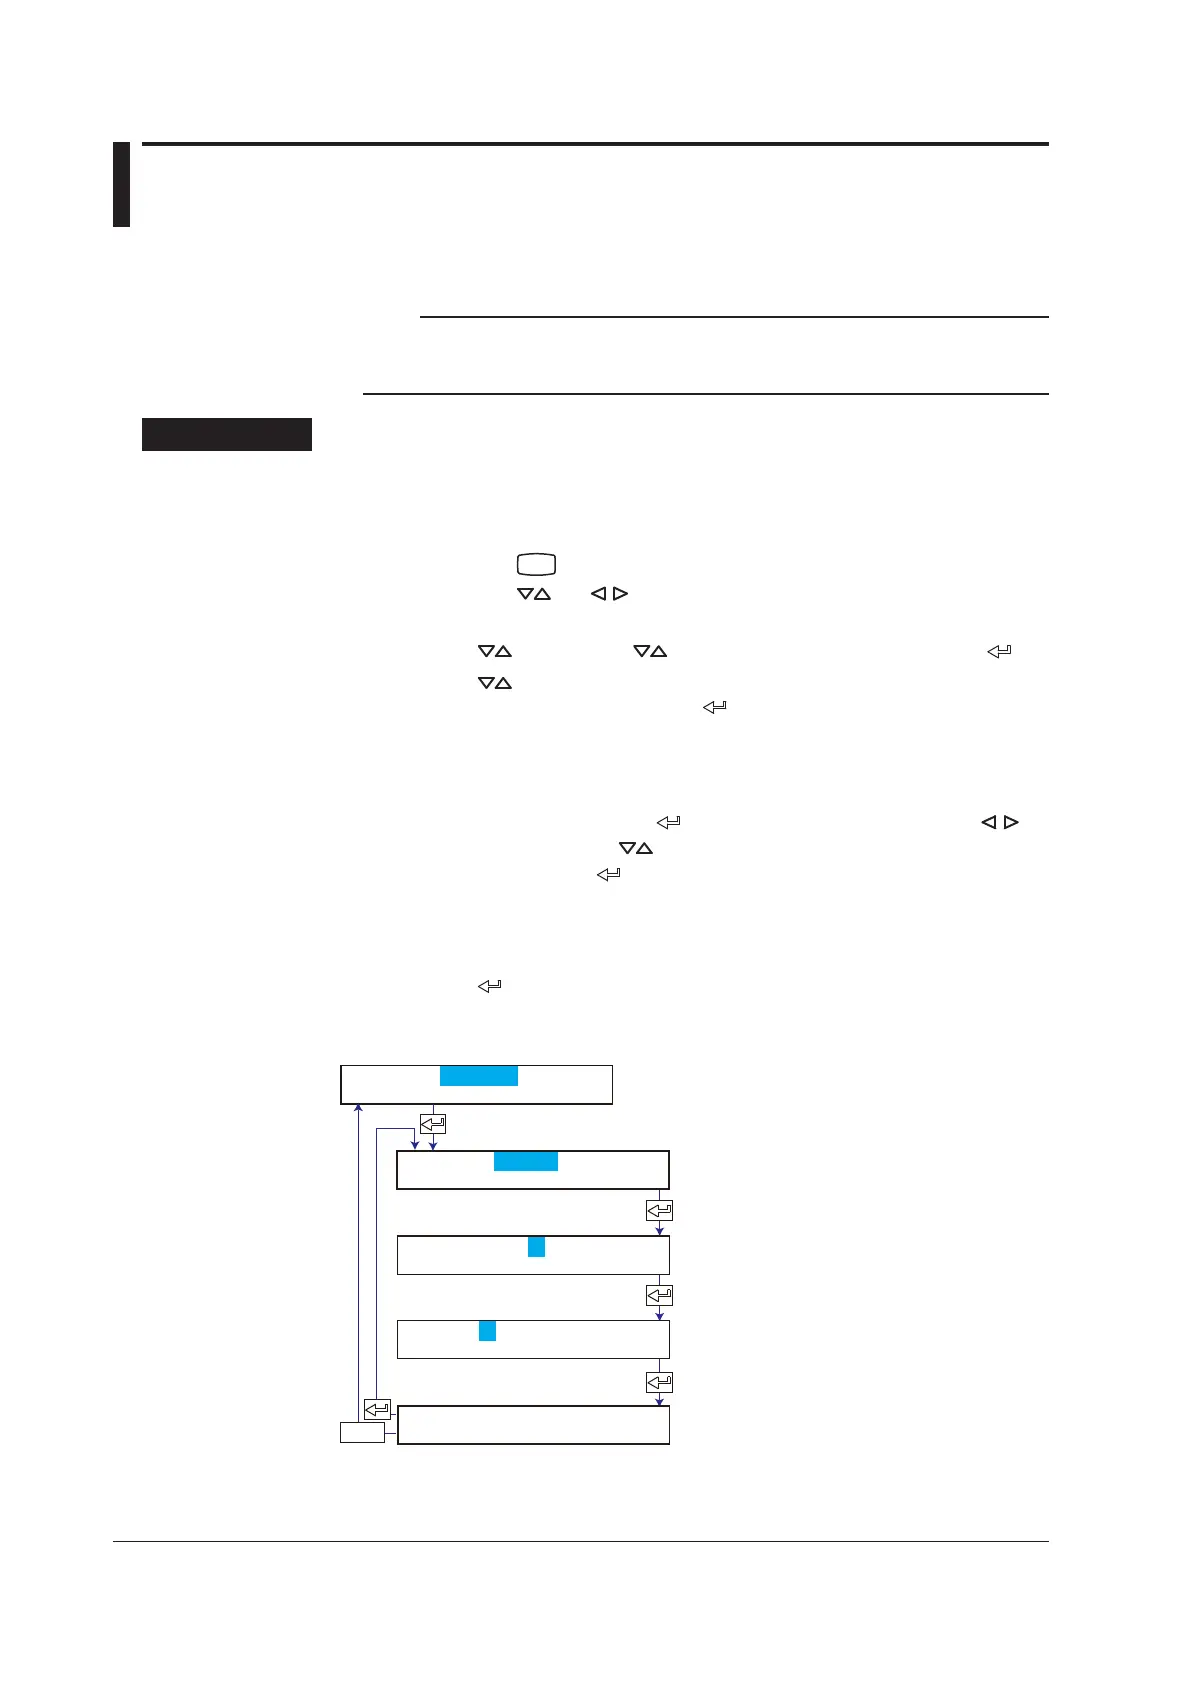
Select the pen No.
Select Zero or Full.
Change the value to adjust the pen
position.
The pen moves.
ESC/?
P_Adj=Zero
P_Adj
Pen No.=1
Zero=40
 Loading...