IM 04P01B01-01E
2-12
Wiring Procedure
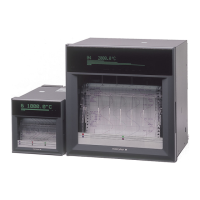
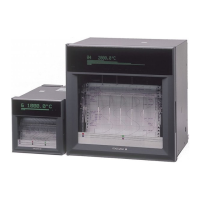
Panel Mount Type
The power supply terminals and protective ground terminals are located on the rear
panel.
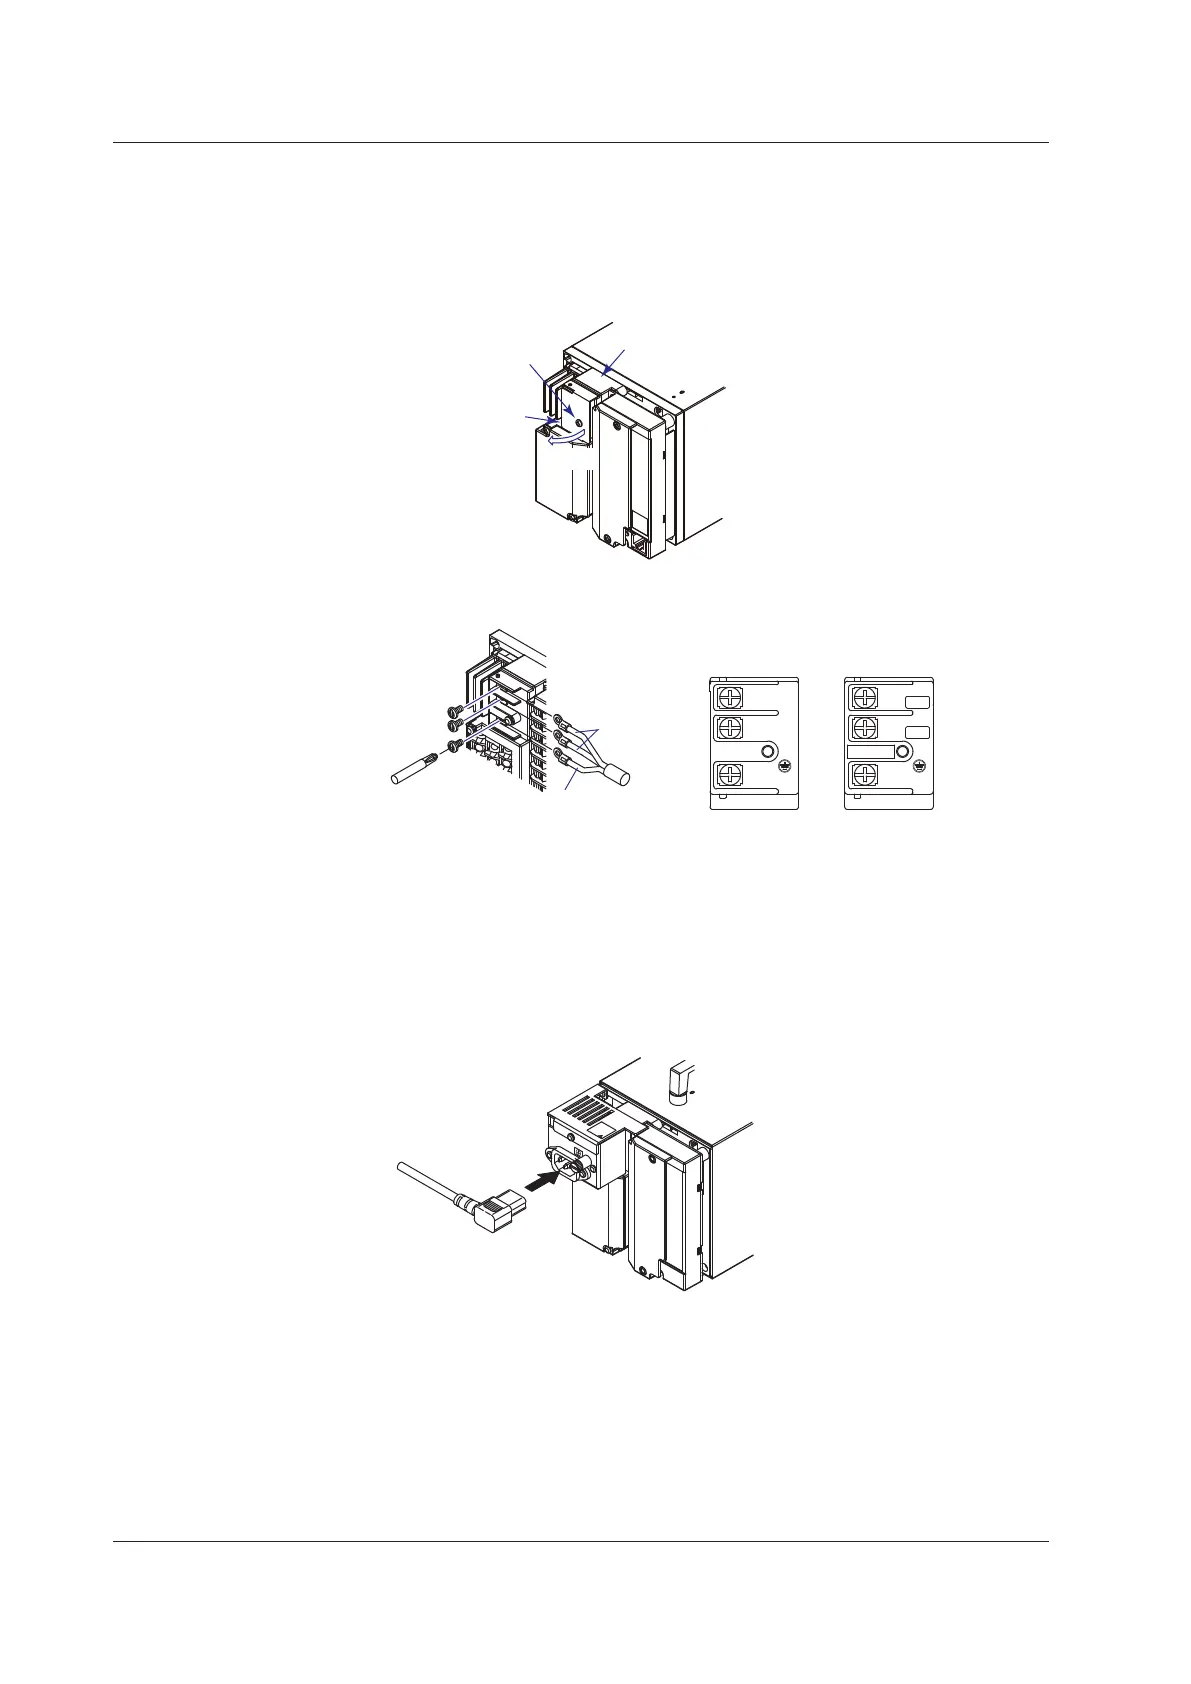
1.
Turn OFF the power switch on the recorder and open the power terminal cover.
the power terminal
cover in place
Power
terminal block
Power
terminal cover
Open
2.
Wire the power cord and the protective ground cord to the power supply terminals.
Use ring-tongue crimp-on lugs (designed for 4 mm screws).
Philips
Crimp-on lug
with insulation
sleeves
Power cord
Protective ground
cord
• Other than /P1 • /P1
(24 VDC/AC power supply)
L
N
L
N
DC/AC24V
+
-
3.
Close the power supply terminal cover and secure it with the screw. The proper
torque for tightening the screws is 0.6 N•m.
Portable Type (/H5x Option)
1.
Check that the power switch to the recorder is turned OFF.
2.
Connect the plug on the accessory power cord to the power supply connector on
the rear panel.
100-240V~
50/60Hz
40VA MAX
3.
Ensure that the power outlet to be used meets the conditions on the previous
page and that the voltage of the power supply is within the maximum voltage
rating of the power cord, then connect the other end of the power cord to the
power supply outlet.
The AC outlet must be of a three-prong type with a protective earth ground termi-
nal.
2.5 Power Supply Wiring
 Loading...