3 - 38 TC51 User Guide
1. Touch Menu icon.
2. Touch Setup Custom Demo.
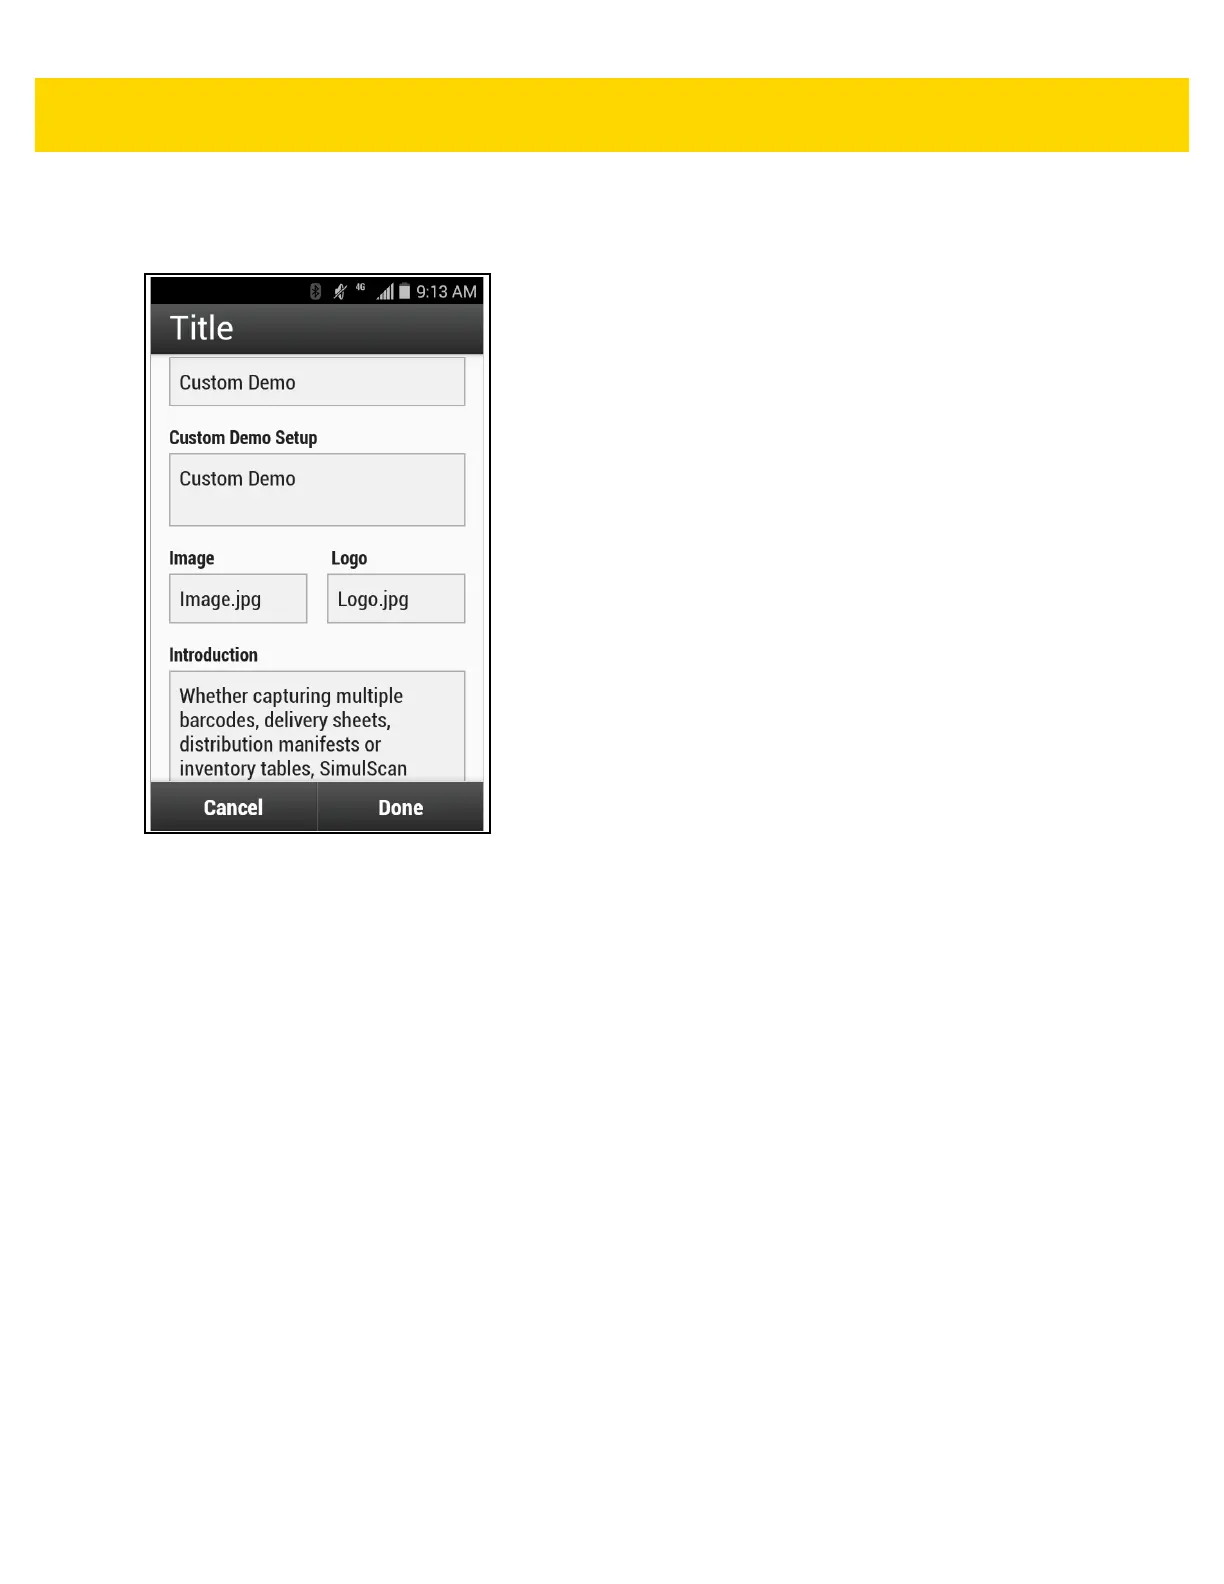
Figure 3-29 Custom Demo Setup Screen
3. In the Name text box, enter a name for the custom demo. This name appears in the drop-down menu.
4. In the Custom Demo Setup text box, enter a title for the demo. This appears in the demo screen title box.
5. Touch the Image field to select an image from the SD card.
6. Touch the Logo field to select the logo image from the SD card.
7. In the Introduction text box, enter text that will appear on the demo screen.
8. In the Header color text box, enter the hex color value for the header.
9. In the Icon color text box, enter the hex color value for Menu icon and button text.
10. In the Key Features text box, enter text that will appear under the Key Feature heading. This text appears in
bullet format.
11. Touch one of the SimulScan Document Capture Template fields to select a template
a. Browse external storage - select a template loaded on the device.
b. Default templates - select one of the default templates.
c. Select from server - select a template from the SimulScan server.
12. Touch Done. The customized example appears on the screen.
13. Touch Start SimulScan to begin the demonstration.
Default Templates
The following templates are available:
• Default - BankCheck.xml – Use this template to read the MICR E-13B font (length between 19 and 40
characters) on bank checks.