Pannoramic 250 1.15 User’s Guide 4 Software Description
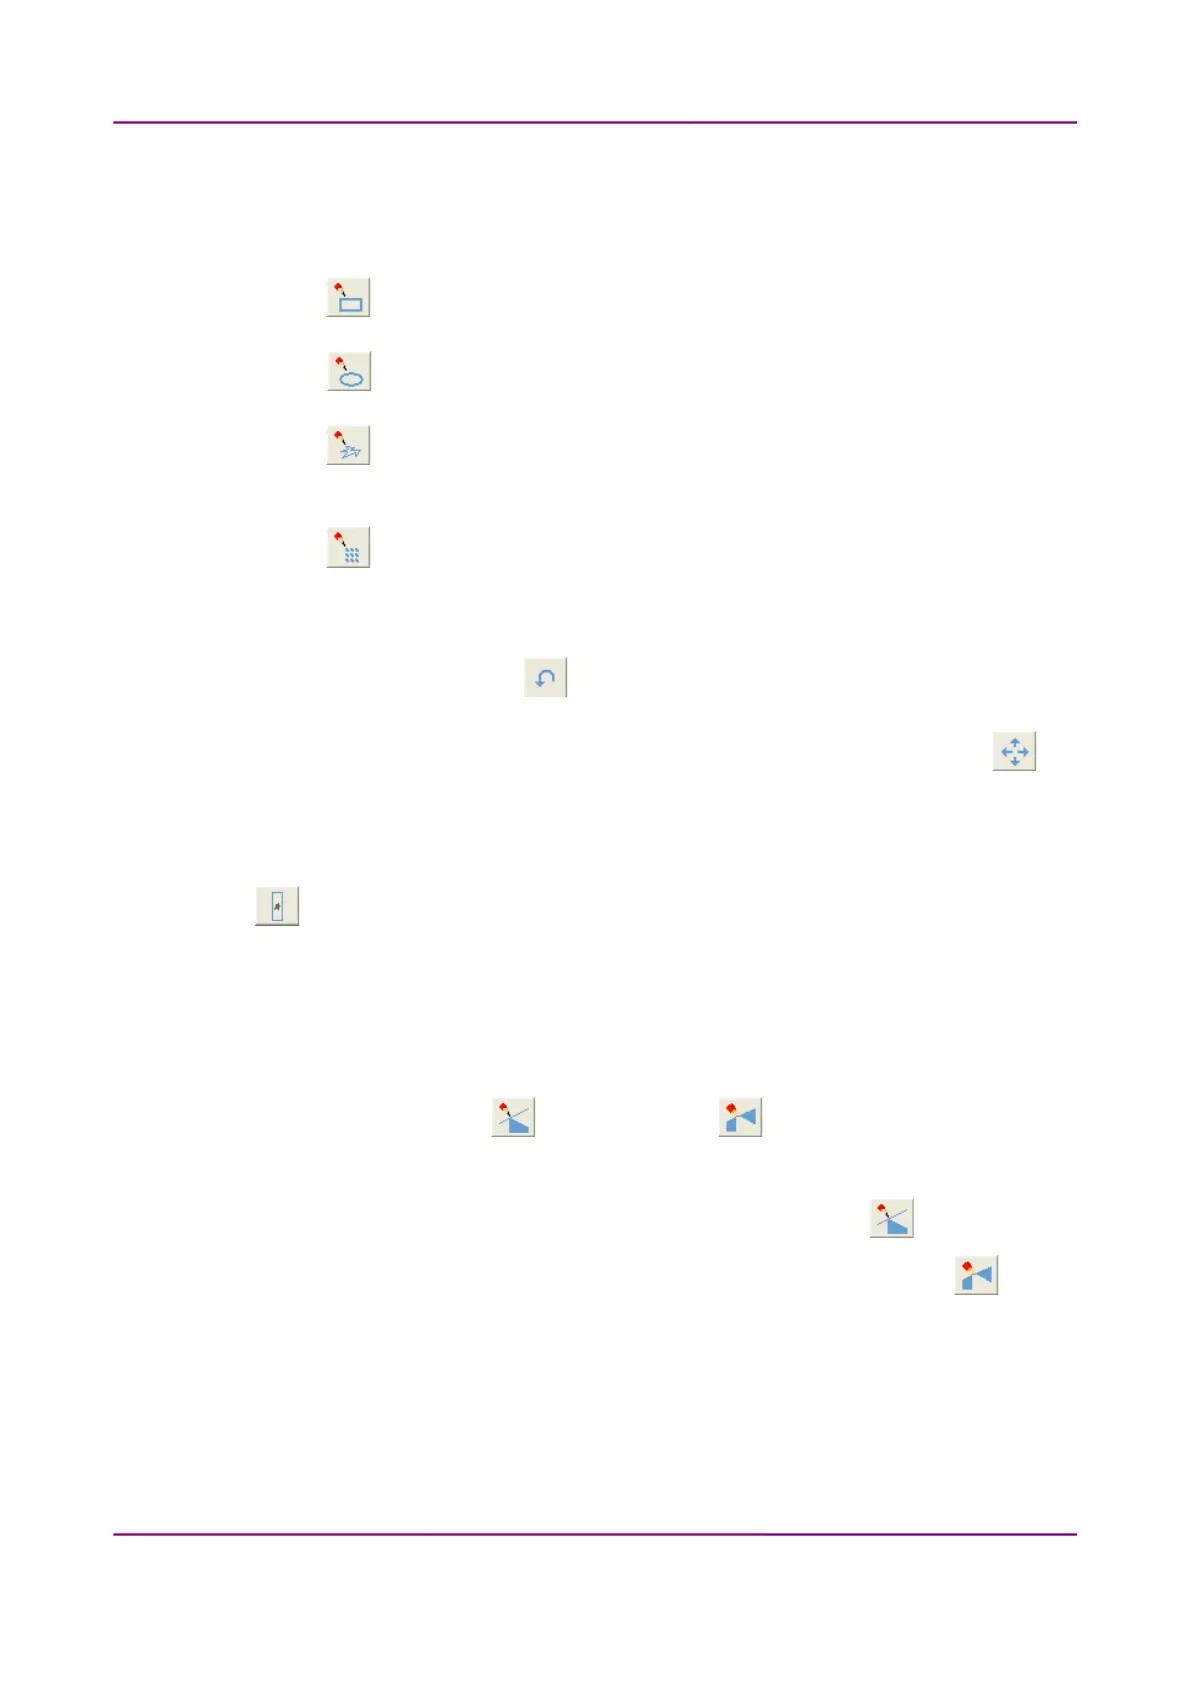
You can select the area to be scanned with the different tools on the toolbar:
• Square tool
• Ellipse tool
• Polygon tool: you can finish the selection process with the polygon tool by
double-clicking with the mouse.
• TMA tool
To undo your last action, click (maximum of 40 changes).
To position the specimen holder that holds the current slide, click Position sample and
then click on the area of interest on the preview image. This will define the Live image that
you can access from the Focus tab panel.
To display the original image created by the preview camera (Brightfield or Darkfield), click
.
To shrink or enlarge the preview image, set the zoom level at the left Size selection box
(50%-400%). To fit the preview image to the preview area, click Fit.
Choose from the Scanned or the Not scanned option from the right selection
box.
• To add the selected areas to the preview, select the Scanned option.
• To delete the selected areas from the preview, select the Not scanned option.
March 13, 2012 – Rev. 1 3DHISTECH Ltd.
60(135)