Delta AESFill AF4 – 12 Machine Manual 22/58 Setup
5.1.3 Foot switch
Plug the foot switch cable into the matching connector on the
AF1. Plug the machine into a source of 117 VAC. Power up the
machine via the rocker switch located on the rear panel of
the AF1.
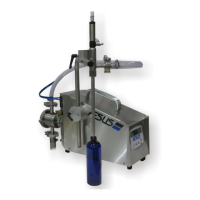
5.1.4 Screen Setup
The screen should power up, display the version screen for a
few seconds and then go to the RUN screen.
Figure 5-5: Screen
To change any parameters, such as fill quantity, motor speed,
nozzle response time and the auto-recycling function, please
refer to the Screens section.
To prime the system, see the Quick and Easy Priming
directions below.
5.1.5 Container for Filling
Place a suitably sized container under the nozzle. Press and
release the foot switch to begin a single fill. At any time
during the fill, pressing the foot switch again stops the filling.
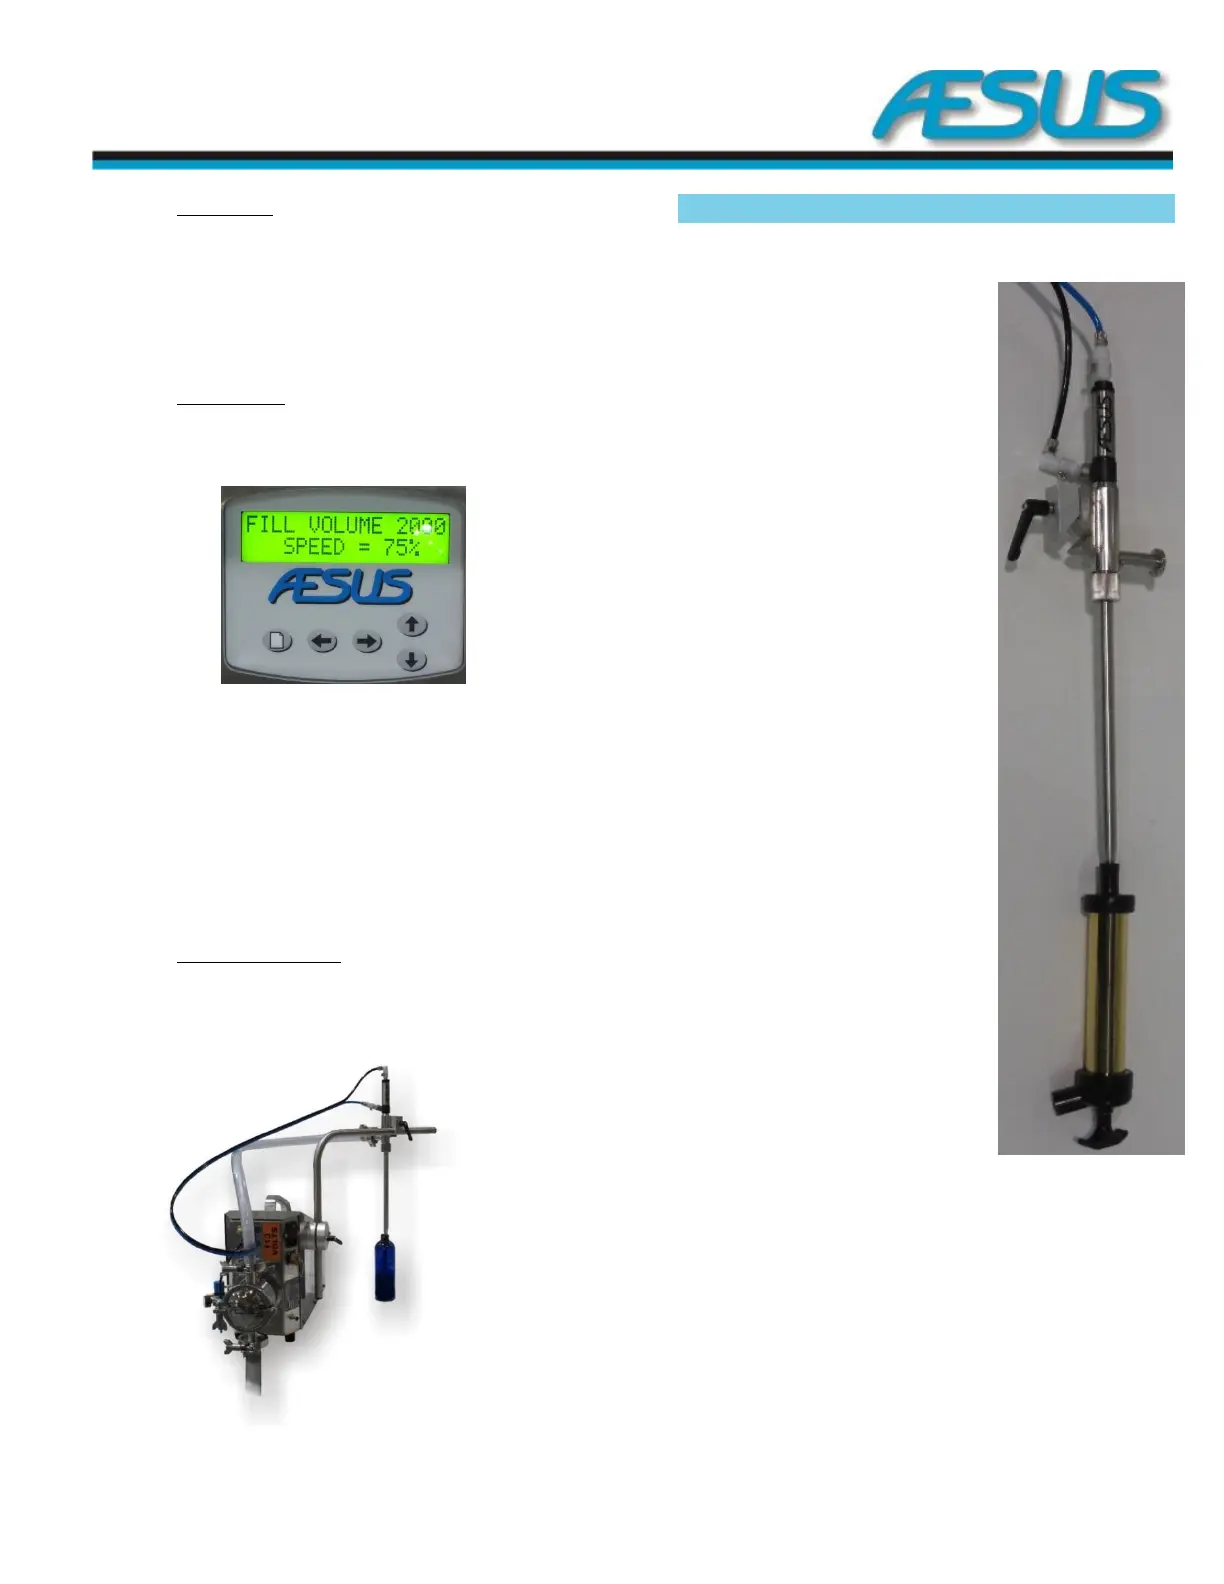
Quick & Easy Priming 5.2
1. Take both air hoses off the nozzle, and attach the
black pressure hose to the side of the nozzle and the
blue hose to the top in order
to raise the internal plunger
and open the tip.
2. Alternately, you can:
a. Navigate to special
settings
b. Enter the
continuous pumping
section
c. In the Nozzle only
screen open the
nozzle by pressing
arrow up or arrow
down.
3. Attach a suitable hose from
the AESPRIME unit to the
bottom opening of the
nozzle spout.
4. Pump the AESPRIME unit
several times until the liquid
is seen to rise up through the
inlet hose, through the pump
and is seen in the outlet
hose.
5. Remove the black pressure
air hose from the side of the
nozzle and attach it back to
the top.
6. Reattach the blue air hose to
the side of the nozzle.
7. Alternately press arrow up or
arrow down to shut the
nozzle.
8. Detach the AESPRIME unit.