CHAPTER 2: INSTALLATION AND SETUP
HF-2500A HIGH FREQUENCY WELD CONTROL
990-371 2-9
5. Refer to the weld head manufacturer user’s manual. Connect the weld head air valve solenoid
cable connector to the Power Supply AIR VALVE DRIVER connector.
NOTE: This connector supplies 24 VAC power only, and will not drive 115 VAC air valves.
6. Connect a properly filtered air line to the air inlet fitting on the weld head. Use 0.25 inch O.D.
by 0.17 inch I.D. plastic hose with a rated burst pressure of 250 psi. Limit the length of the air
line to less than 40 in. (1 m) or electrode motion will be very slow.
NOTE: Use a lubricator only with automated installations.
7. Turn on the air system and check for leaks.
8. Set the WELD/NO WELD switch on the Power Supply front panel to the NO WELD position. In
this position, the Power Supply cannot deliver weld energy, but it can control the weld head.
9. Set the circuit breaker on the rear panel
of the Power Supply to the ON position.
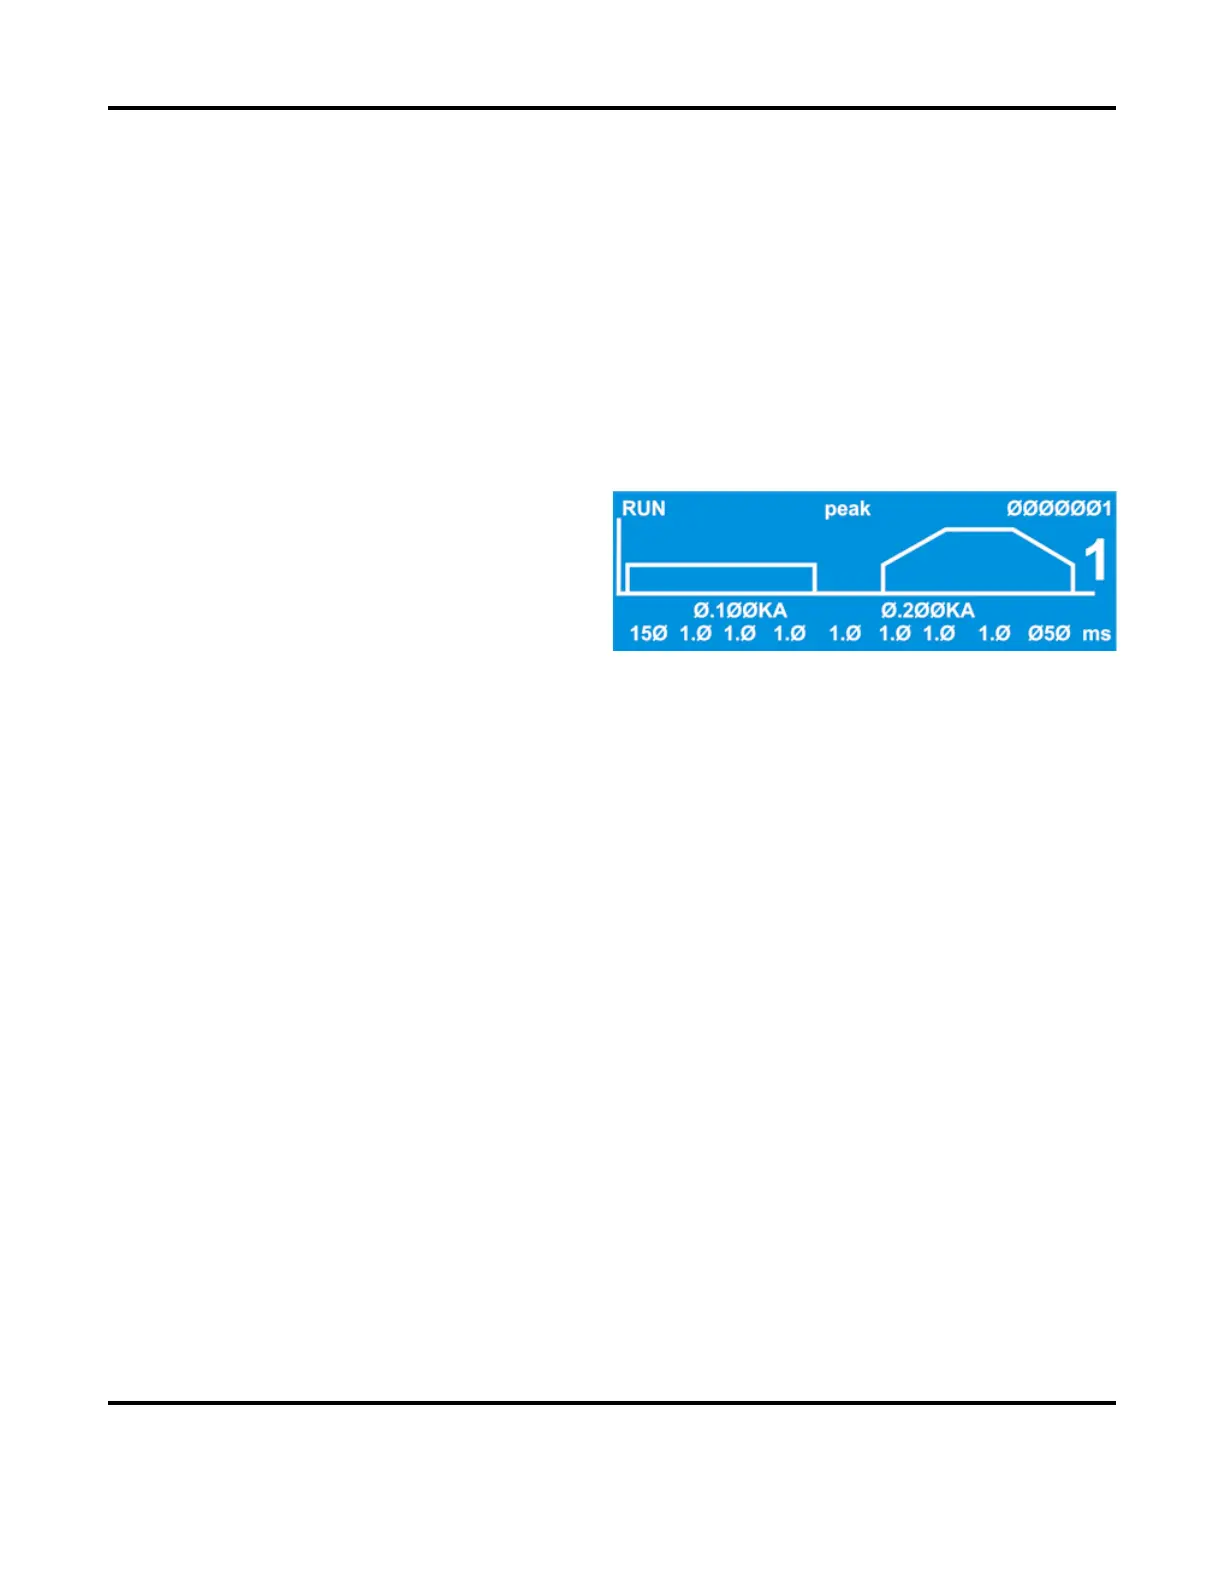
The default RUN screen will display.
10. Press the foot switch to actuate the first level. The weld head upper electrode should descend
smoothly to the DOWN position. When it reaches the down position, release the foot switch and
proceed to Step 12. If it does not descend smoothly, proceed to Step 11.
11. Adjust the weld head down speed control knob and repeat Step 10 until the upper electrode
descends smoothly.
12. Press the foot switch all the way down to close both levels. The weld head upper electrode should
descend smoothly to the DOWN position, and send the firing switch signal back to the Power
Supply when the preset electrode force is reached. The upper electrode should then ascend
smoothly back to the UP position.